Admin Panel
The Admin Panel in NocoDB gives organization-level oversight and control. Administrators use it to:
- monitor usage metrics
- manage workspaces and bases
- provision and track users
- configure Single Sign-On (SSO)
- update branding settings
This guide describes each section of the Admin Panel. Use these sections to maintain governance, enforce security, and keep user and workspace configurations aligned with the standards of your organization.
Navigation Overview
Users with administrative privileges can open the Admin Panel. In the bottom-left corner of NocoDB, open the user menu. Click Admin Panel.
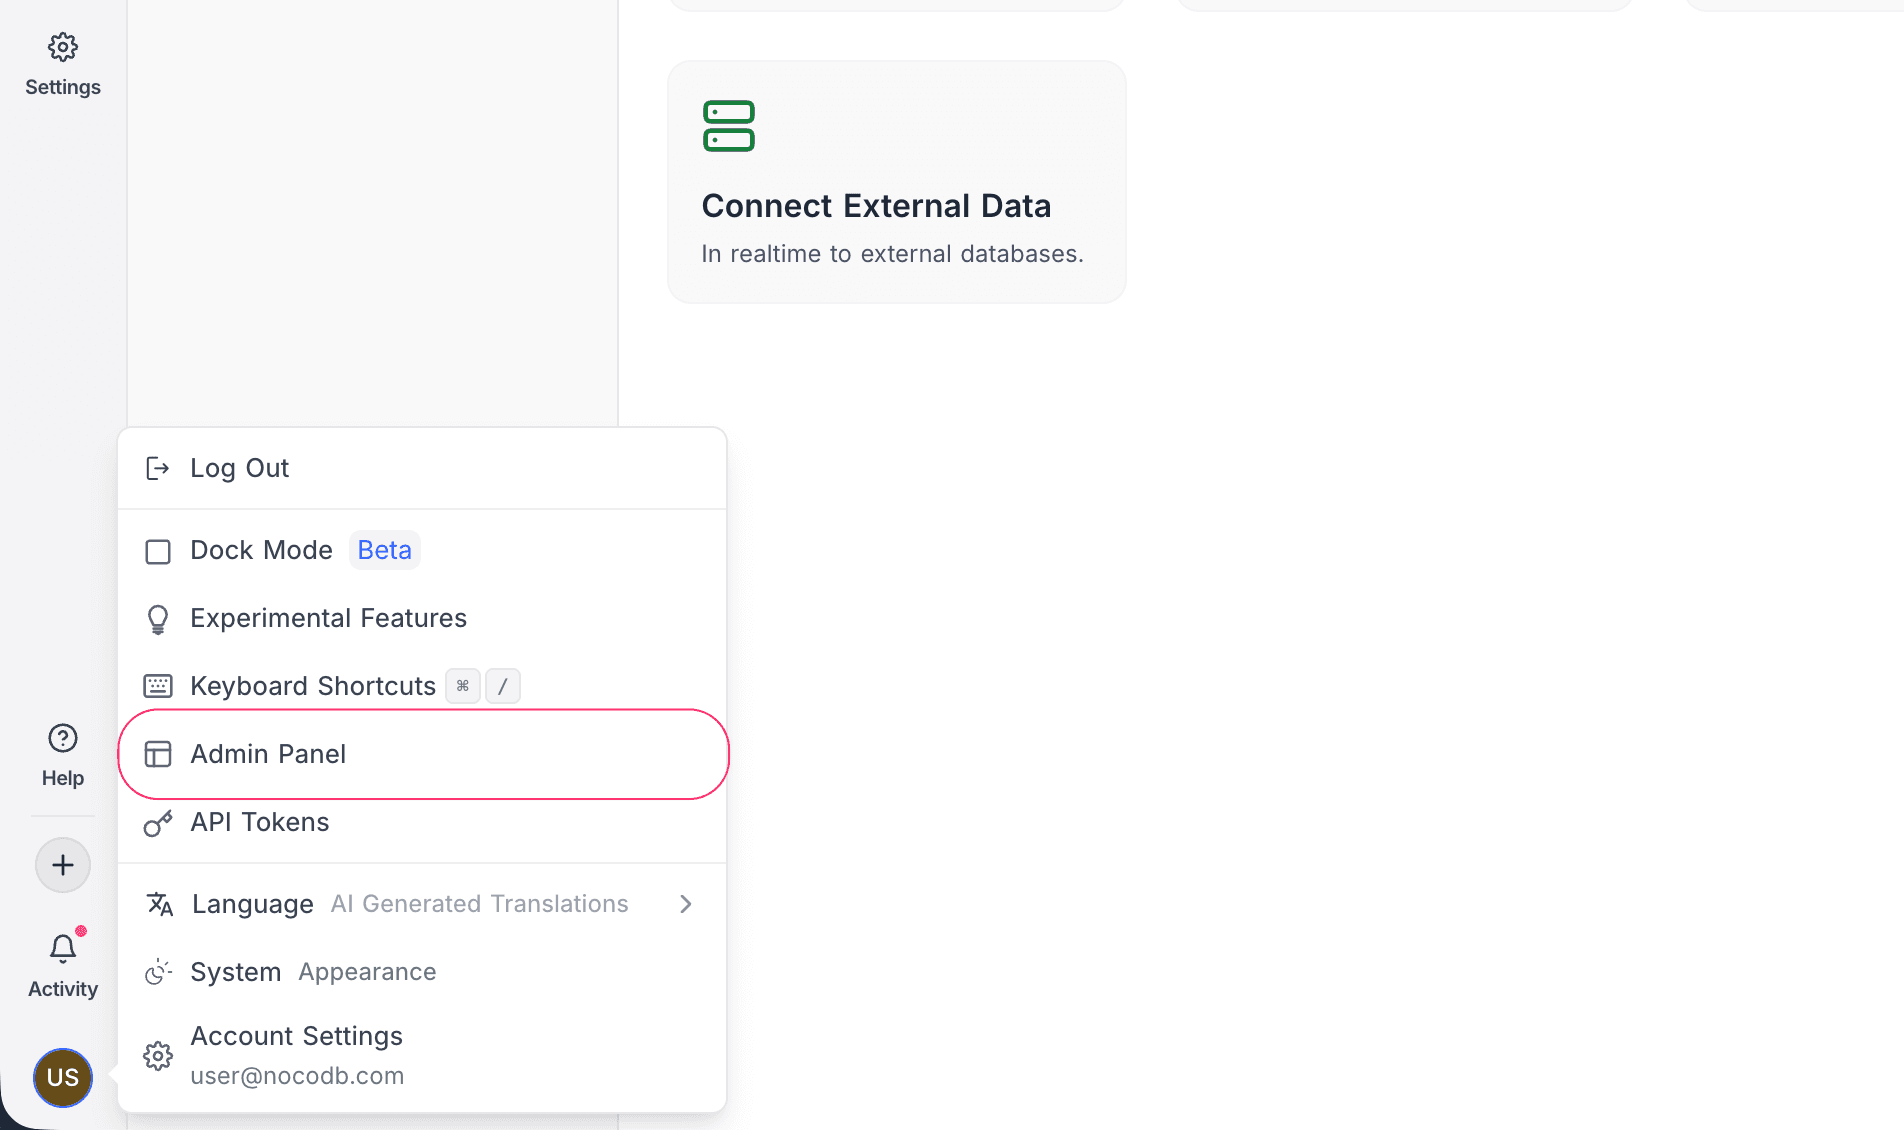
The Admin Panel sidebar groups its sections under these headers:
| Header | Sections |
|---|---|
| Resources | Dashboard, Workspaces, Bases |
| People | User Management, Teams |
| Security | Single Sign-On (SSO), SCIM |
| Plan & Usage | Usage |
| Instance (self-hosted only) | Instance-level configuration, including License |
| Settings |
To go back to the main NocoDB application, click the Back button in the top-left corner.
Dashboard
The Dashboard gives a high-level overview of key metrics across your NocoDB deployment. It is a basic control center where admins monitor system usage and see the scale of the data and user base of their organization. The current functionality is limited, but the visual summaries show a few critical numbers at a glance.
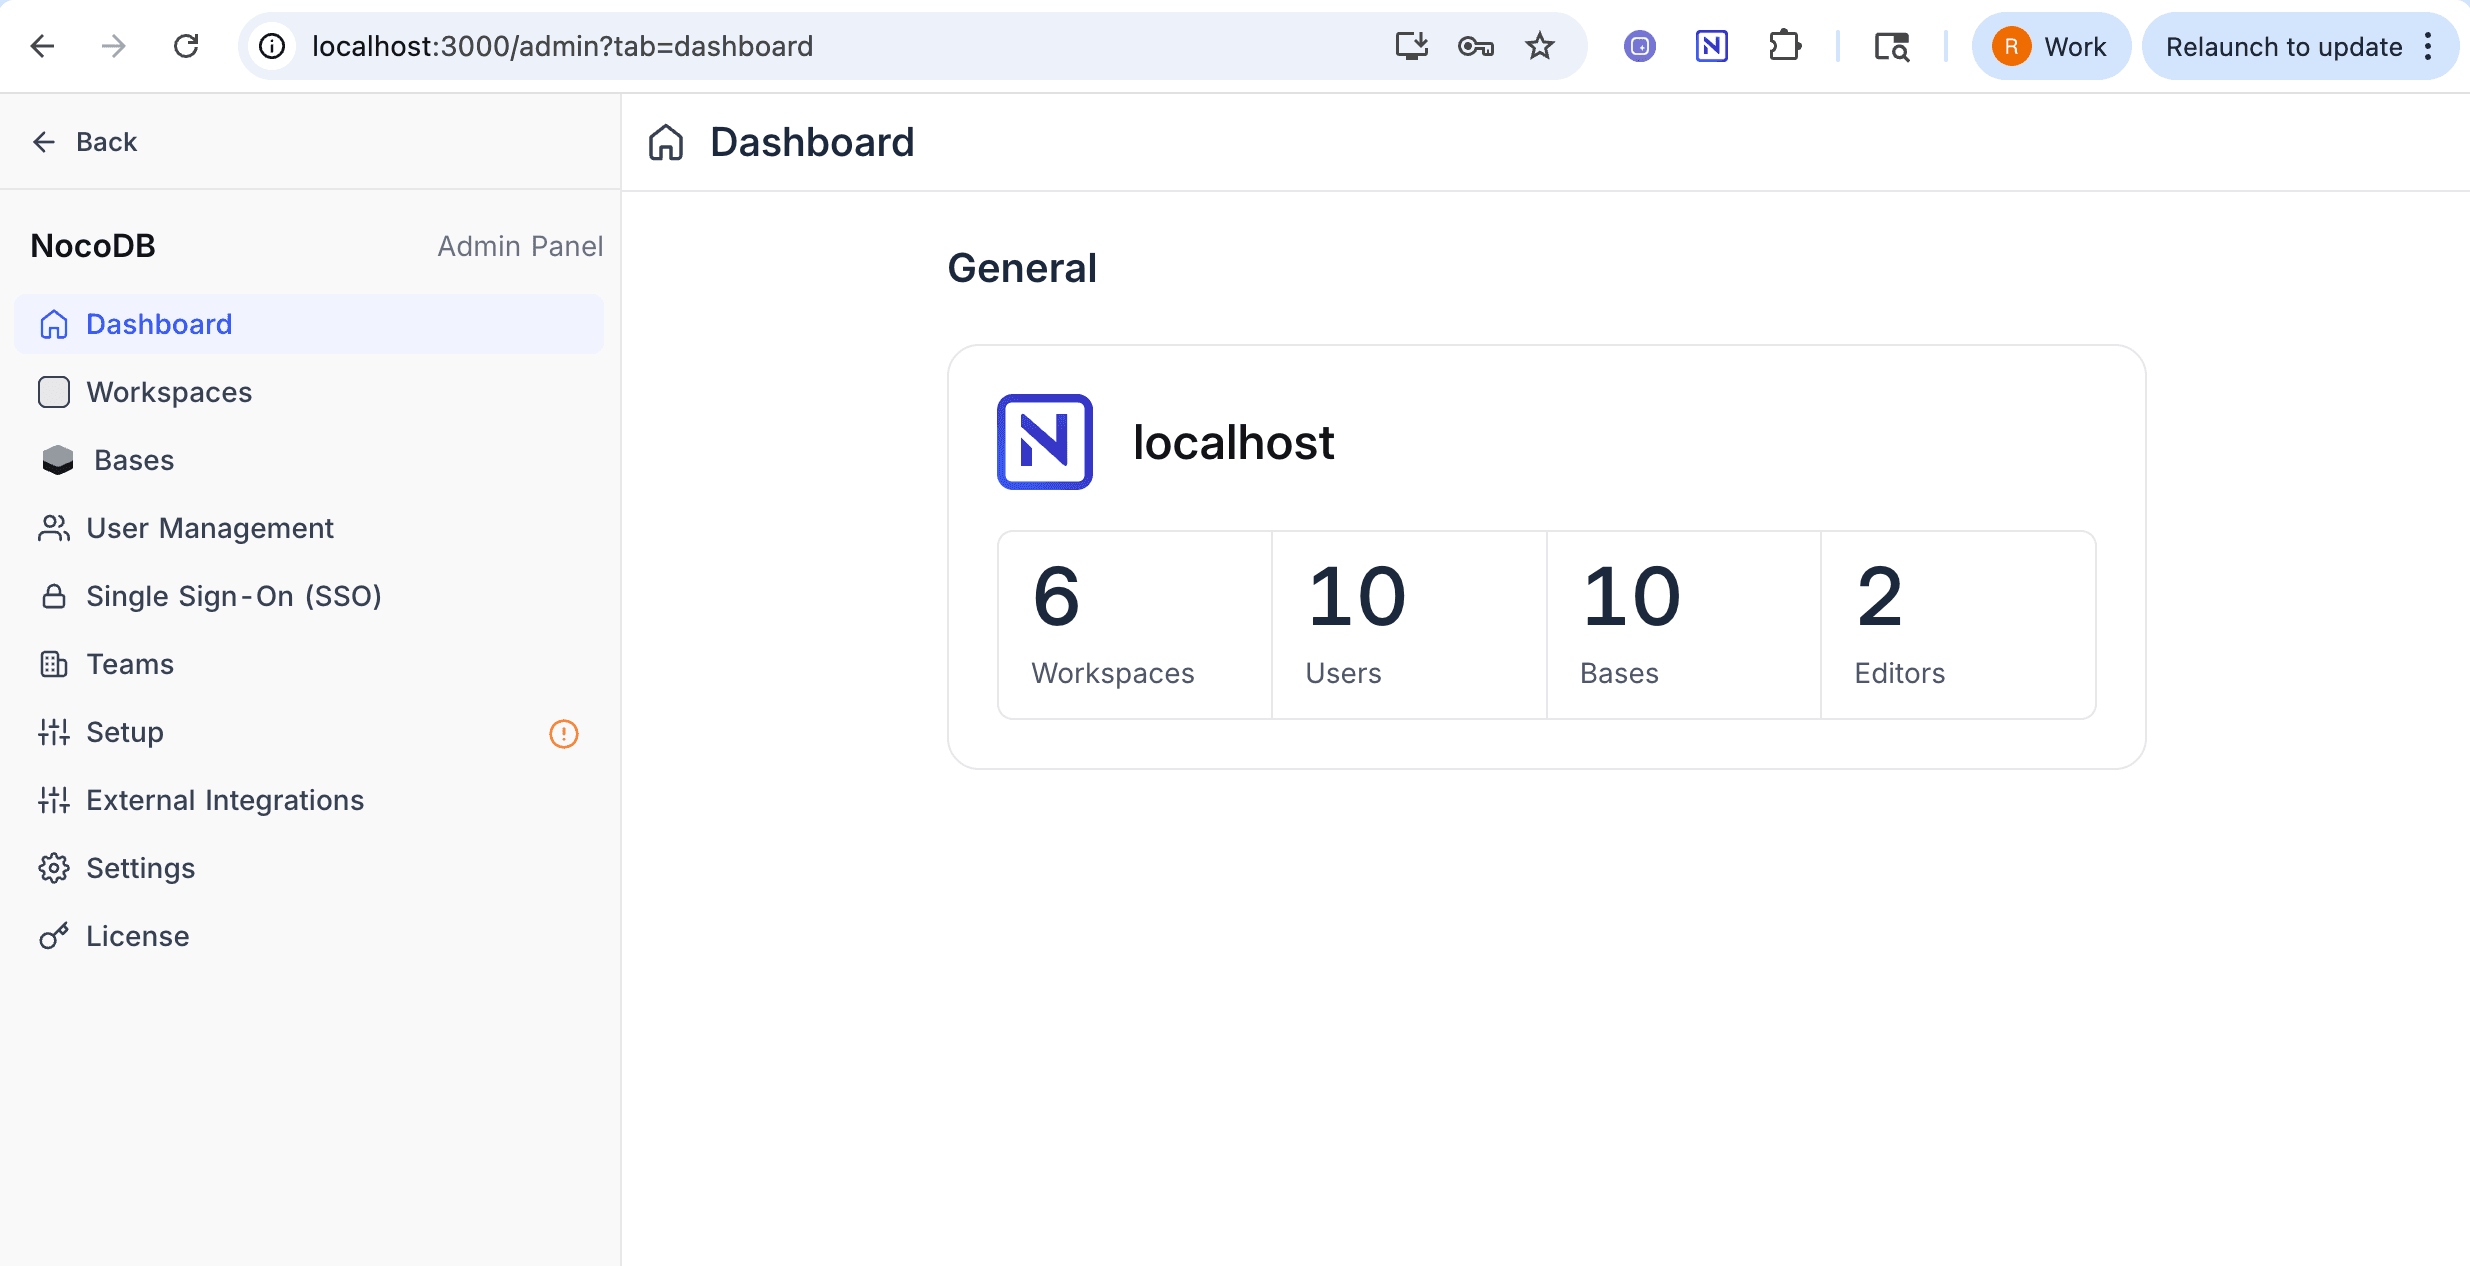
Displayed Metrics:
| Metric | What it counts |
|---|---|
| Workspaces | The number of workspaces created in the organization. |
| Users | The number of unique users in the organization. |
| Bases | The total number of bases created across all workspaces. |
| Editors | The number of users with Editor-level access or above. |
To see what a metric counts, hover over its info icon. For example, Users counts every account in the deployment, including accounts that are not in a workspace. Thus this number can be higher than the number of members in User Management.
Usage
The Usage section shows the consumption of each workspace in the organization: records, storage, API calls, automation runs, and editor seats. It also shows the totals for the organization.
- To find the workspaces that use the most, sort the table by a column.
- NocoDB highlights workspaces above 80% of a plan limit.
- To see which users use a billable seat, hover over the Editors cell of a workspace. A member uses a paid seat when the member has an Editor or higher role at the workspace level, in any base, or on any interface.
- To open the details of a workspace, click its row.
Workspaces
The Workspaces section lists all active workspaces in your organization. Each workspace shows its name, the number of members, and the number of bases. Admins use this view to monitor workspace-level participation and data volume.
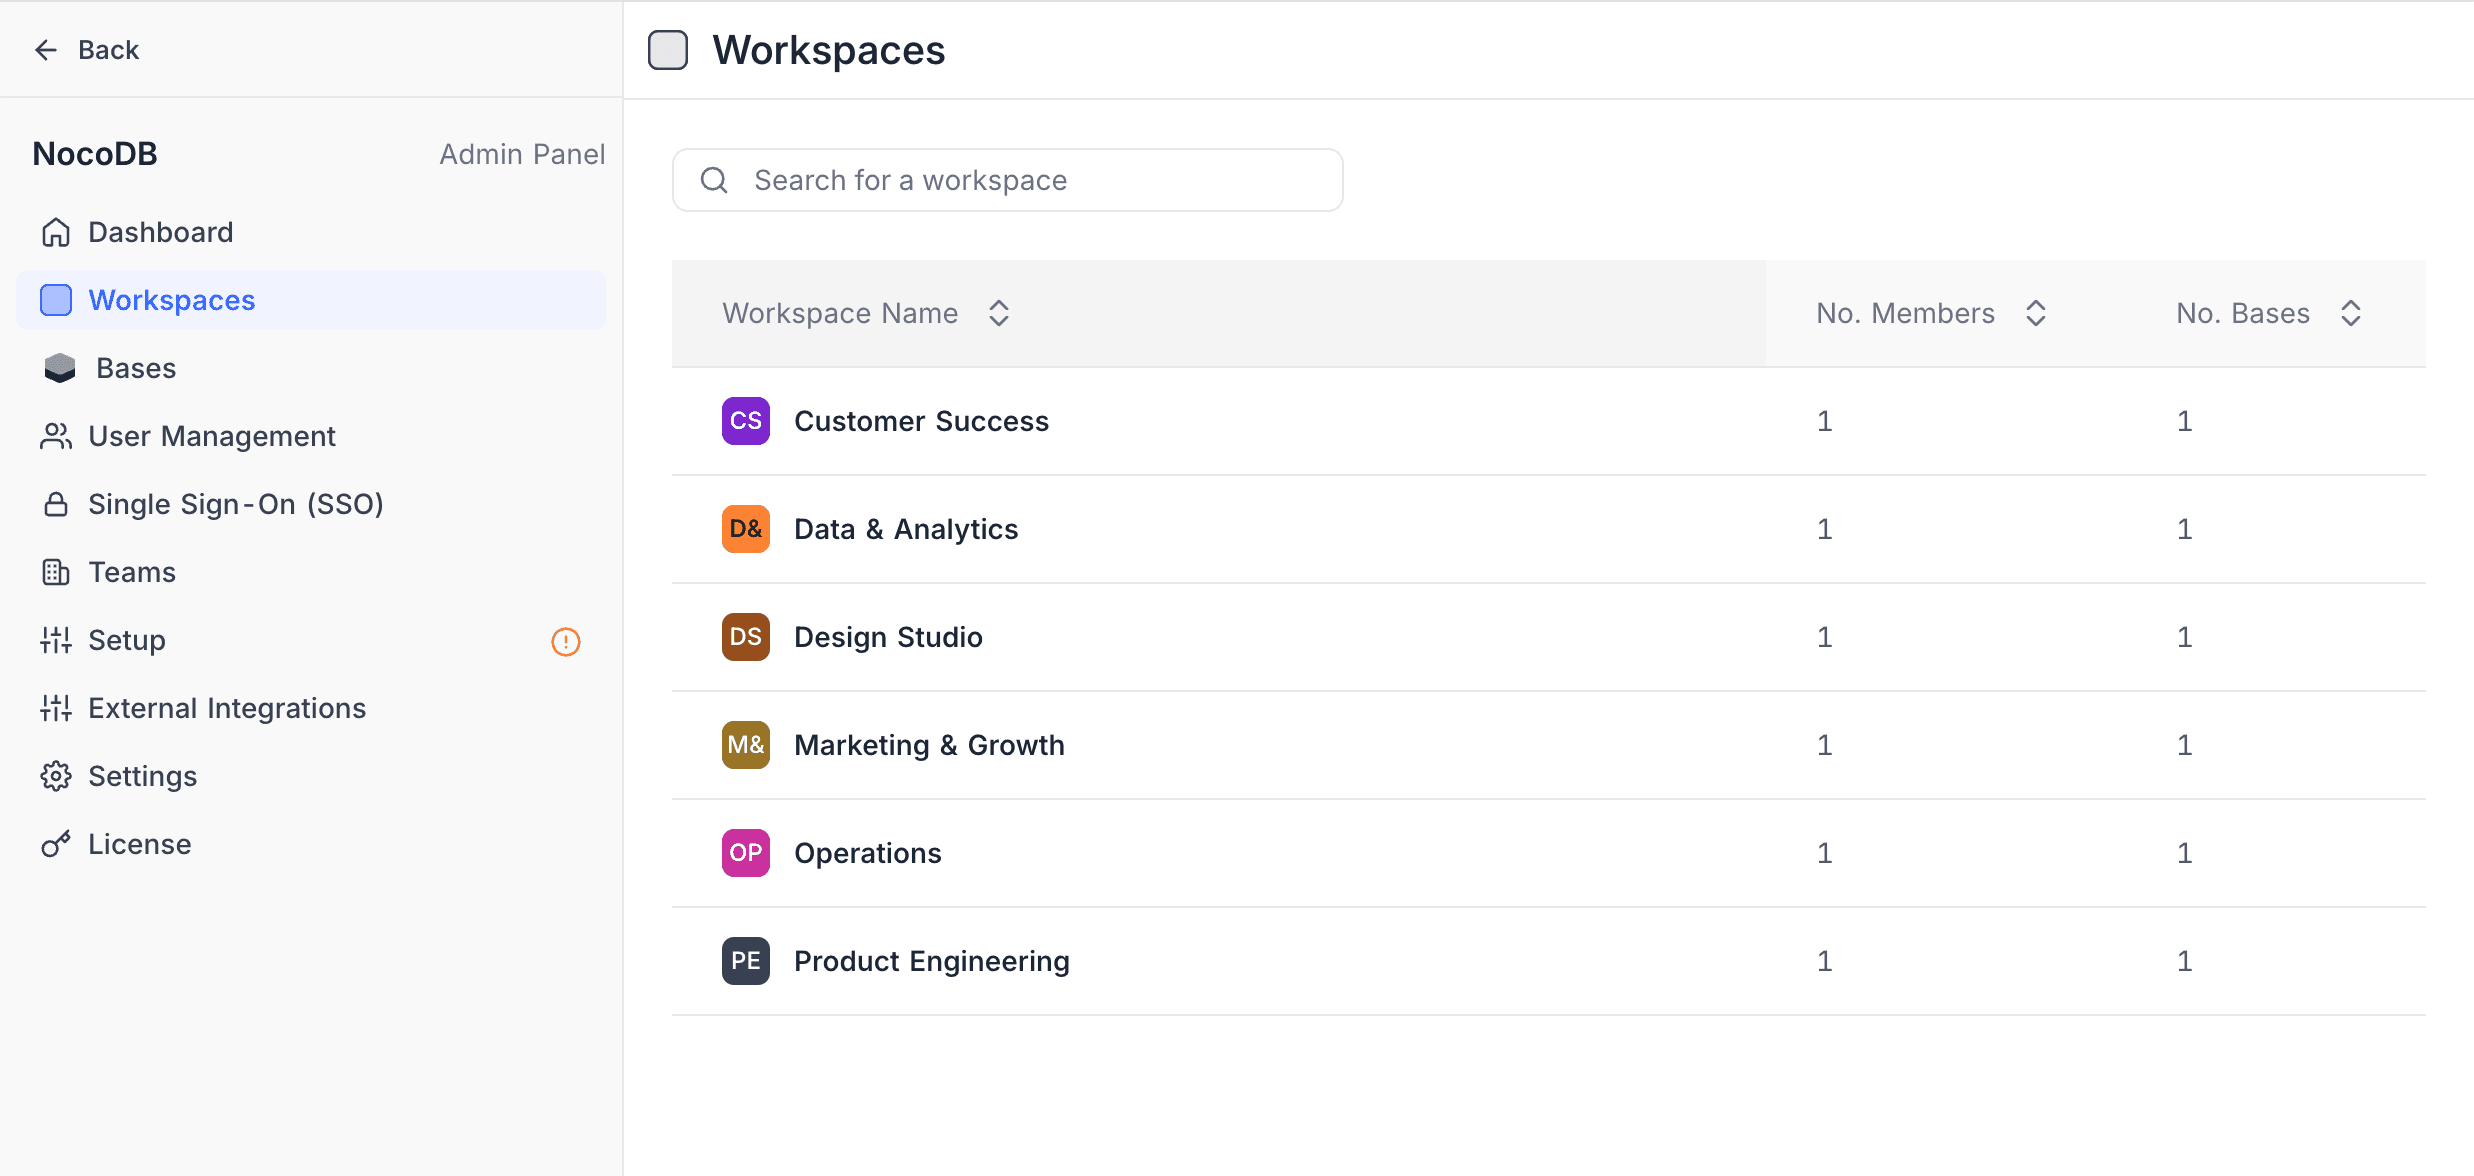
Actions:
| Action | What it does |
|---|---|
| Add Member | Invites new users to the workspace. |
| Rename | Changes the workspace name. |
| Manage Users | Changes user roles or removes users from the workspace. |
Bases
The Bases section shows all databases in the organization, from all workspaces. Each base shows its name, its workspace, and the number of members. Admins use this central view to monitor base creation and ownership.
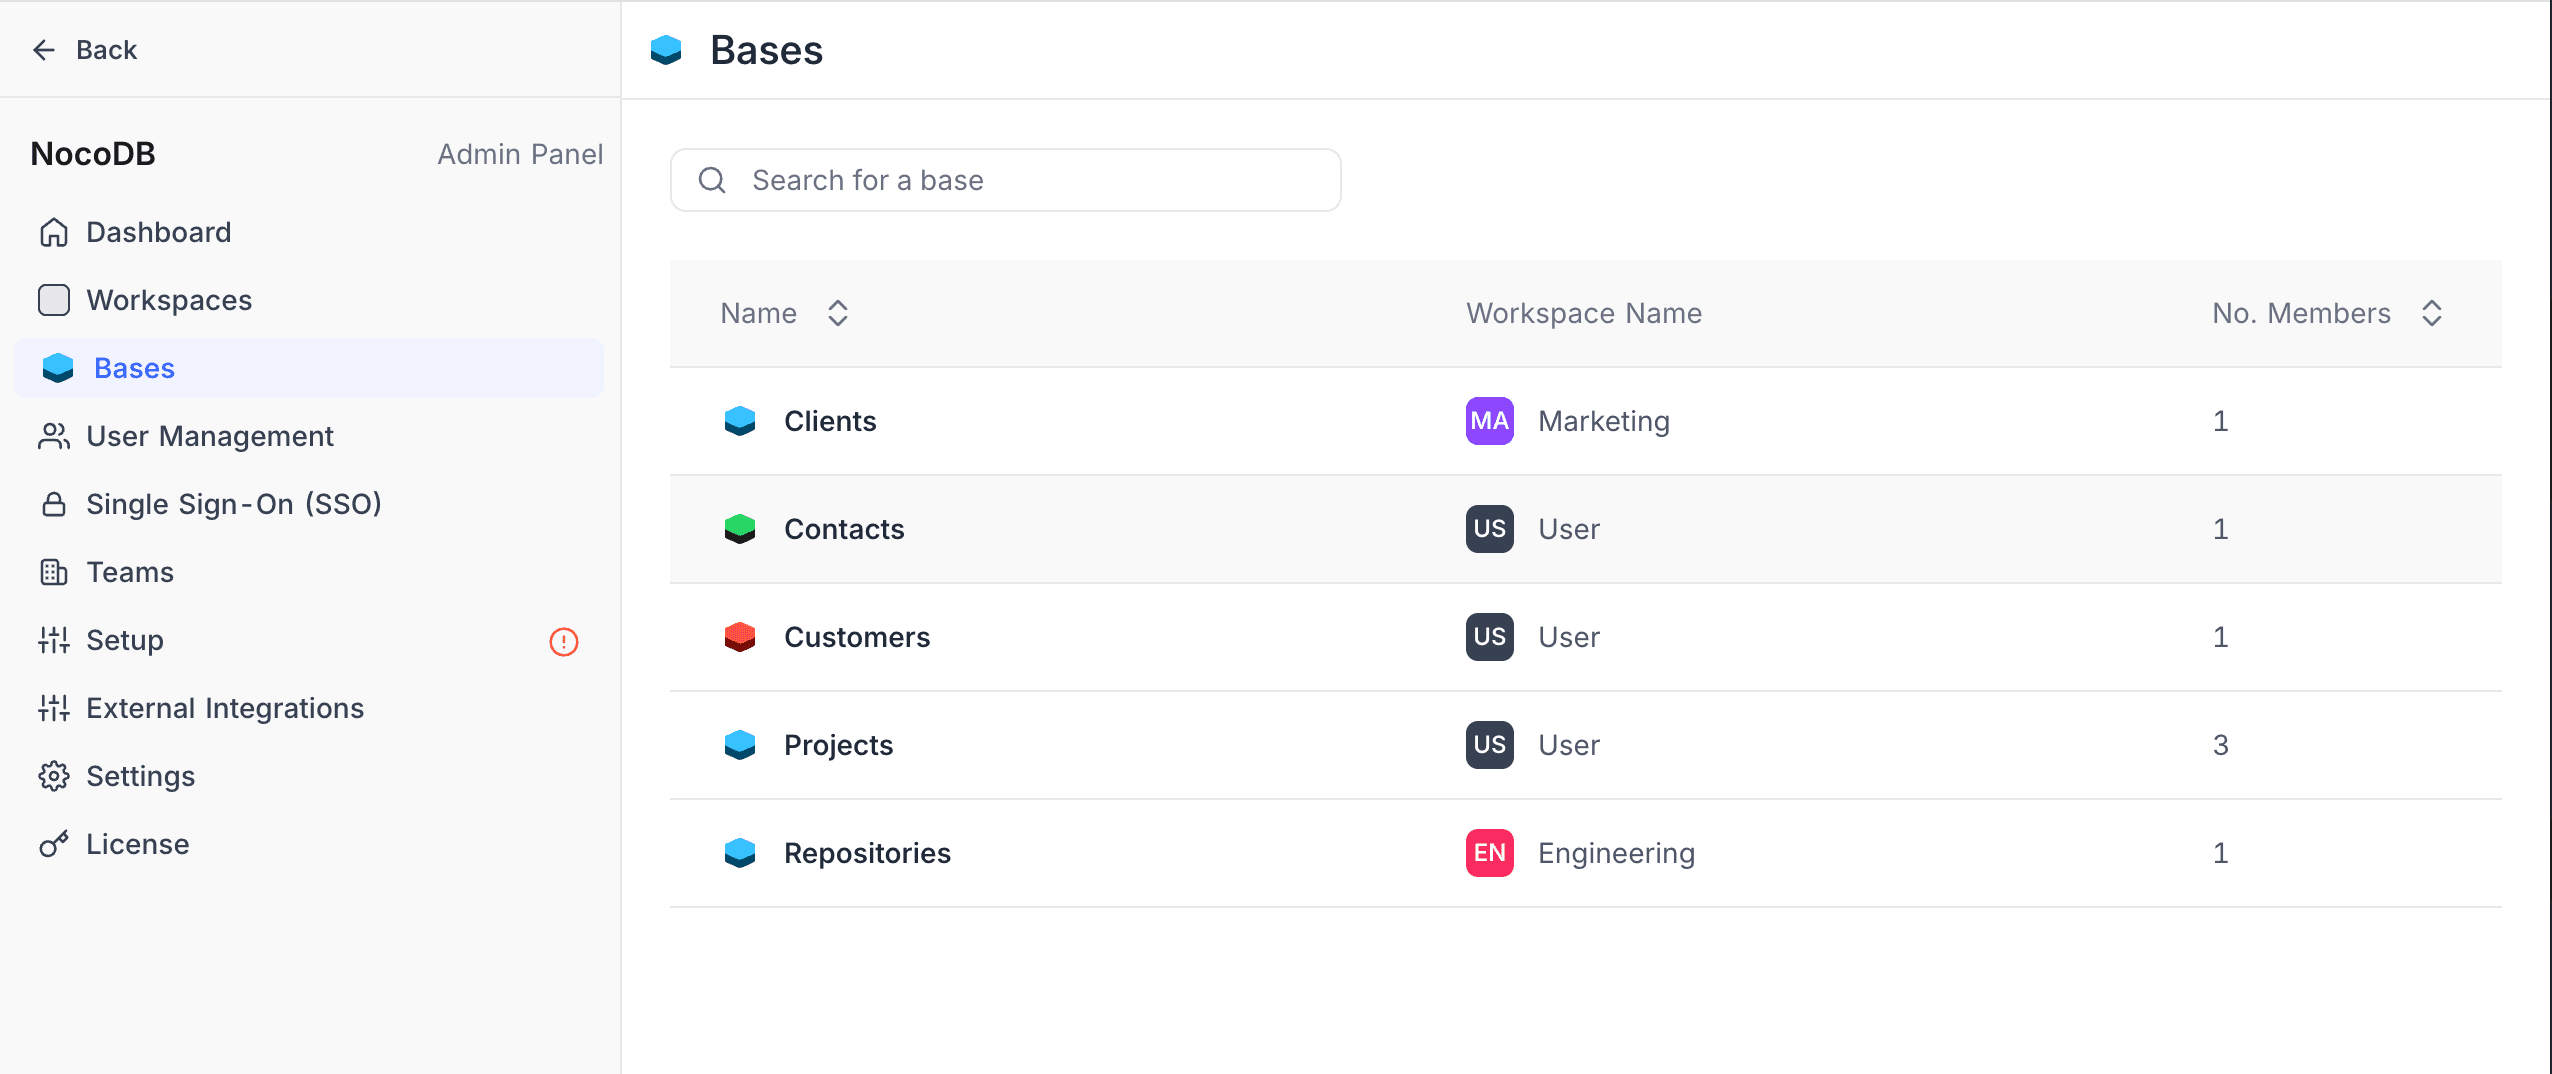
Actions:
| Action | What it does |
|---|---|
| Rename | Changes the base name. |
| Manage Users | Adds or removes collaborators, or changes their roles. |
User Management
The User Management section lists all users in the organization. Each member shows an Org Role (Org-Admin, Org-Creator, or Org-Viewer) and the date the member joined. The Org Admin manages organization membership, assigns org-level roles, and provisions workspace access.
The list header shows the total number of members and the number of billable Editor seats. A member uses a paid seat when the member has an Editor or higher role at the workspace level, in any base, or on any interface.
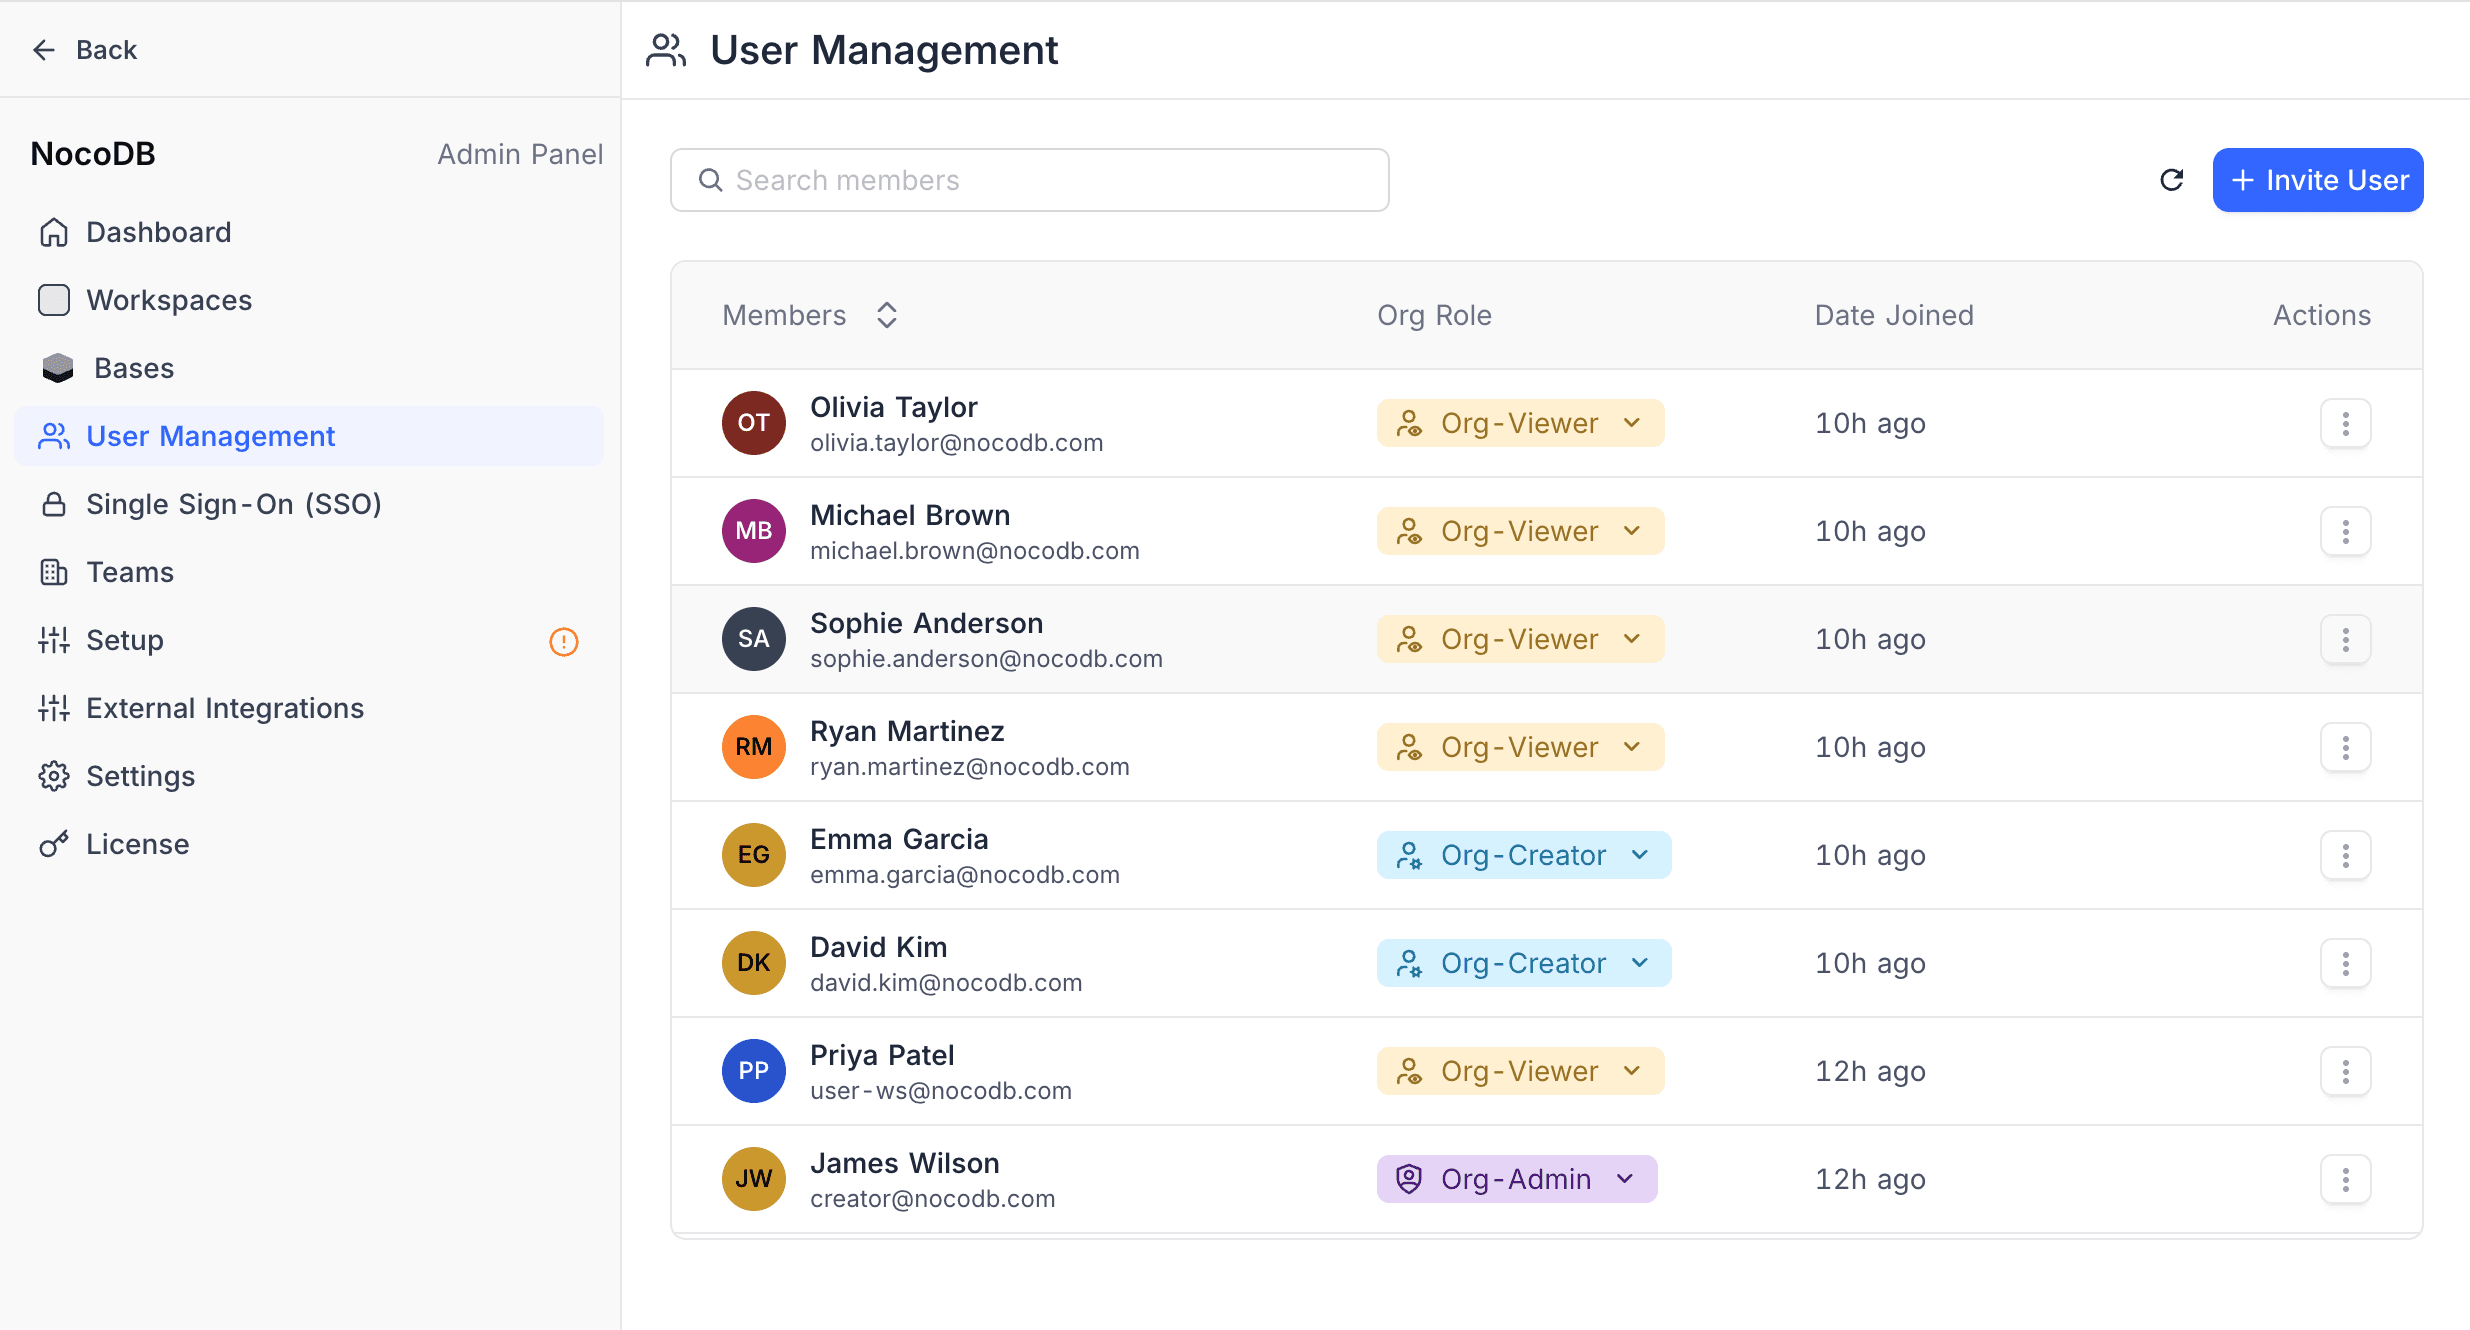
Changing Org Roles:
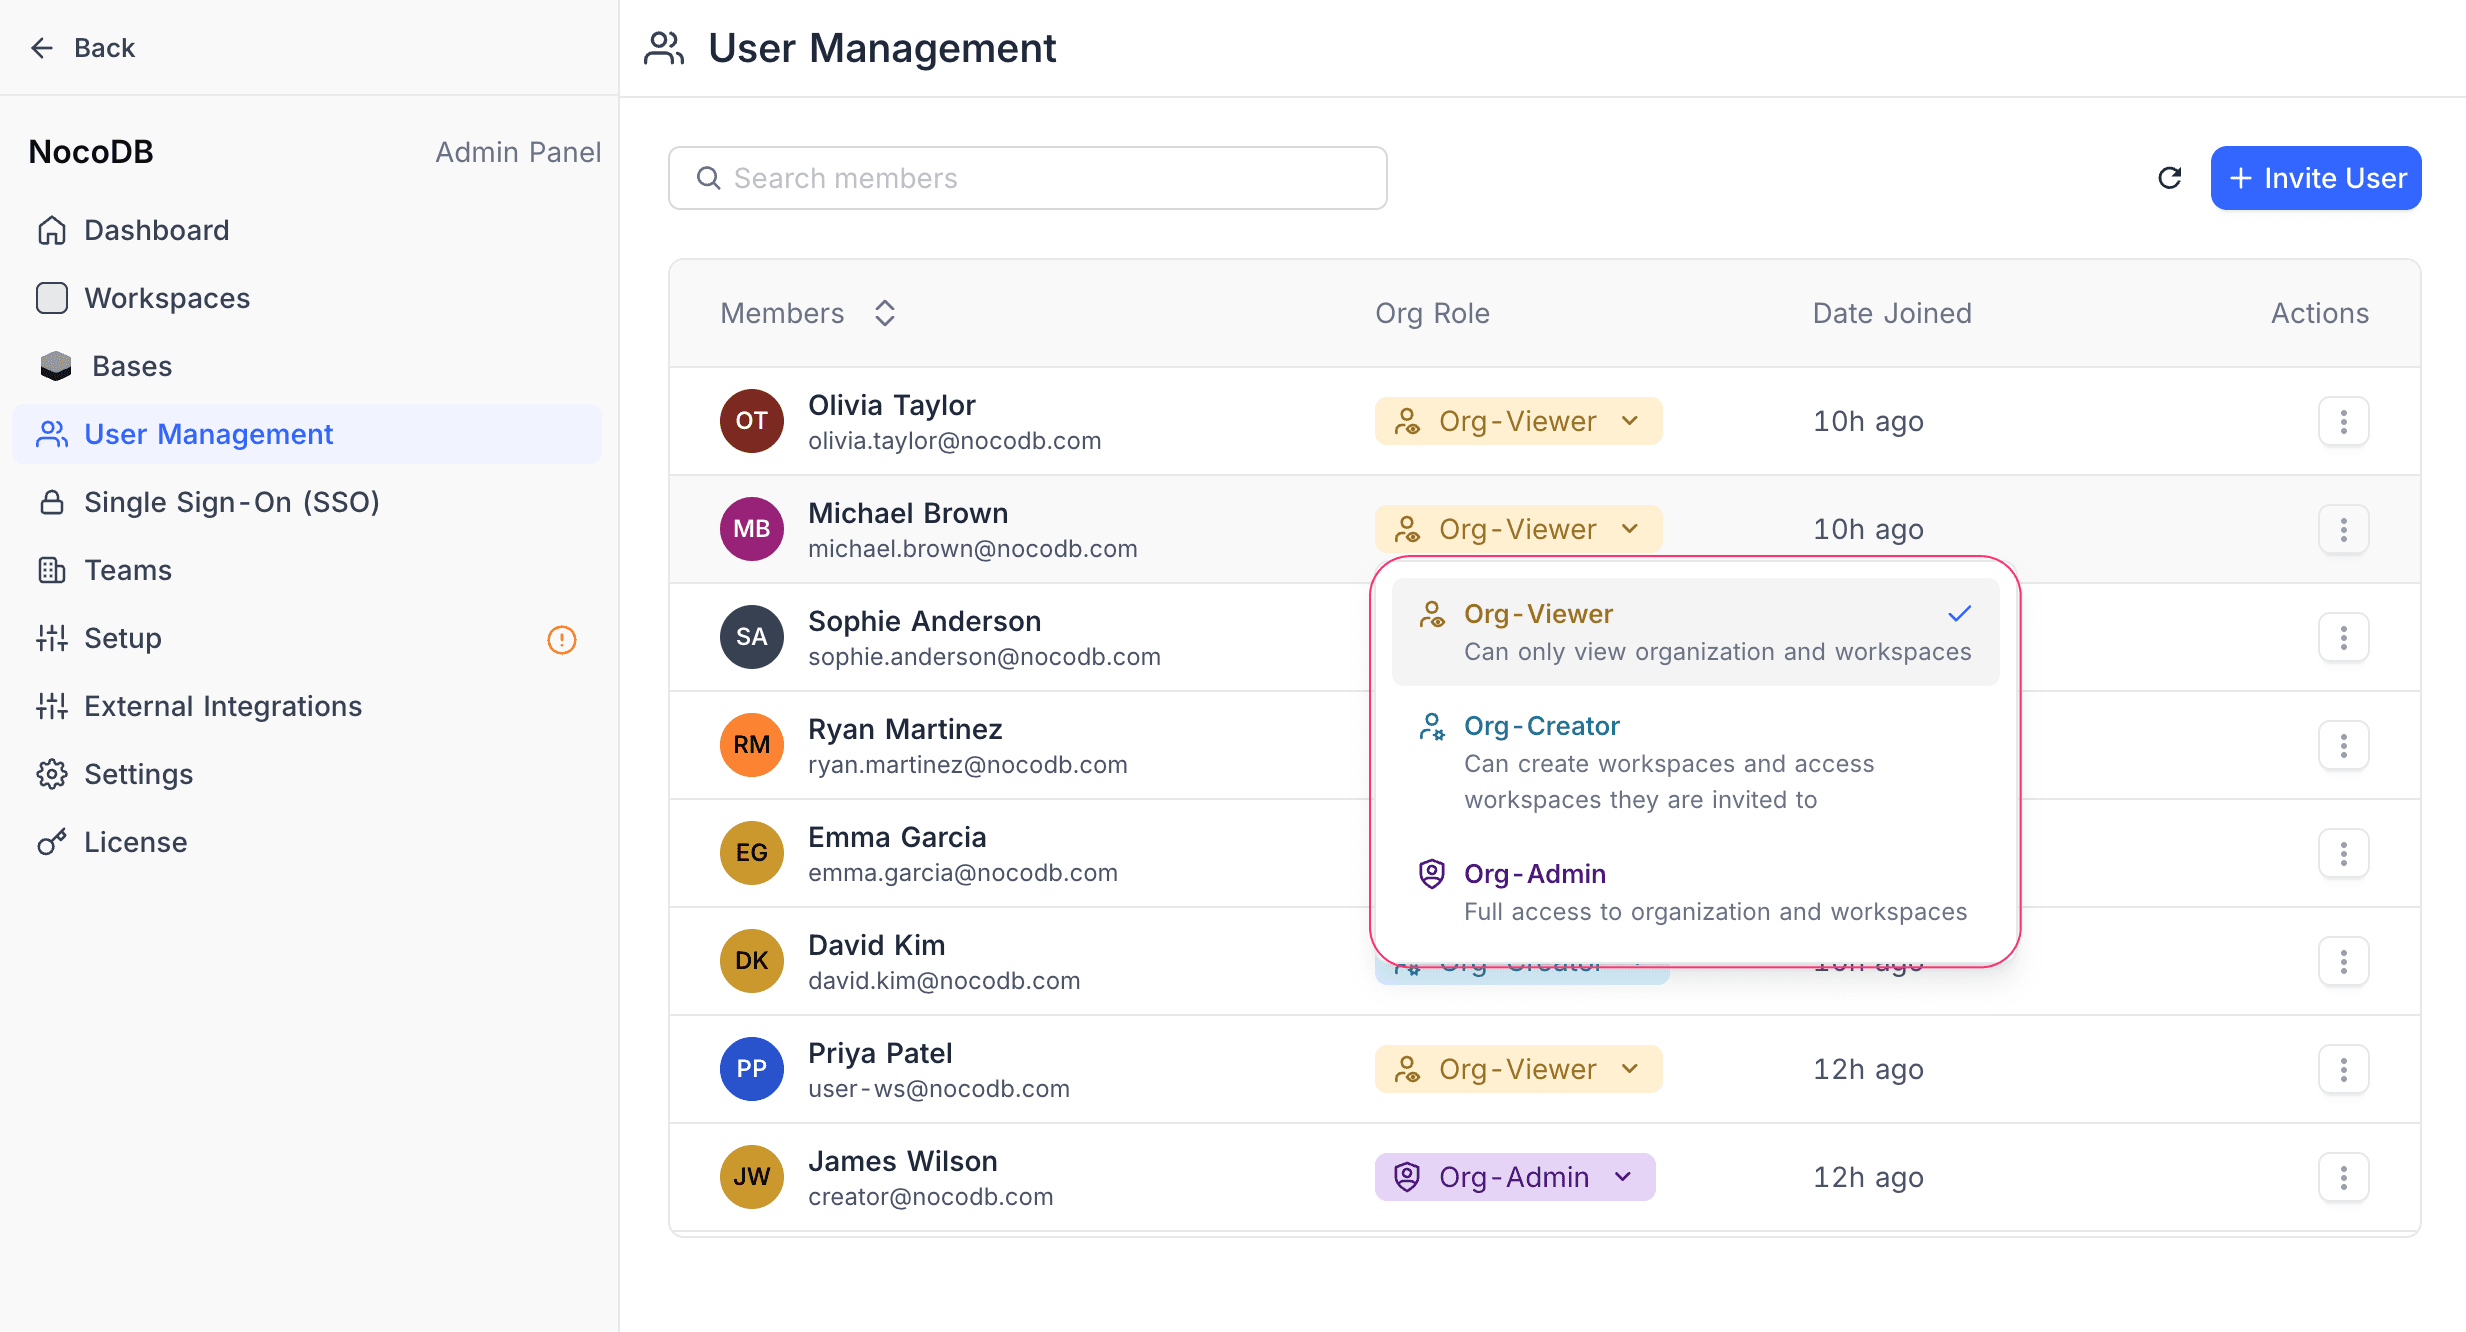
To change the org role of a member, click the role dropdown next to the member. The roles are:
| Role | Access |
|---|---|
| Org-Viewer | Can access workspaces and bases they are invited to, but cannot create new workspaces. |
| Org-Creator | Same as Org-Viewer, plus can create new workspaces in the organization. Cannot manage org membership. |
| Org-Admin | Complete access to the organization, including member management, SSO, SCIM, domains, billing, and all org-level settings. |
The role of the Org Admin shows as a different badge. For details on org role constraints, see Organization-level Roles.
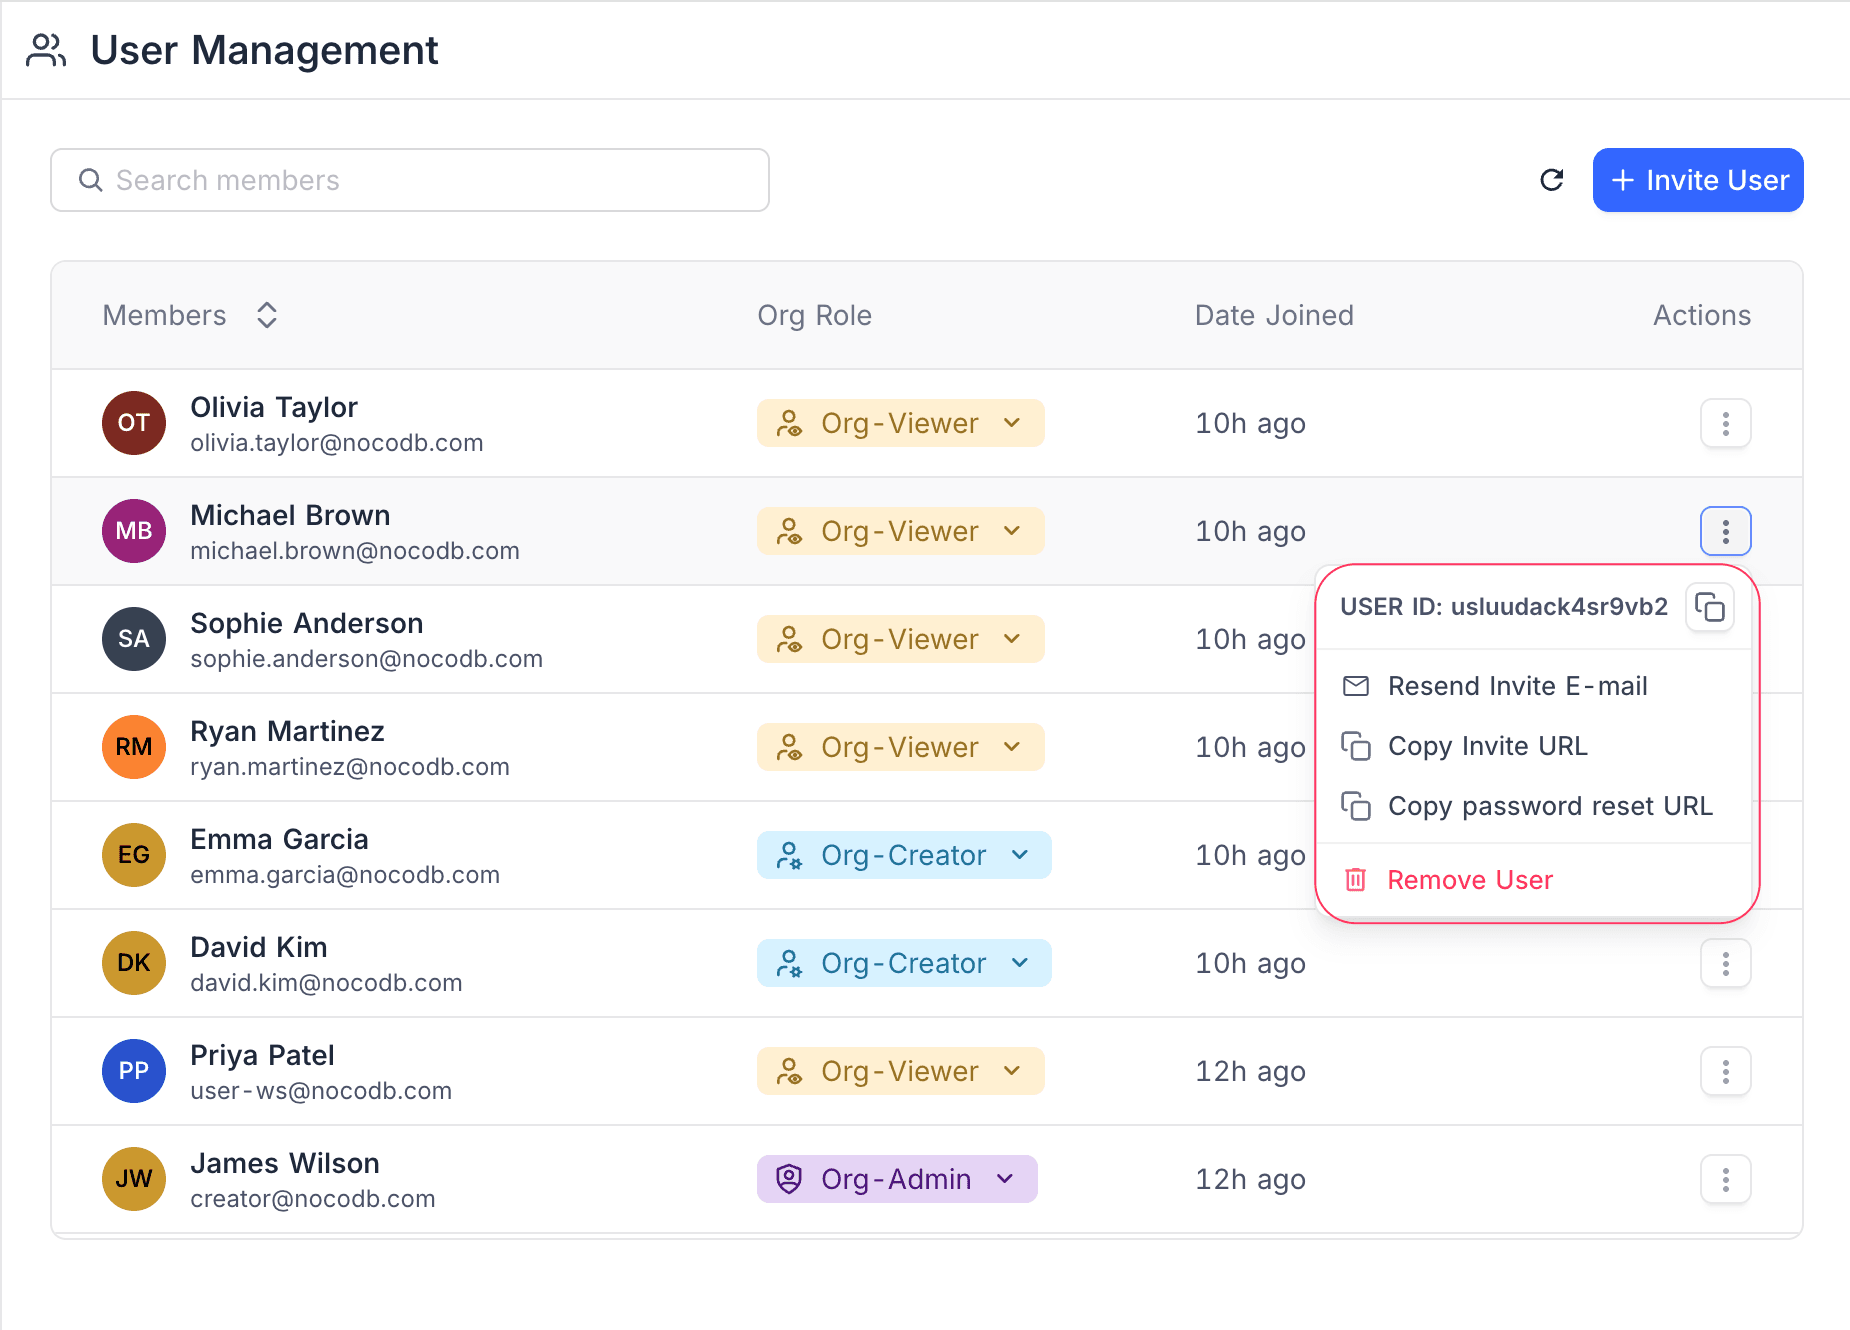
Actions menu:
Click the Actions (three dots) menu next to a member. The menu has these options:
| Option | What it does |
|---|---|
| Resend Invite E-mail | Sends the invitation email to the user again. |
| Copy Invite URL | Copies the invitation link to the clipboard. |
| Copy password reset URL | Generates a password reset link and copies it. |
| Remove User | Removes the user from the organization. This also removes the user from all workspaces, bases, and teams in the organization. |
To add new users to the organization, click the + Invite User button.
For more details about organization-level roles, see Organization-level Roles.
Teams
In the Teams section, Org Admins create and manage organization-level teams. Workspace teams belong to one workspace. Org teams are available in all workspaces of the organization, and you can give them roles in any workspace or base.
The teams list shows the name, badge, number of members, and creator of each team, and an actions menu. Teams with sub-teams have an expand/collapse toggle. To change between tree view and flat view, use the toggle buttons in the toolbar.
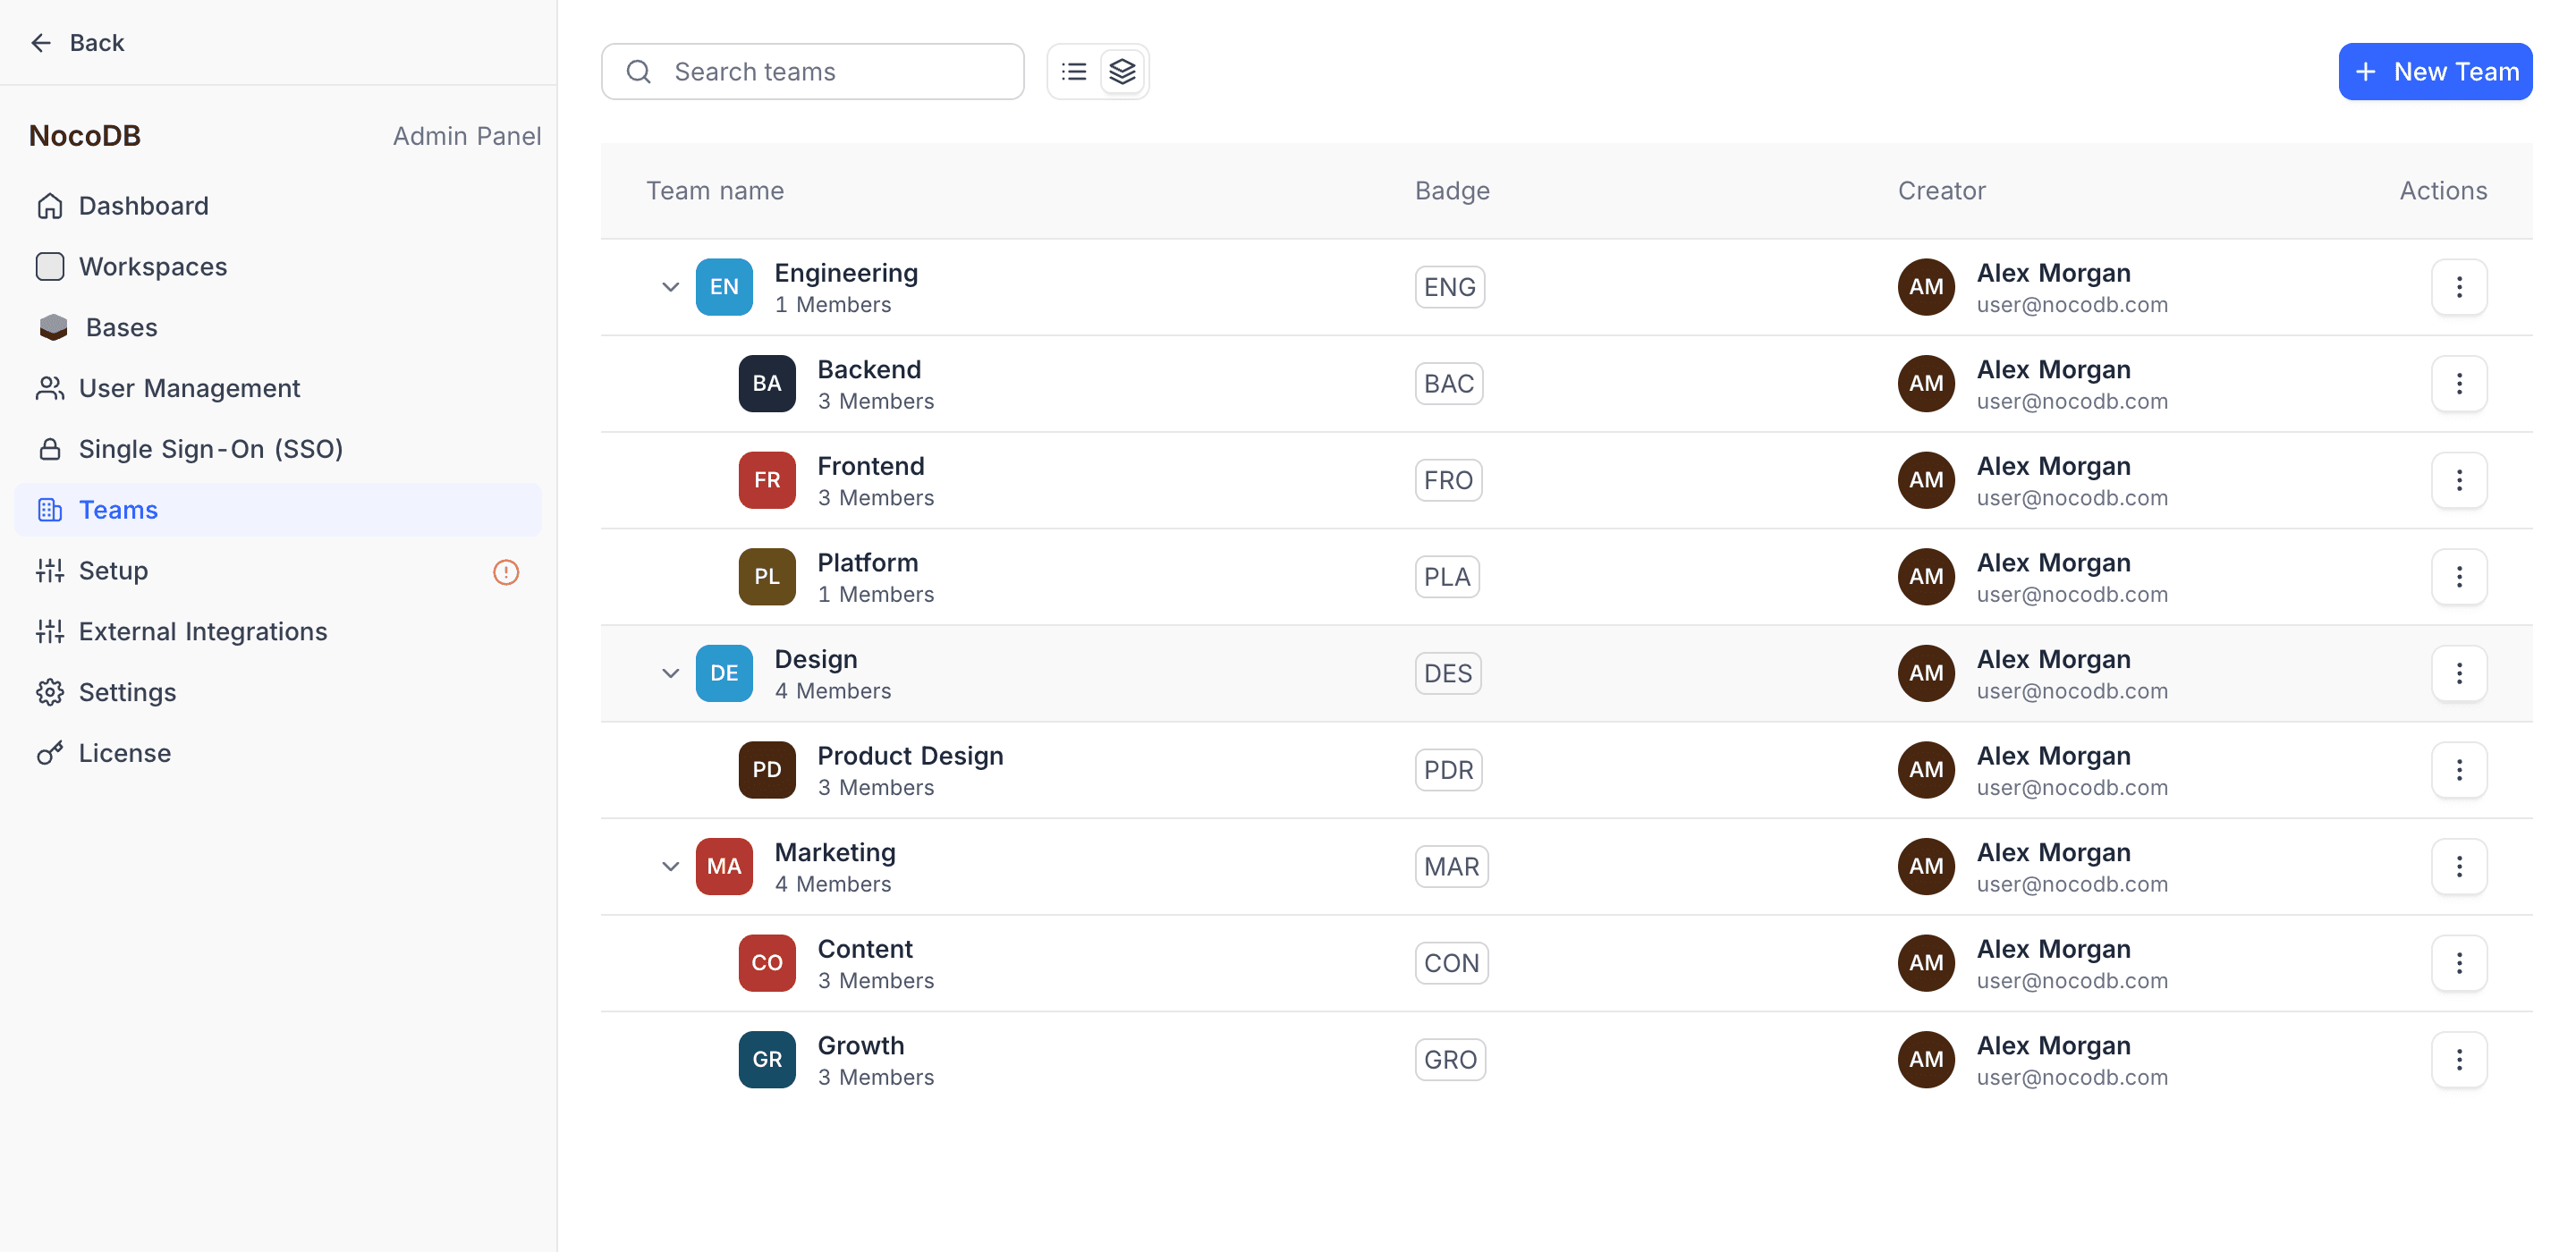
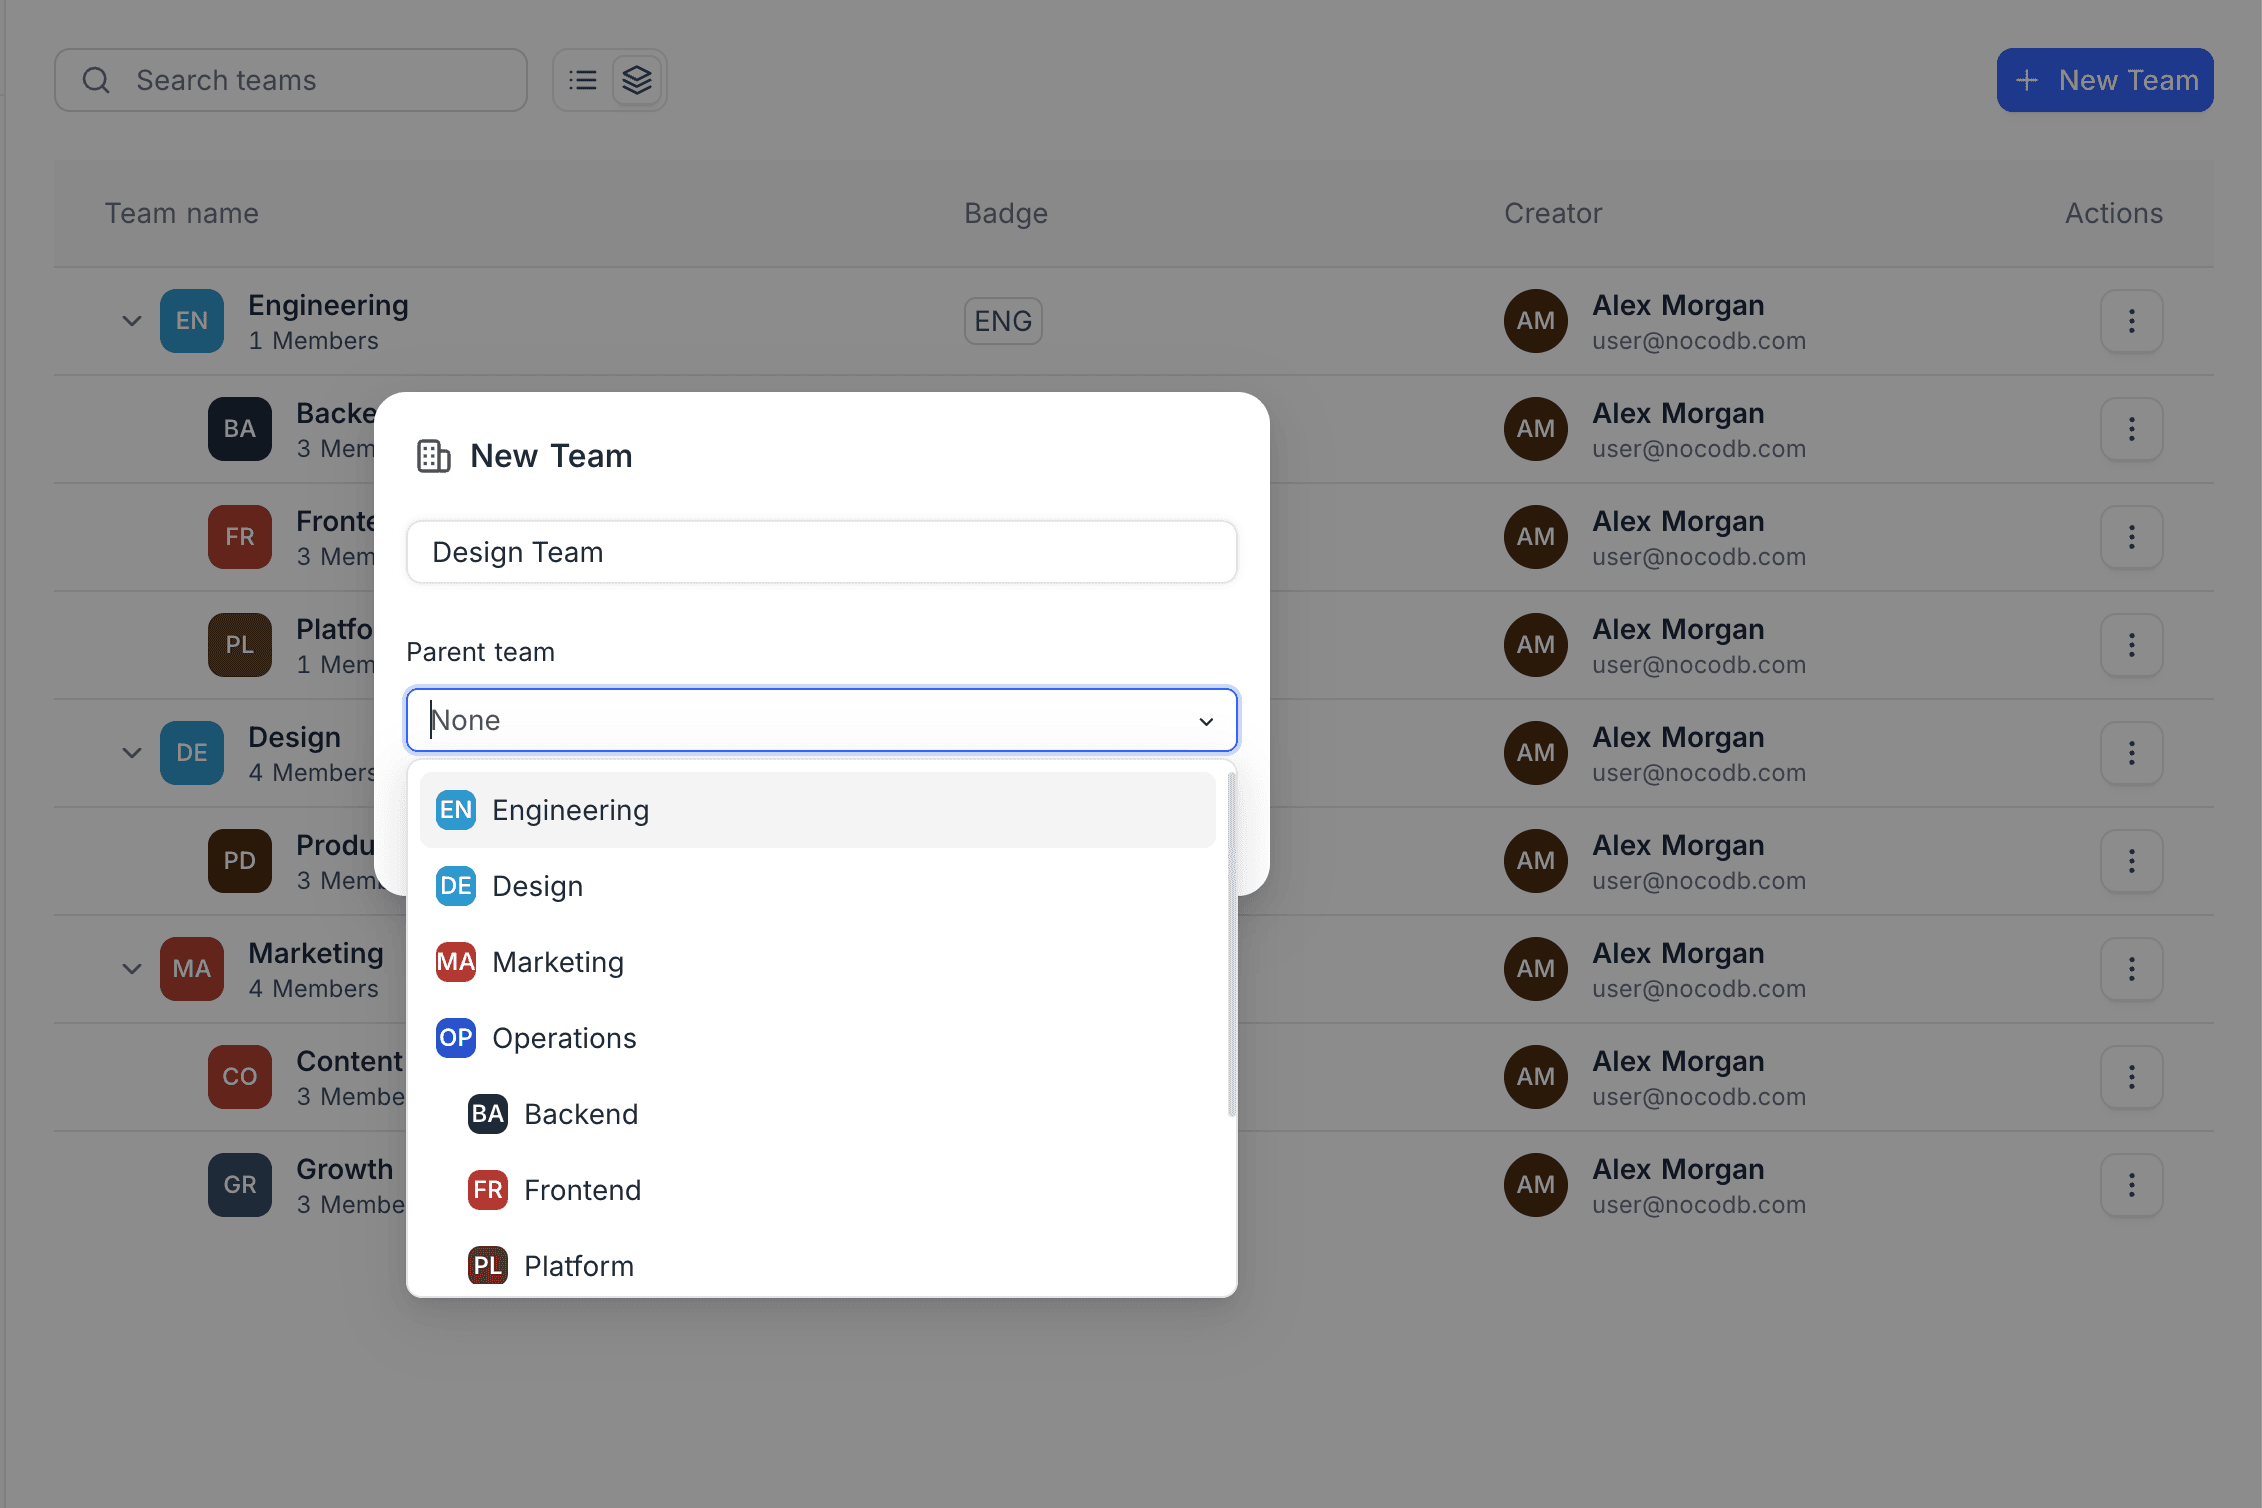
To create a new team, click the + New Team button. To make the new team a sub-team, select a parent team. This is optional.
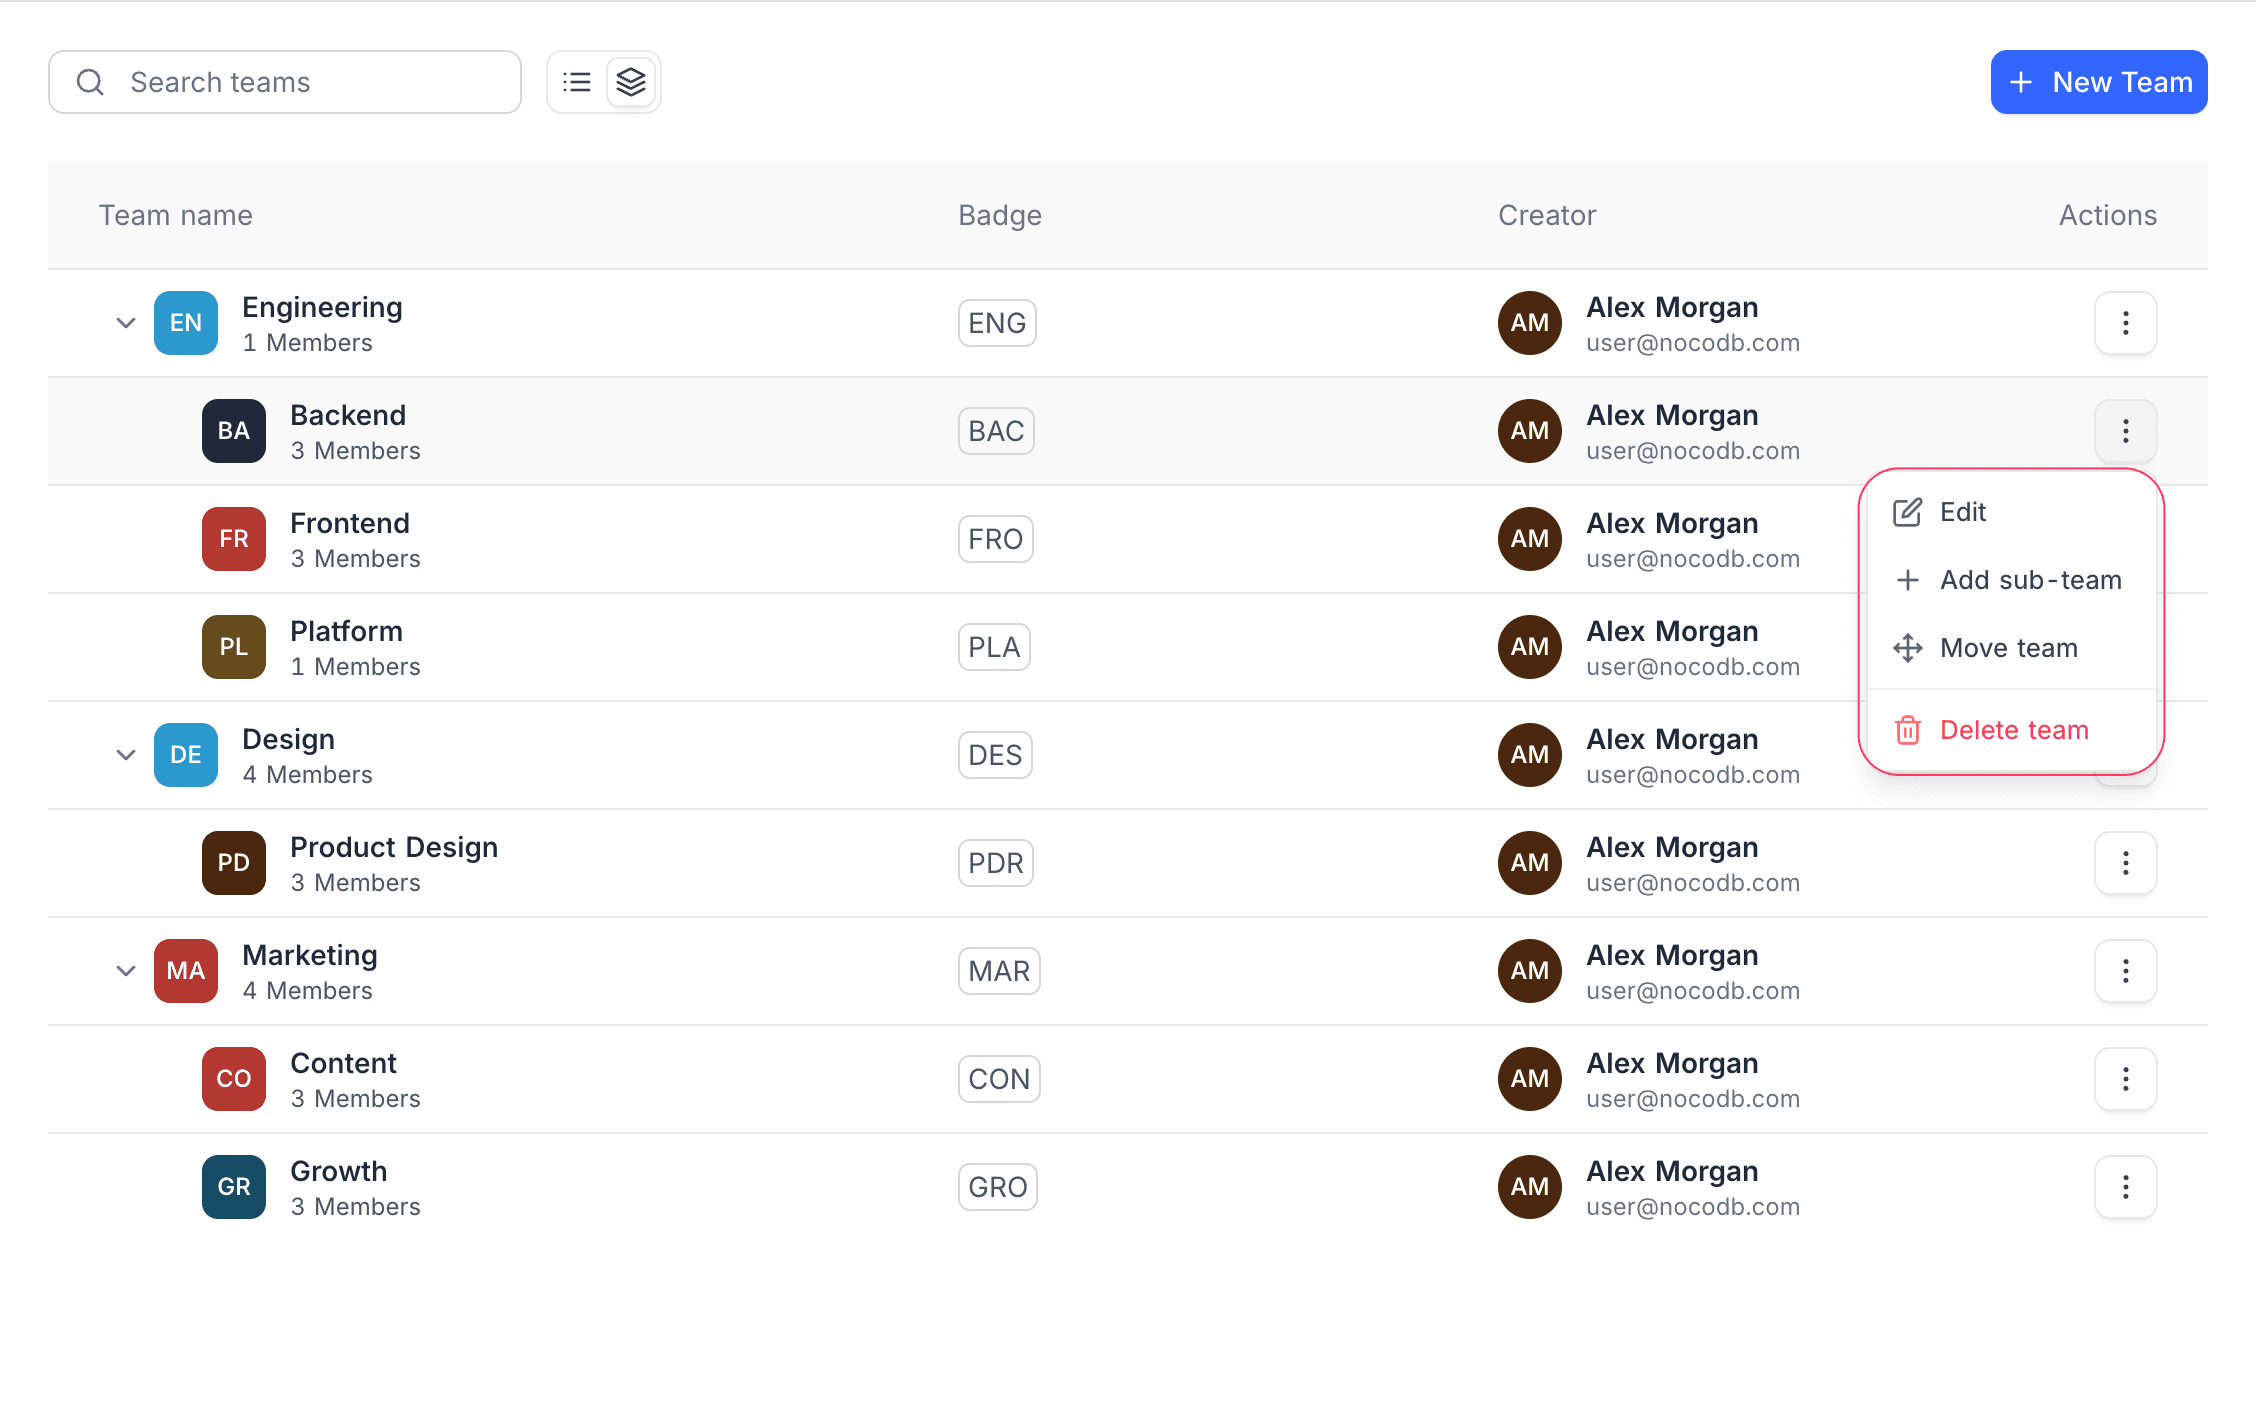
Click the Actions (three dots) menu next to a team. The menu has these options:
| Option | What it does |
|---|---|
| Edit | Opens the team to manage its members and settings. |
| Add sub-team | Creates a nested sub-team below this team. |
| Move team | Moves the team below a different parent. |
| Delete team | Removes the team from the organization. |
For detailed team management instructions, see Organization Teams.
Single Sign-On (SSO)
In the Single Sign-On (SSO) section, organizations configure central authentication for their users. With SSO, admins manage fewer individual credentials, and user authentication follows the enterprise security policies.
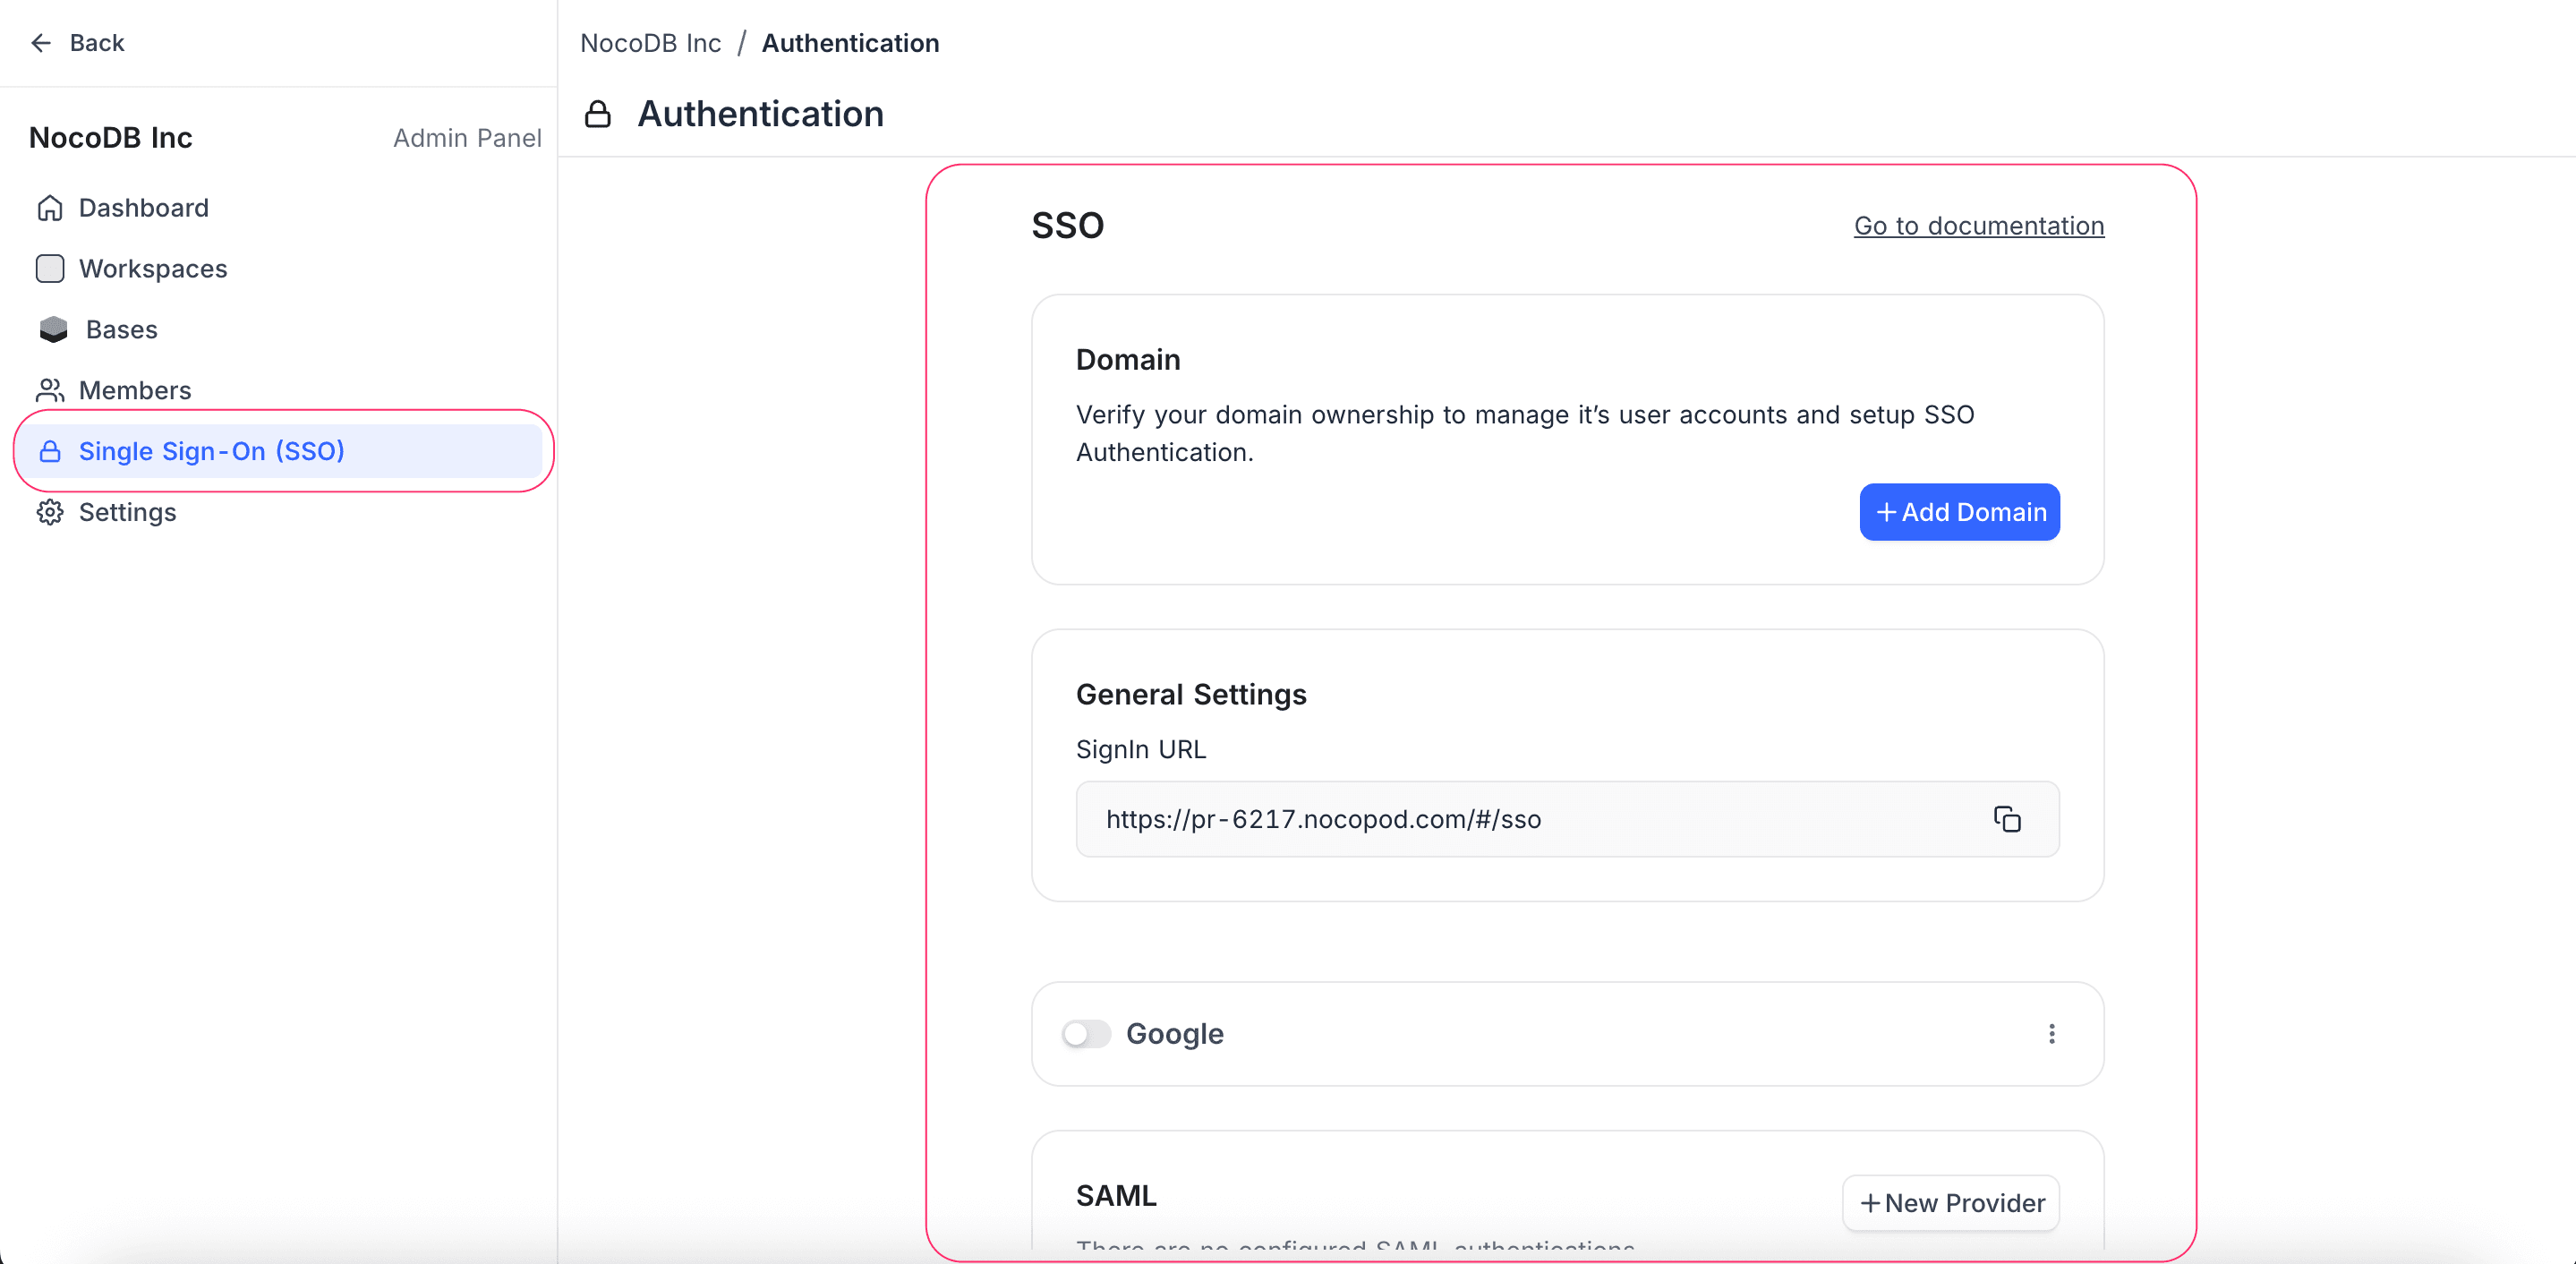
For detailed setup instructions, refer to the SSO documentation.
SCIM
In the SCIM section, Org Admins configure SCIM v2.0 provisioning. SCIM manages users and groups automatically from an identity provider (IdP). When SCIM is enabled, NocoDB syncs user onboarding, offboarding, and group membership changes from your IdP automatically.
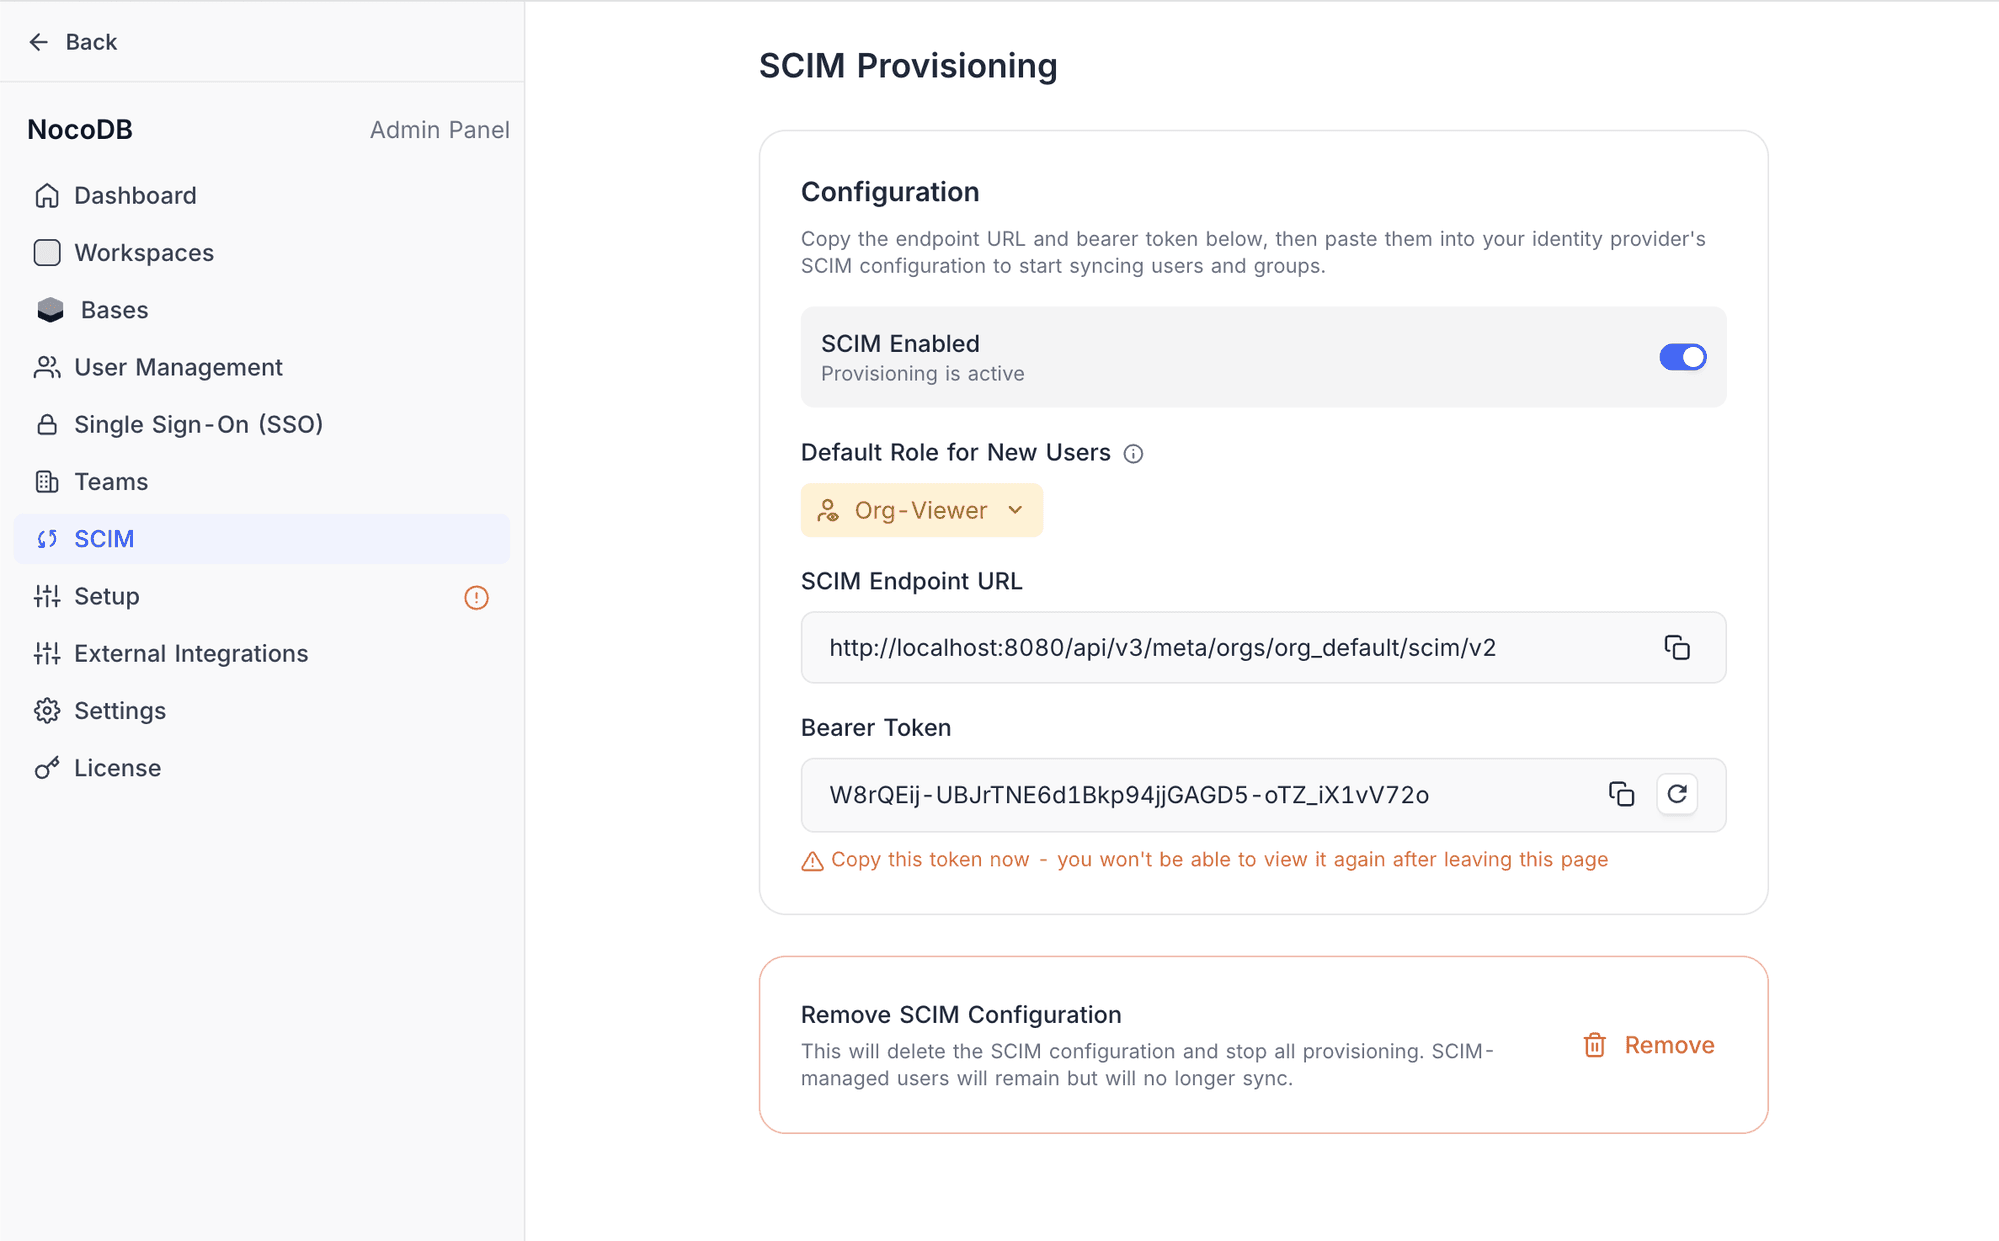
In this section, you can:
- Enable or disable SCIM provisioning
- Configure the default org role for provisioned users
- Copy the SCIM endpoint URL and provisioning token for IdP configuration
- Regenerate the provisioning token if it is compromised
- Remove the SCIM configuration completely
For detailed setup instructions, refer to the SCIM Provisioning documentation.
Settings
In the Settings section, administrators set the visual identity and branding of their NocoDB instance.
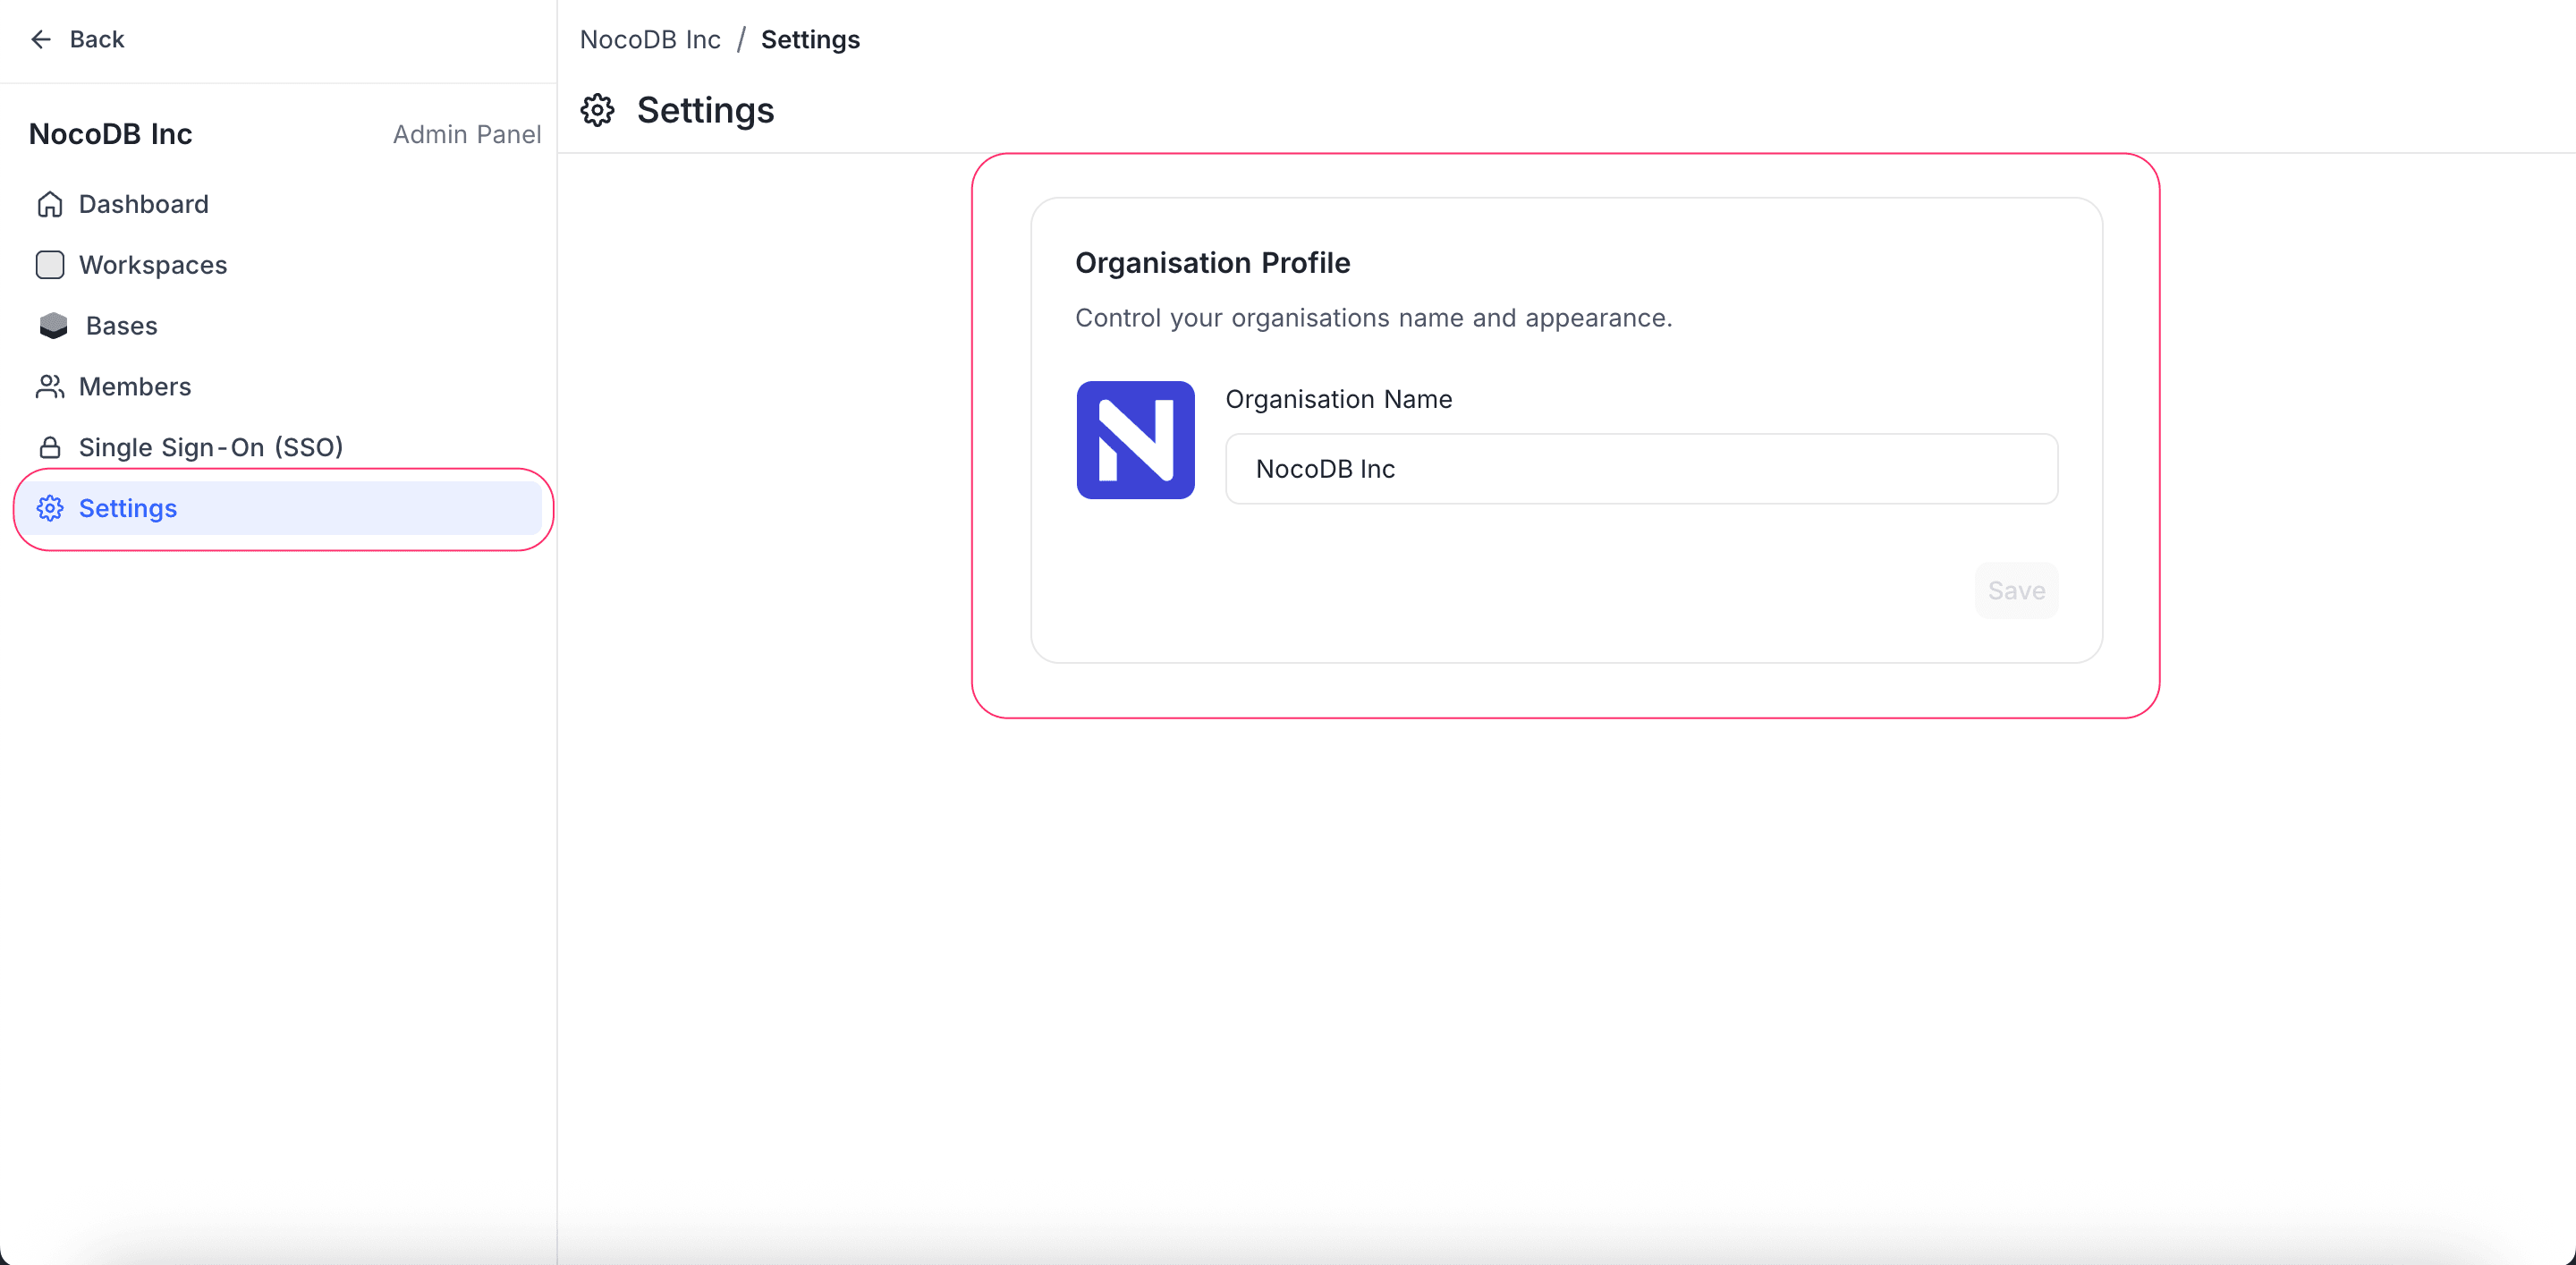
Editable Fields:
| Field | What it is |
|---|---|
| Organisation Name | The display name for the organization. |
| Organisation Logo | The logo for the organization. Upload or update it here. |
License (self-hosted only)
The License section is available in self-hosted deployments. Super admins use it to activate a license key. The license key unlocks features such as SSO, audit logs, and advanced access controls.
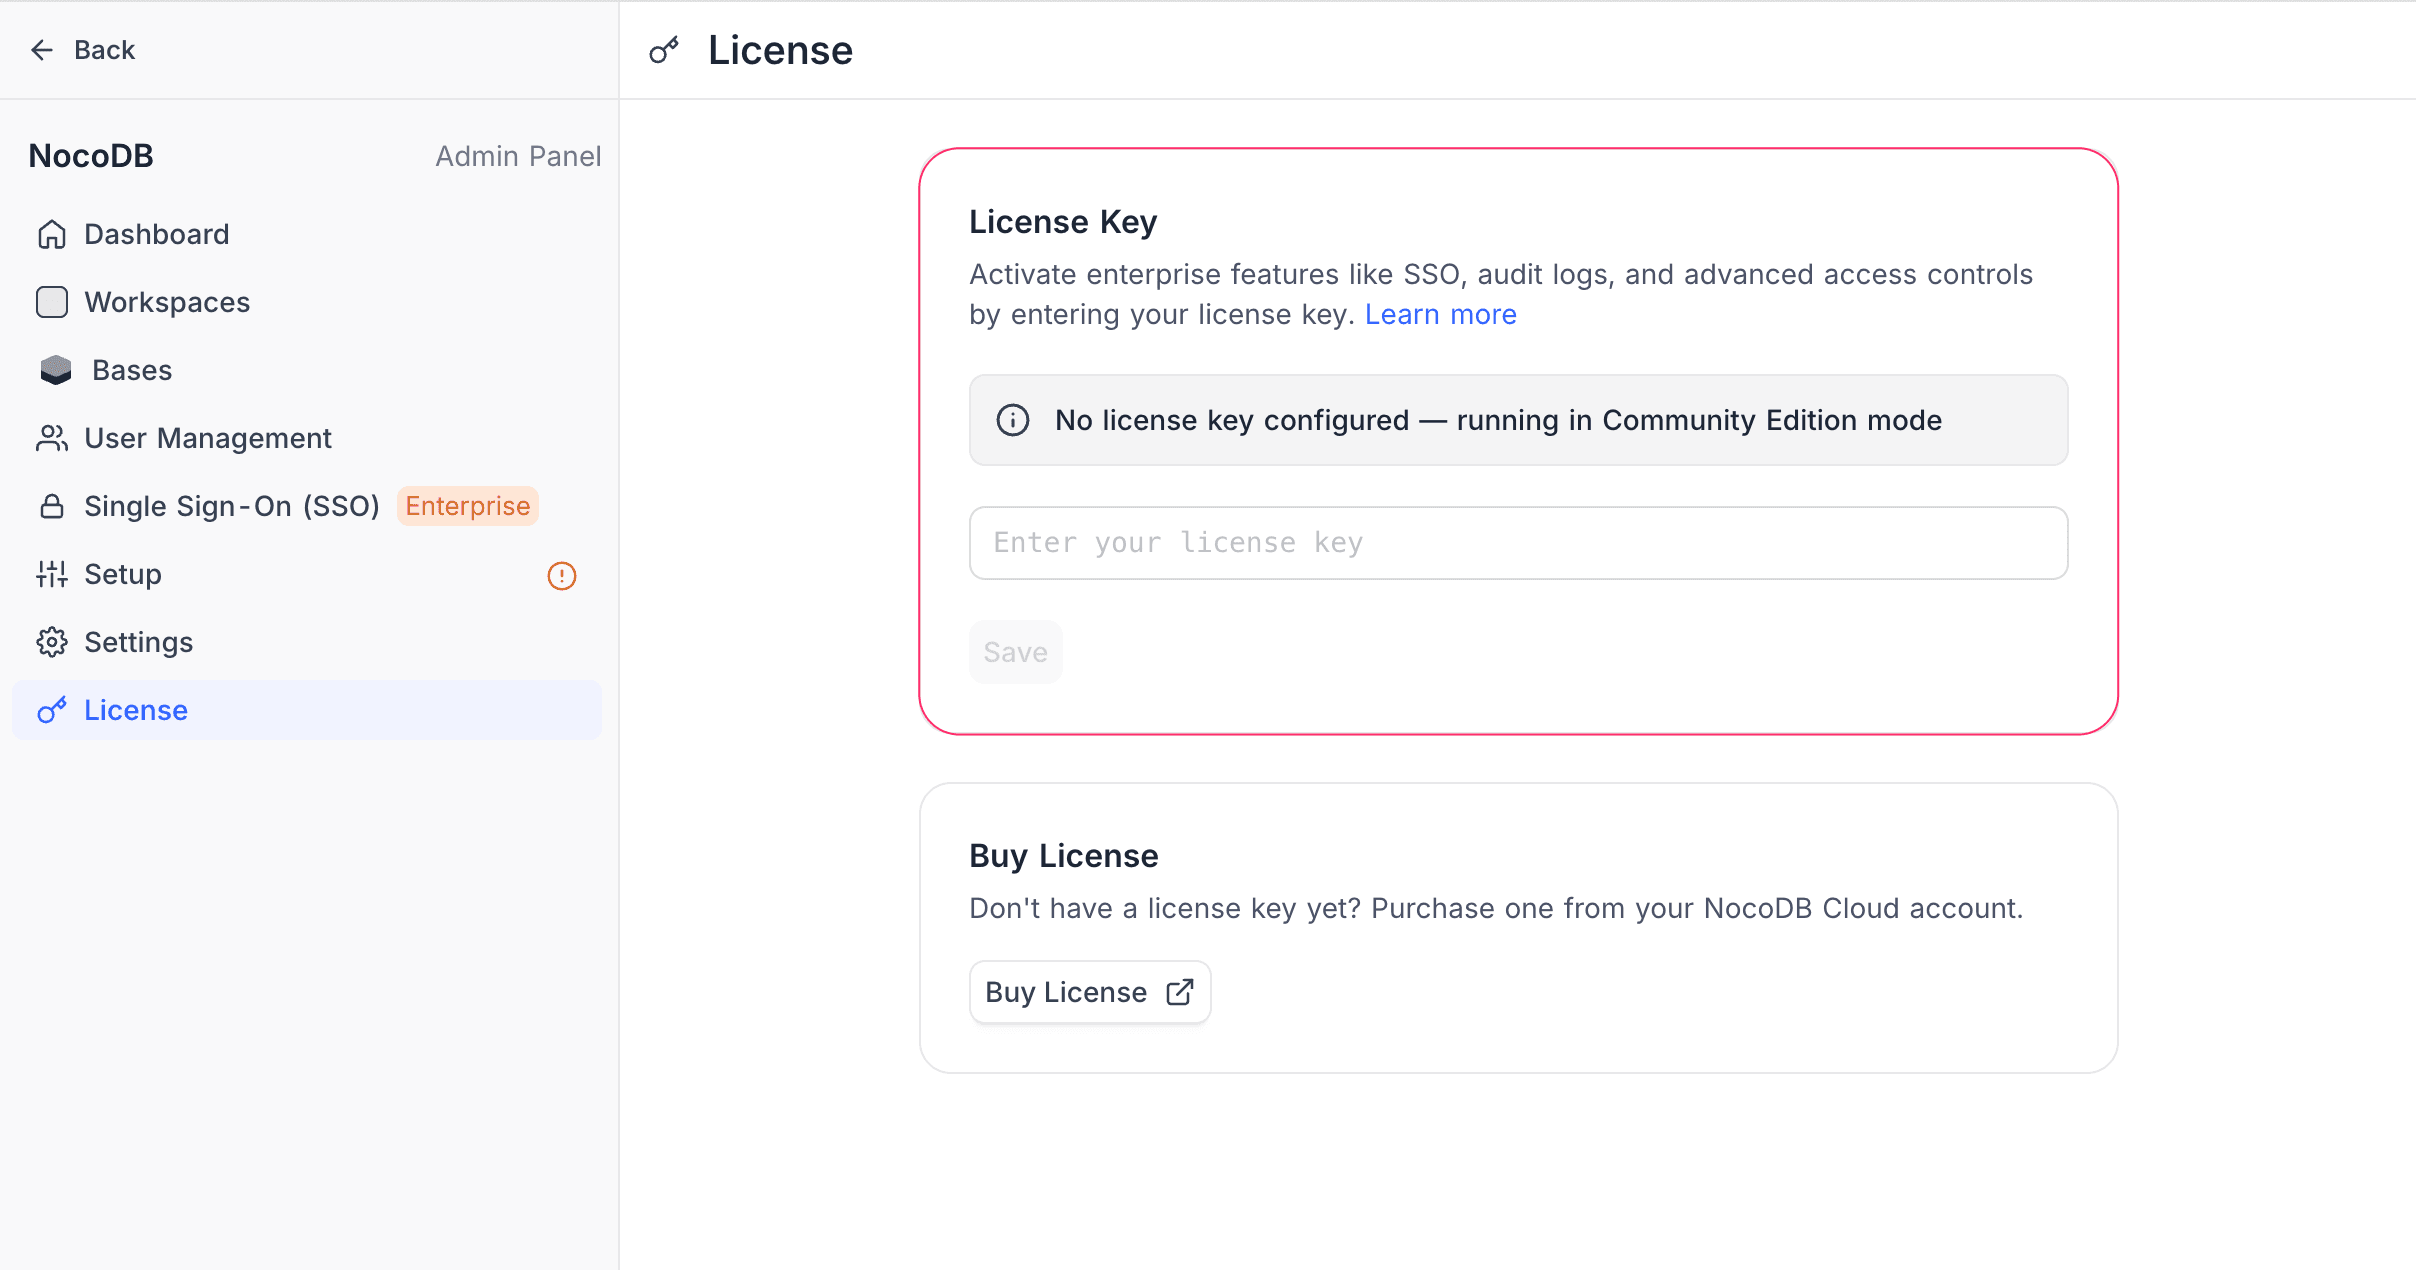
- Paste your license key into the input field.
- Click Save. The status banner turns green, and NocoDB enables paid features immediately.
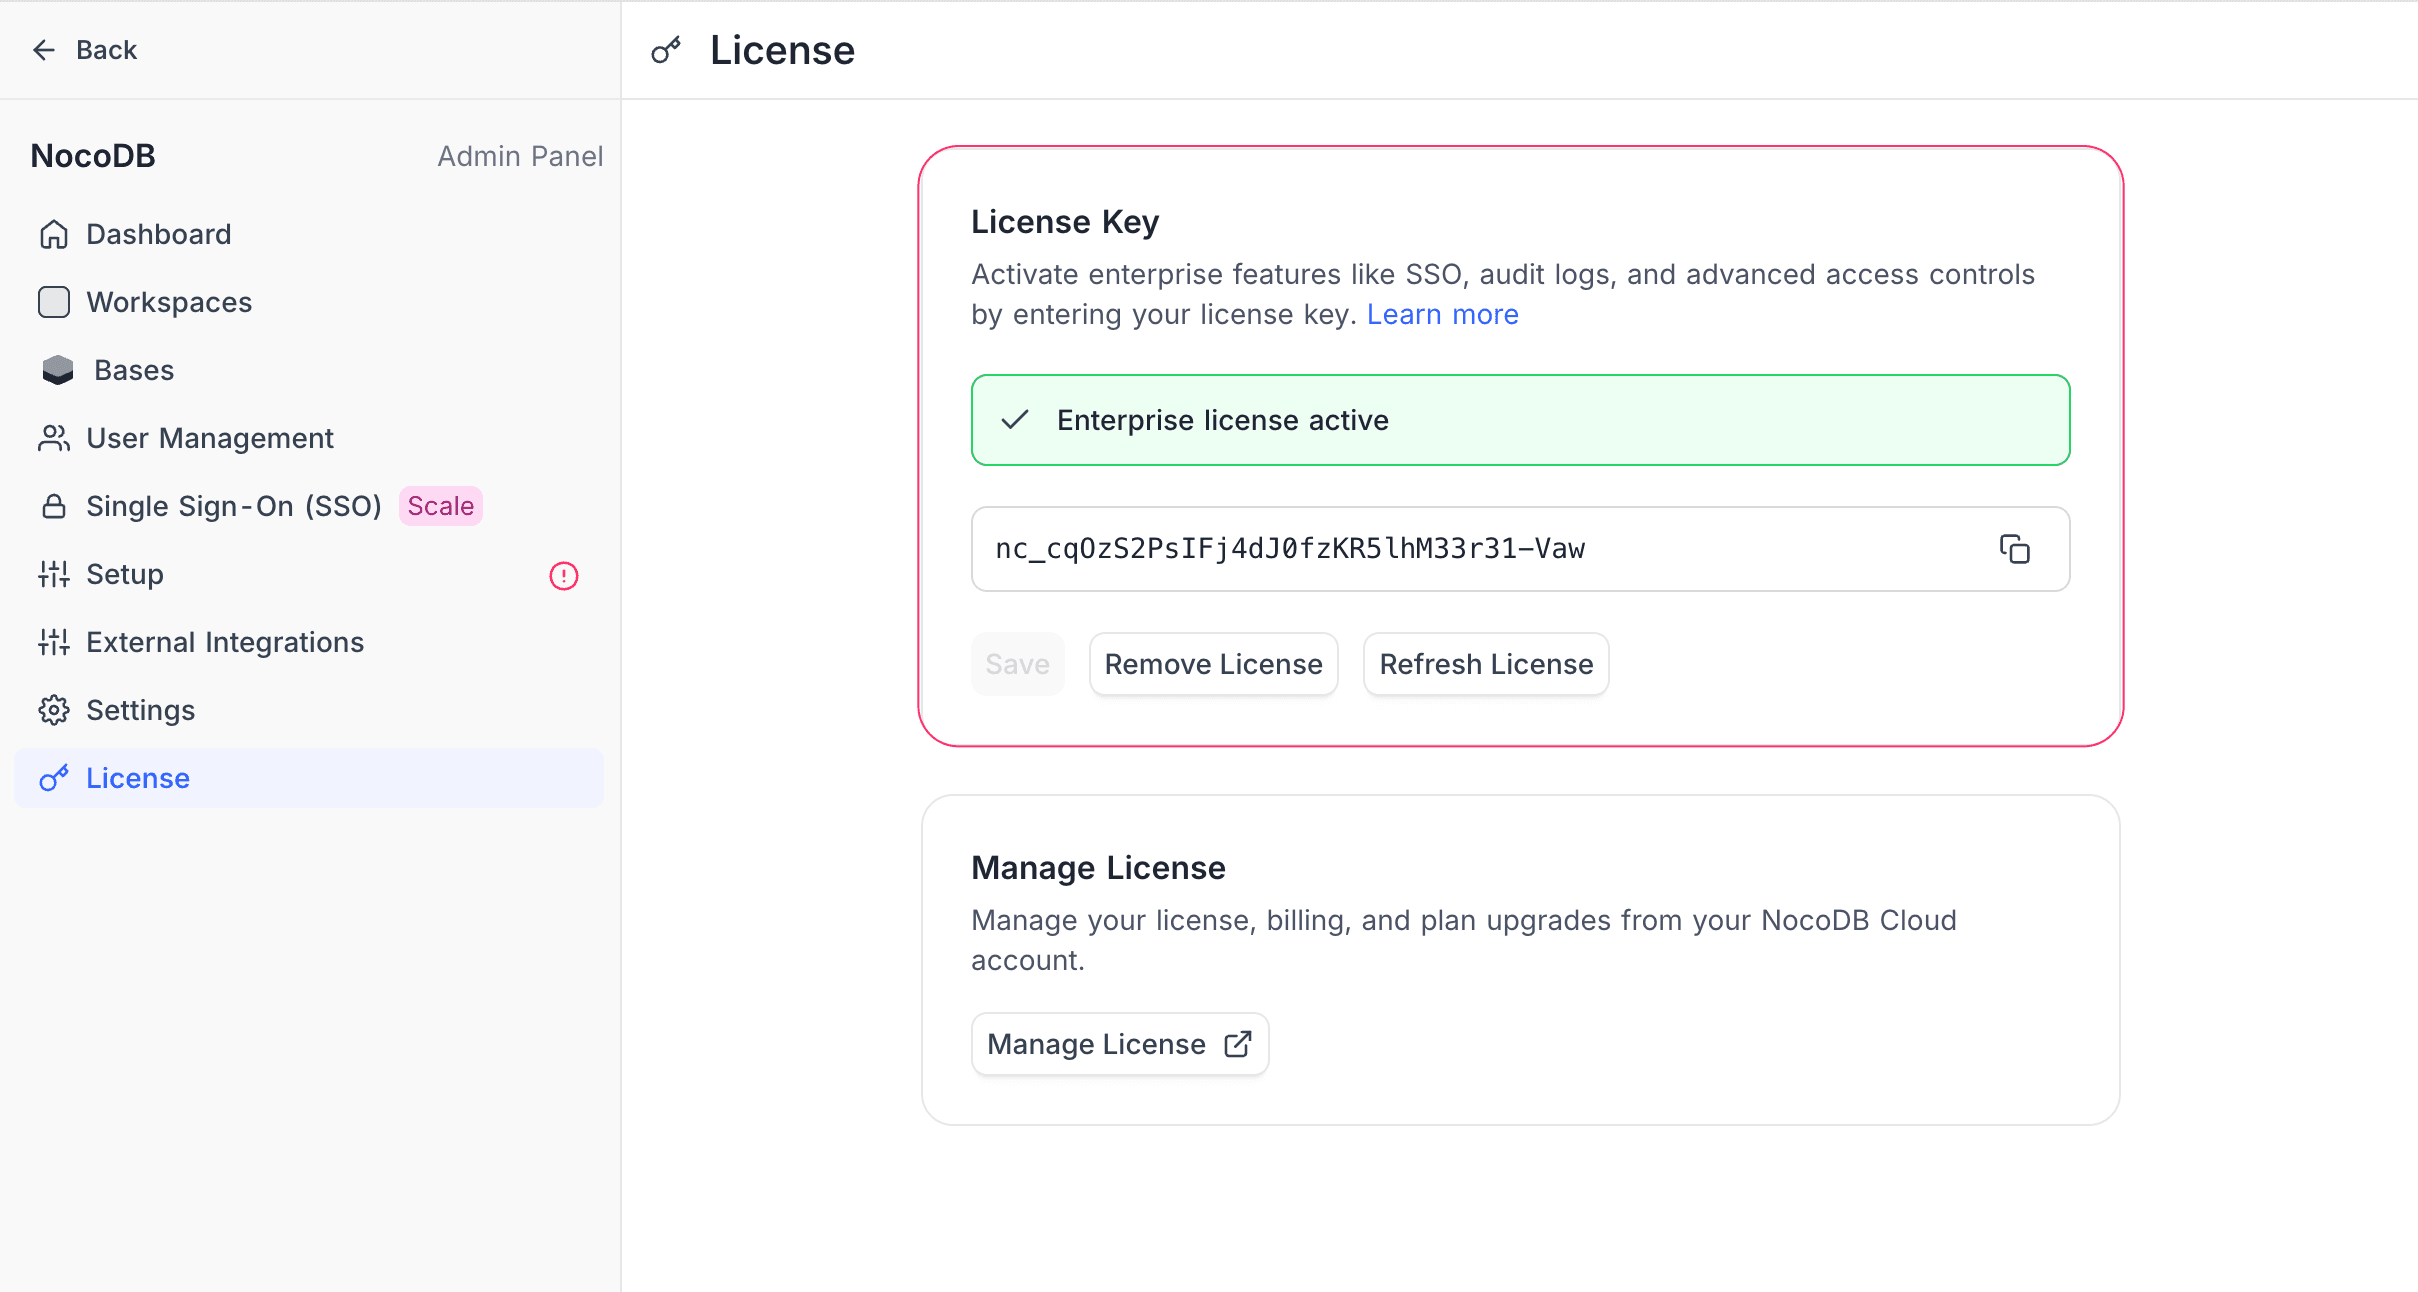
To purchase a license, see Purchase a License. For the complete activation guide, including airgapped and offline modes, see License Activation.
Additional Notes
- Only users with the Org Admin role can open the Admin Panel. Org Creators and Org Viewers do not have access.
- Actions in the Admin Panel apply at the organization level. They affect all workspaces and bases.
- All changes in this panel apply immediately and globally across your NocoDB deployment.
Last updated on