Purchasing a License
NocoDB has self-serve licenses for self-hosted deployments. You buy Business and Scale plan licenses directly in your NocoDB Cloud account. To activate a license on your instance, you paste the license key. You do not need manual provisioning or the sales team. The NocoDB Sales team makes Enterprise plans for the requirements of your organization and provisions them.
Prerequisites
To activate a license, your NocoDB instance must use Postgres as its database. If you use SQLite or MySQL, you cannot activate the license. Migrate to Postgres before you continue.
You need:
- A self-hosted NocoDB instance running on Postgres.
- A NocoDB Cloud account to buy and manage licenses.
Purchasing a license
1. Navigate to Self-Hosted Licenses
- Log in to your NocoDB Cloud account.
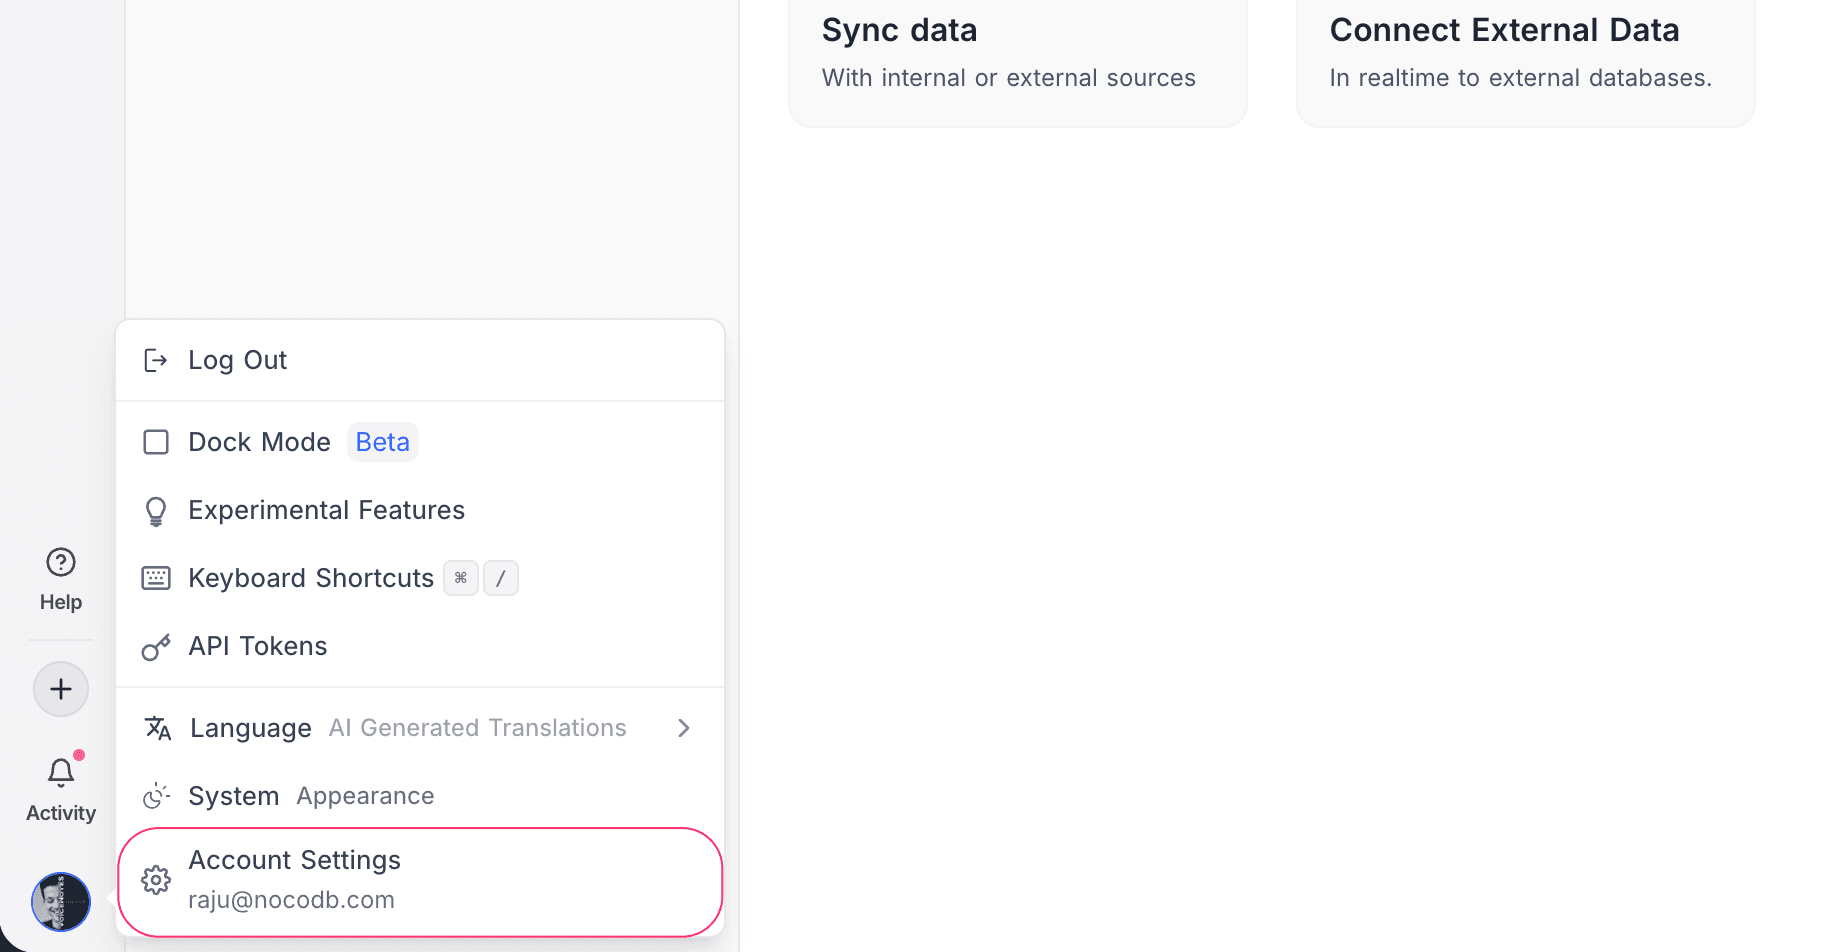
- Click your avatar in the bottom-left corner.
- Select Account Settings.
- In the account settings sidebar, open Self-Hosted Licenses. If you have no licenses yet, the page is empty:
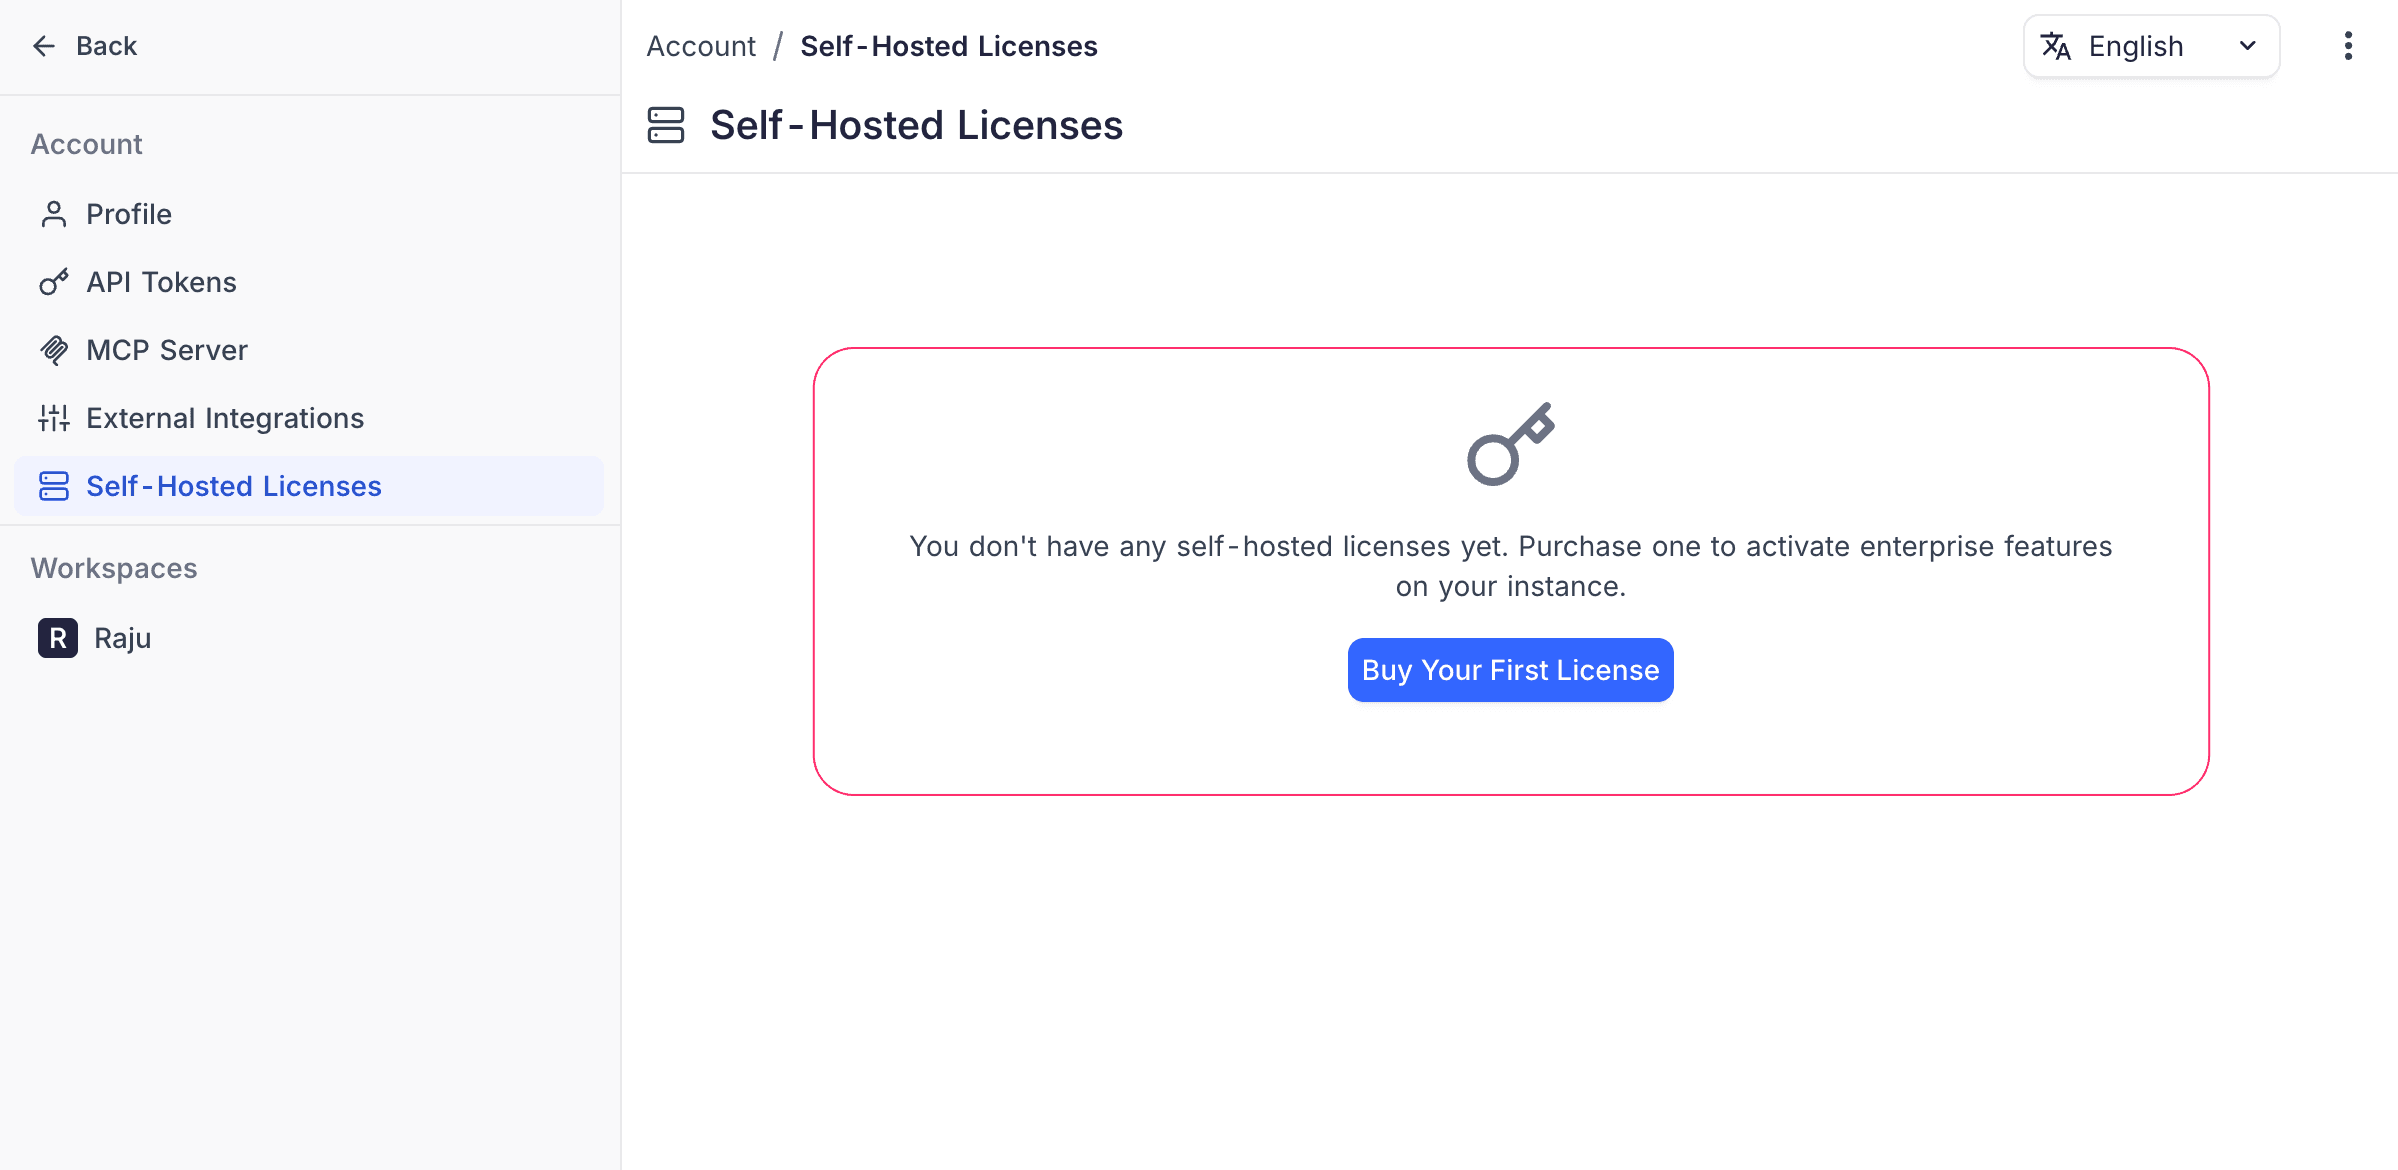
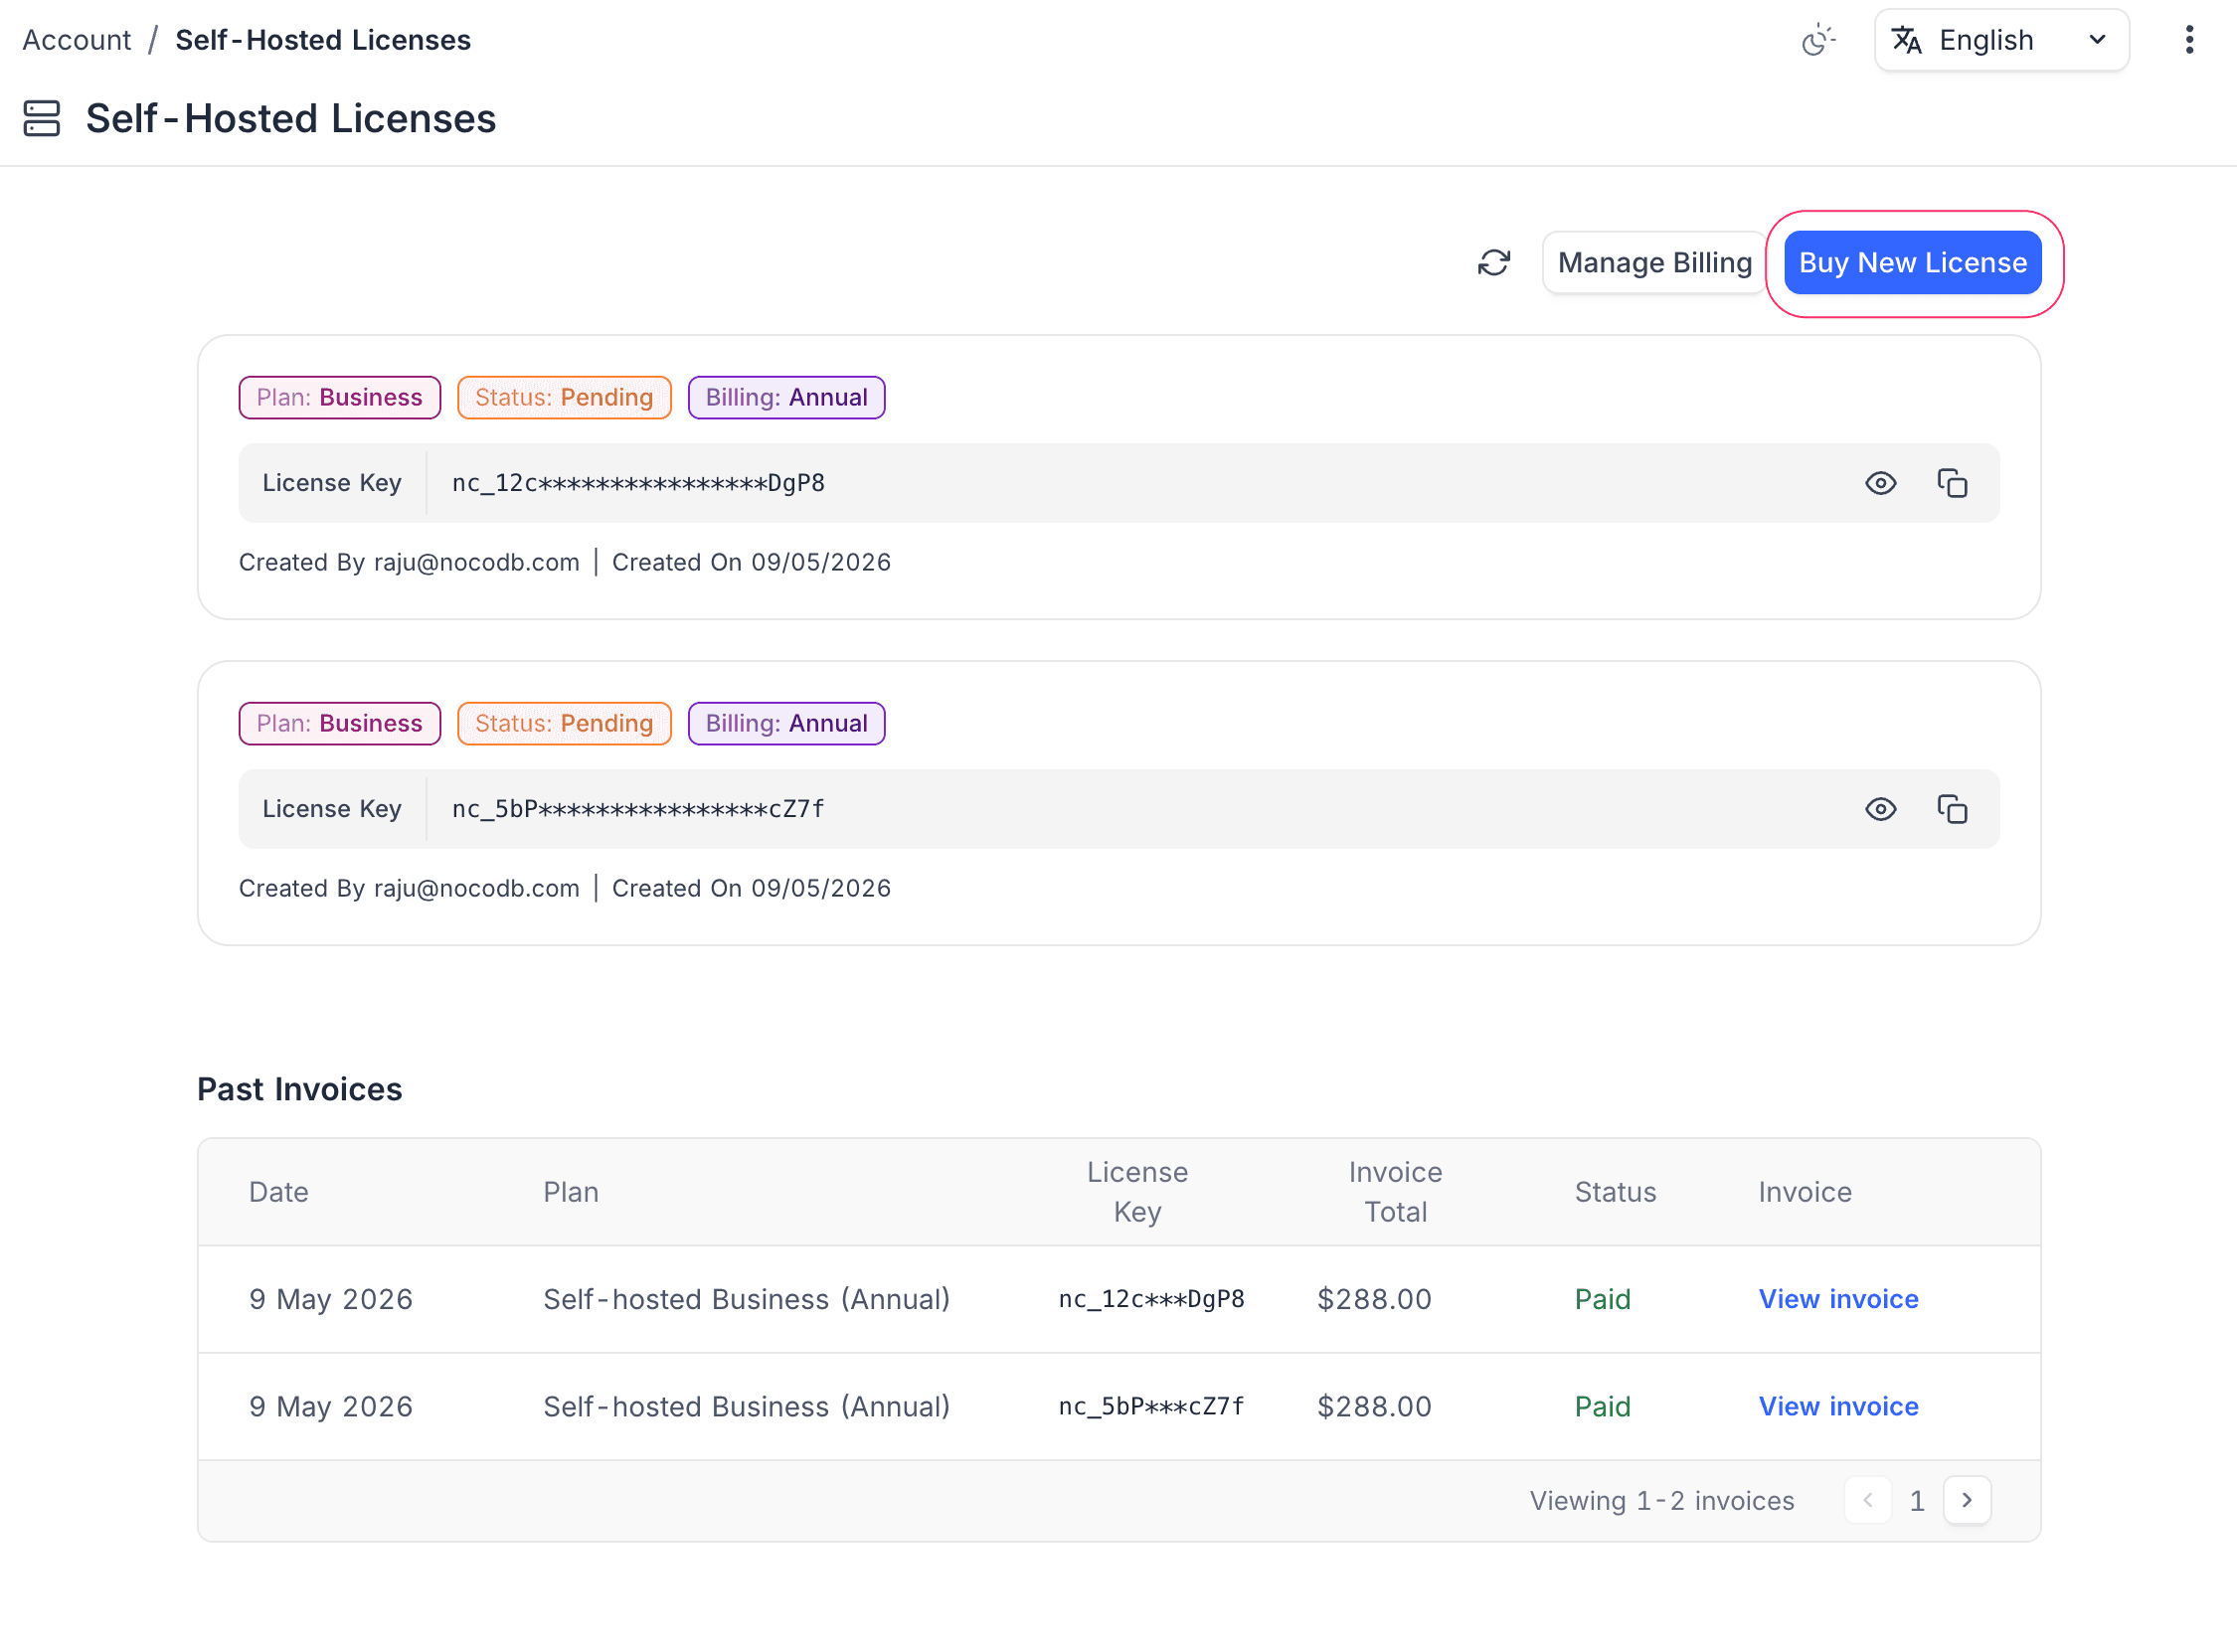
- Click Buy Your First License. The plan selection opens. If you already have licenses, click Buy New License in the list view.
2. Select a plan
Select your billing period and plan.
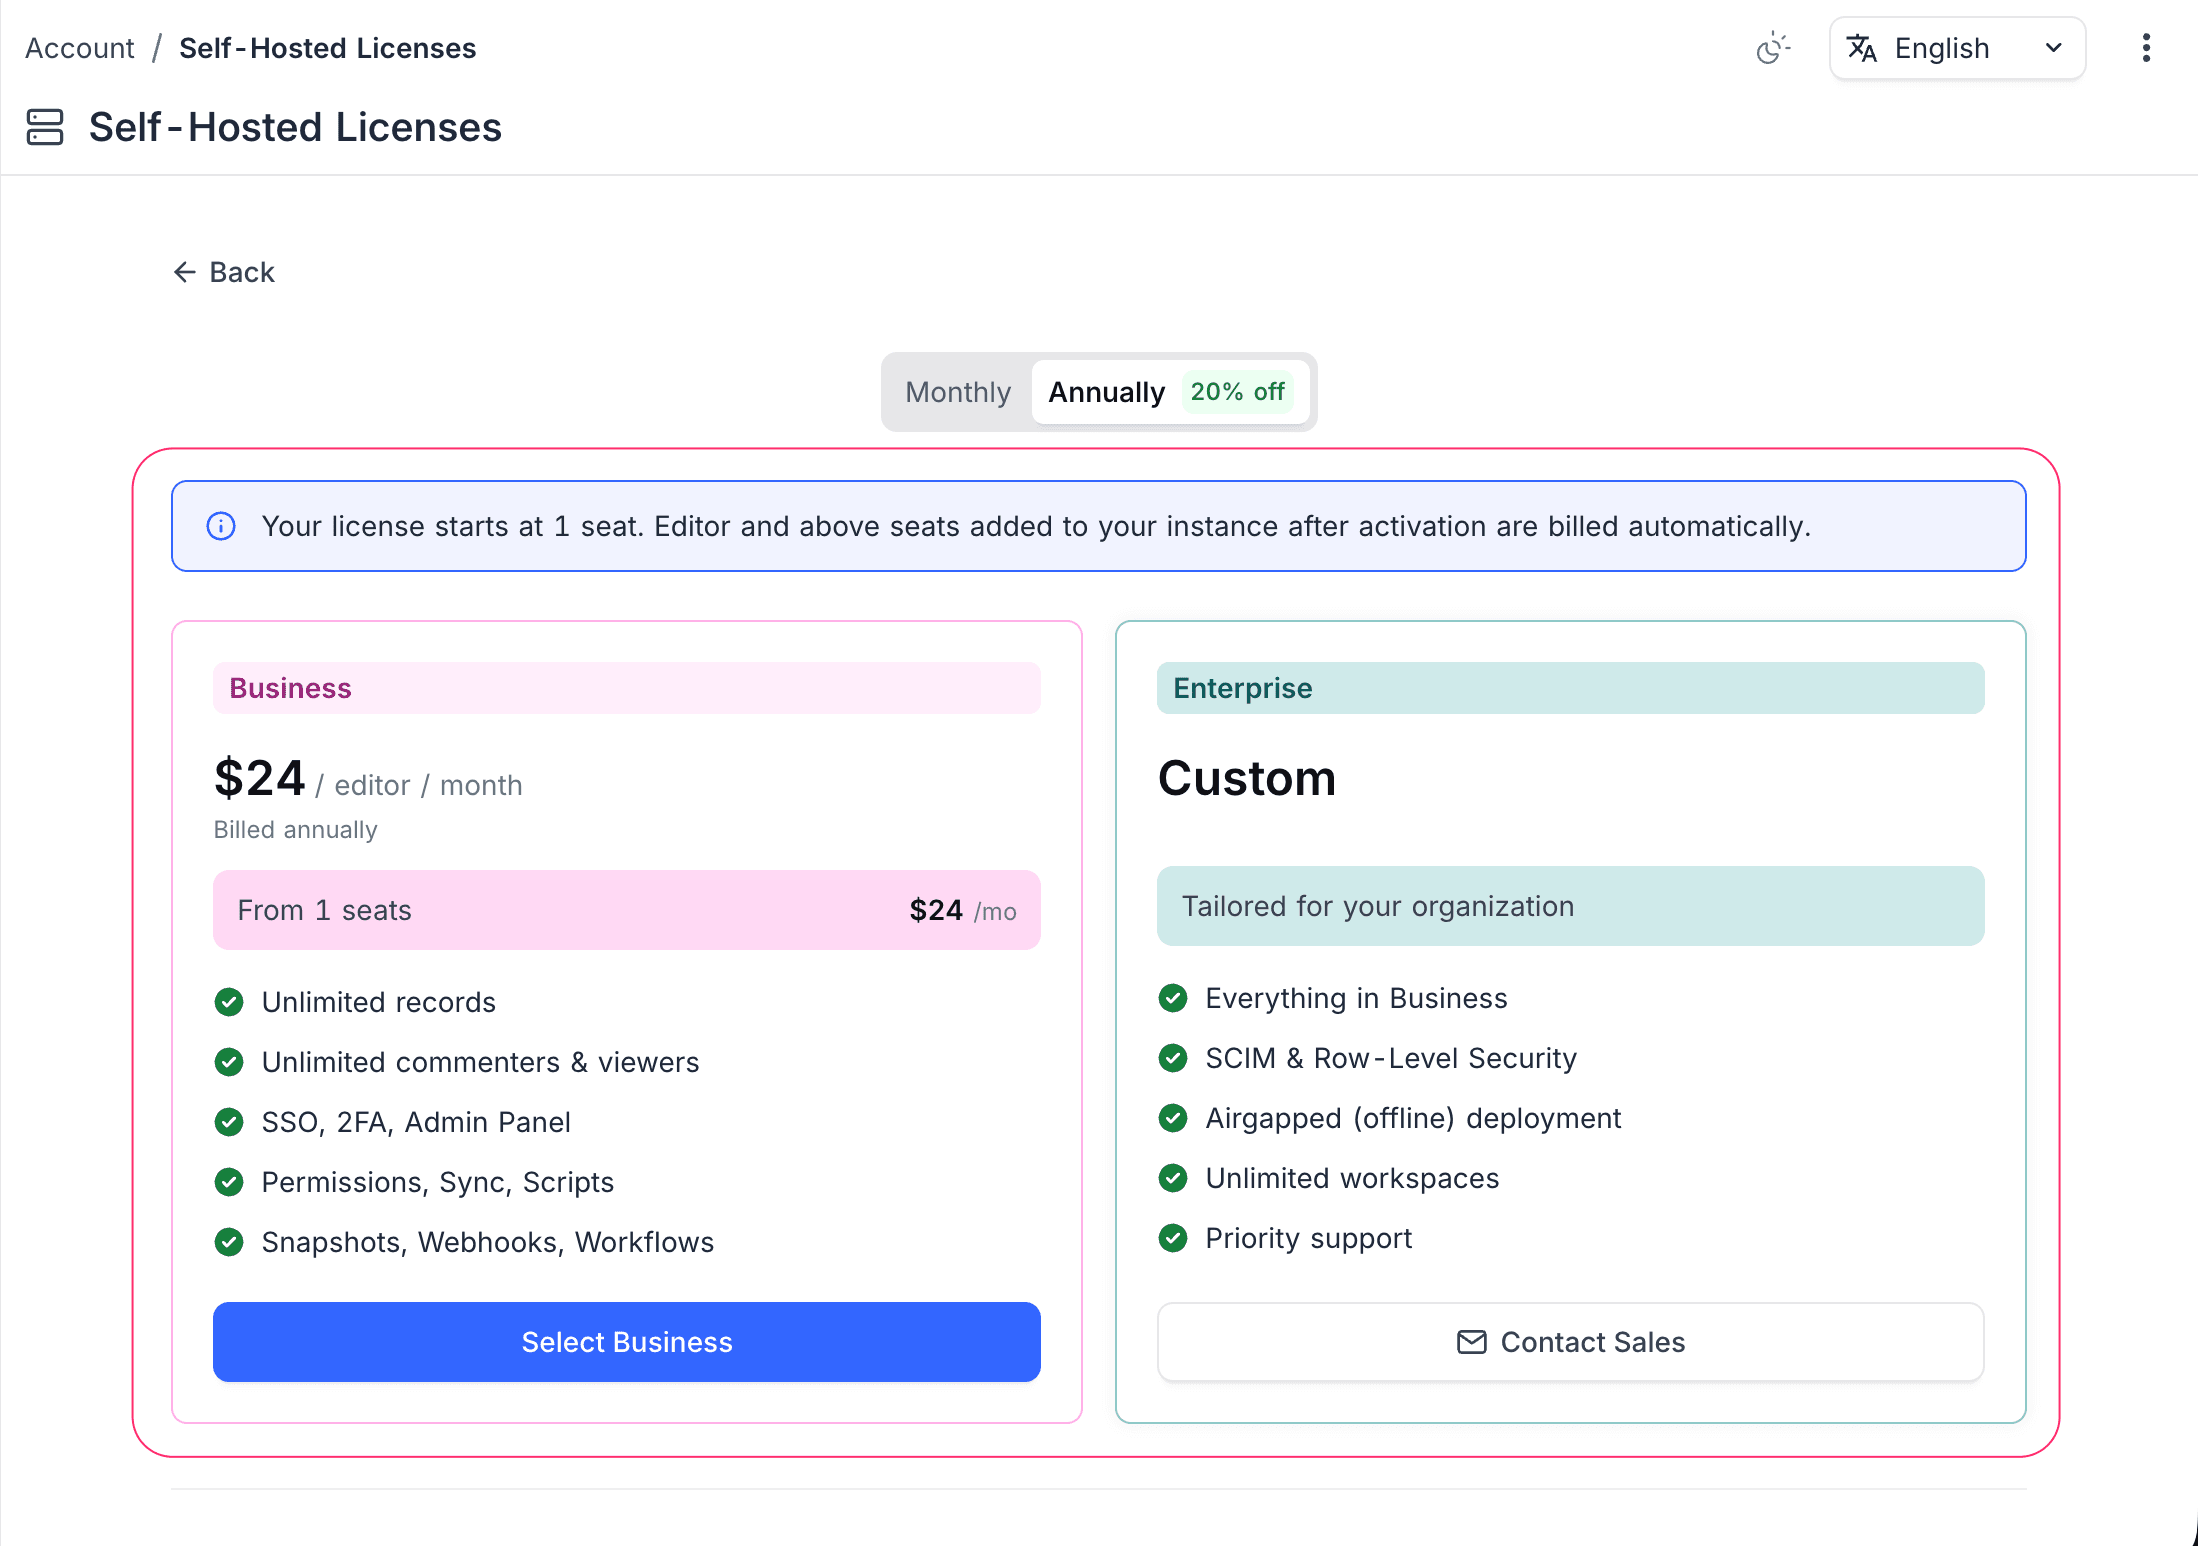
- Billing period. Toggle between Monthly and Annually. Annual billing has a discount.
- Business. A self-serve plan billed per editor, from 1 seat. It includes SSO, table- and field-level permissions, teams, external-app sync and single-provider AI. To go to checkout, click Select Business.
- Scale. A self-serve plan for growing teams, billed per editor with a 3-seat minimum. It includes all of Business, and also unlimited workspaces, audit logs, row-level security, team hierarchy and multi-provider AI. To go to checkout, click Select Scale.
- Enterprise. Made for your organization. It includes all of Scale, and also SCIM, airgapped installation, a staging environment, priority support and invoice-based payments. To contact the NocoDB team, click Contact Sales.
For both self-serve plans, NocoDB bills automatically for editor (and above) seats that you add after activation. The bill uses your actual usage.
3. Complete payment
A Stripe embedded checkout form opens.
- Enter your payment details.
- Click Subscribe.
4. Copy your license key
After a successful payment, the confirmation screen shows your license key.
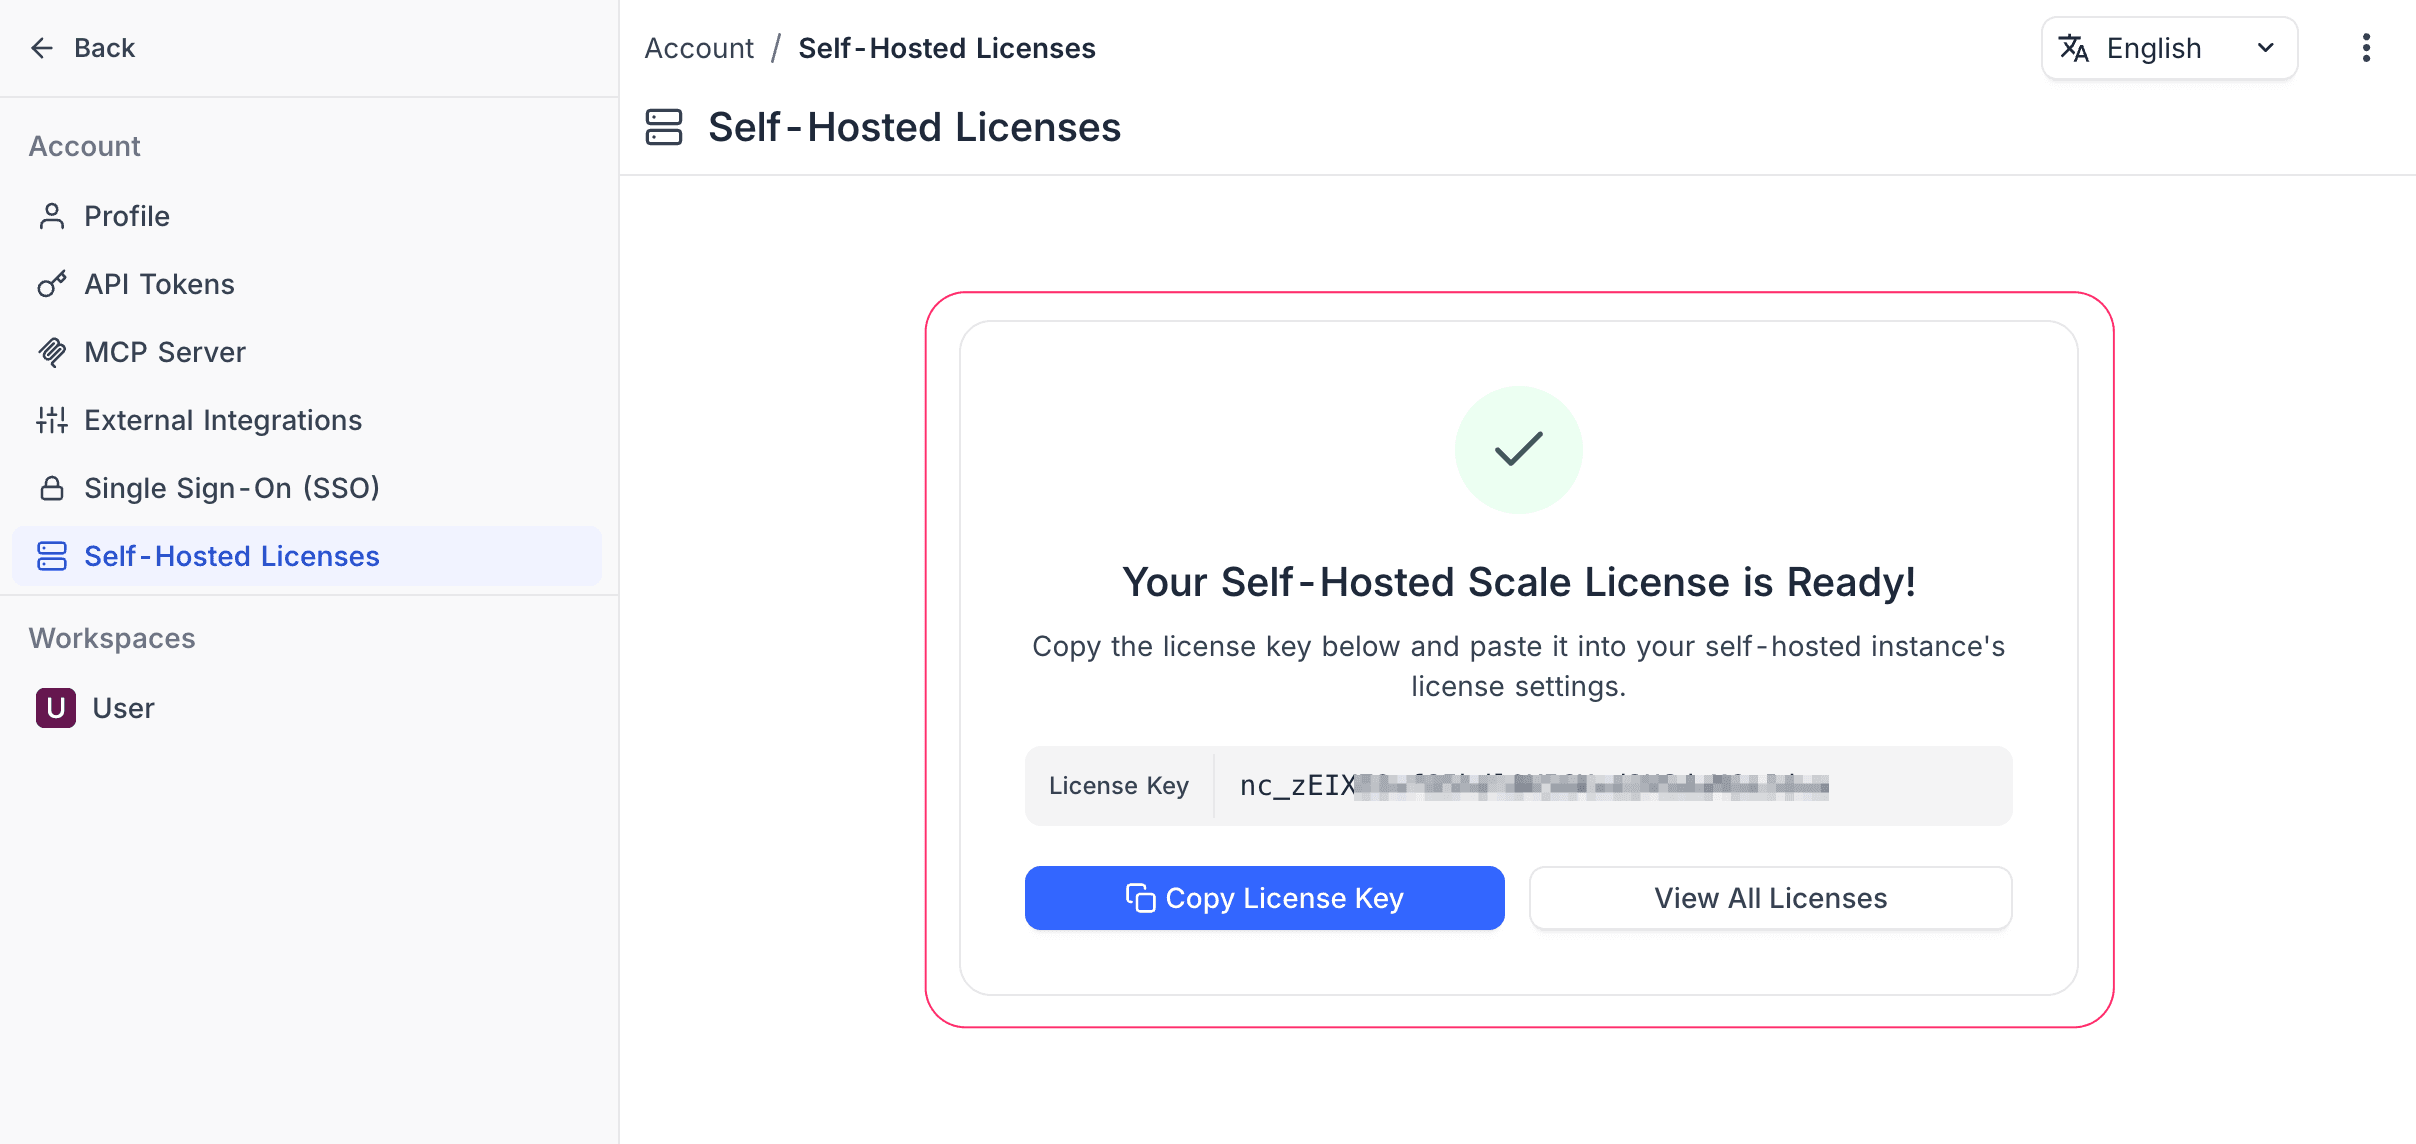
Click Copy License Key to copy it to your clipboard. You can also see all your licenses and get the key later in the Self-Hosted Licenses list.
To activate the key on your instance, follow License Activation.
Manage billing
You can open the Stripe billing portal from two places:
- From your instance. When a license is active, the second card on the Admin Panel → License page changes to Manage License. Click it to open the billing portal.
- From NocoDB Cloud. Go to Account → Self-Hosted Licenses → Manage Billing.
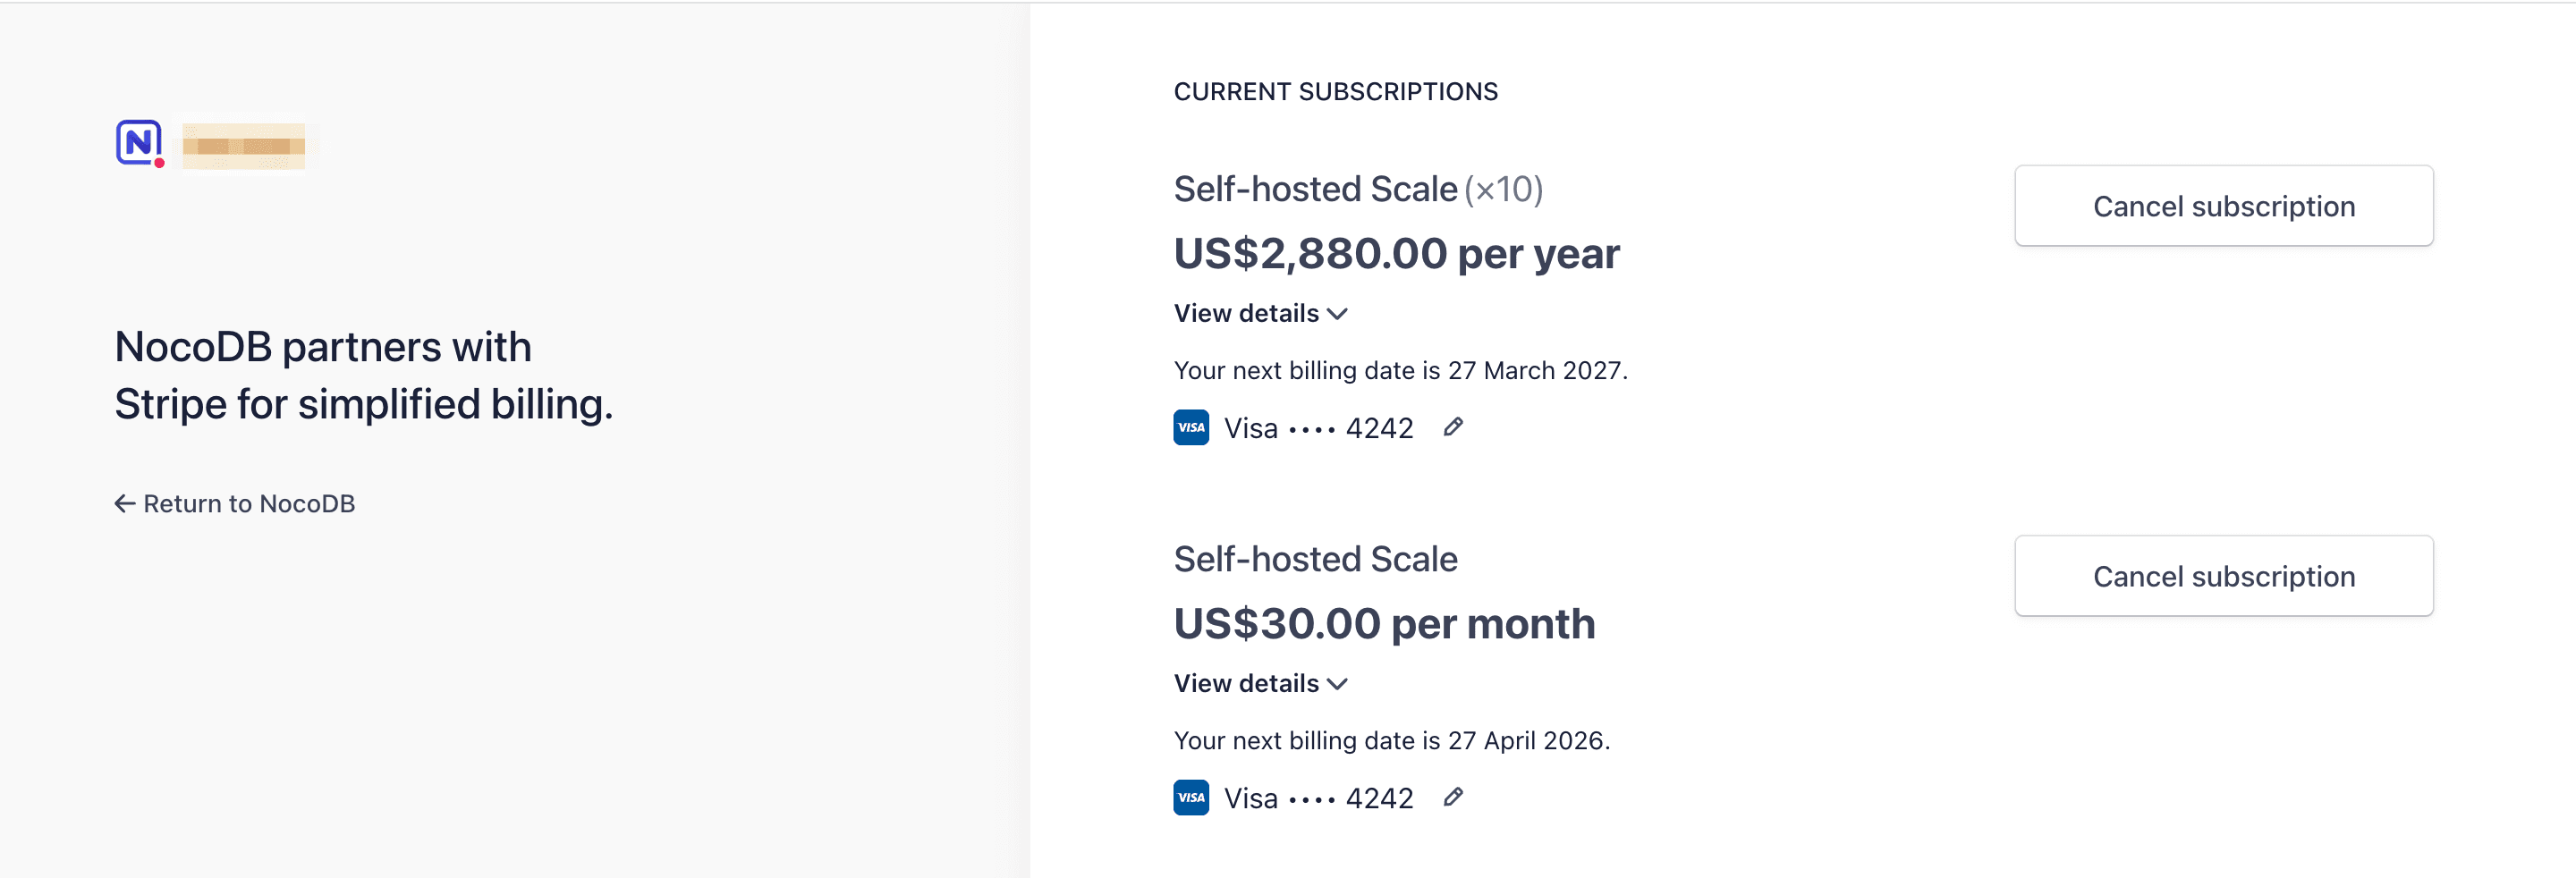
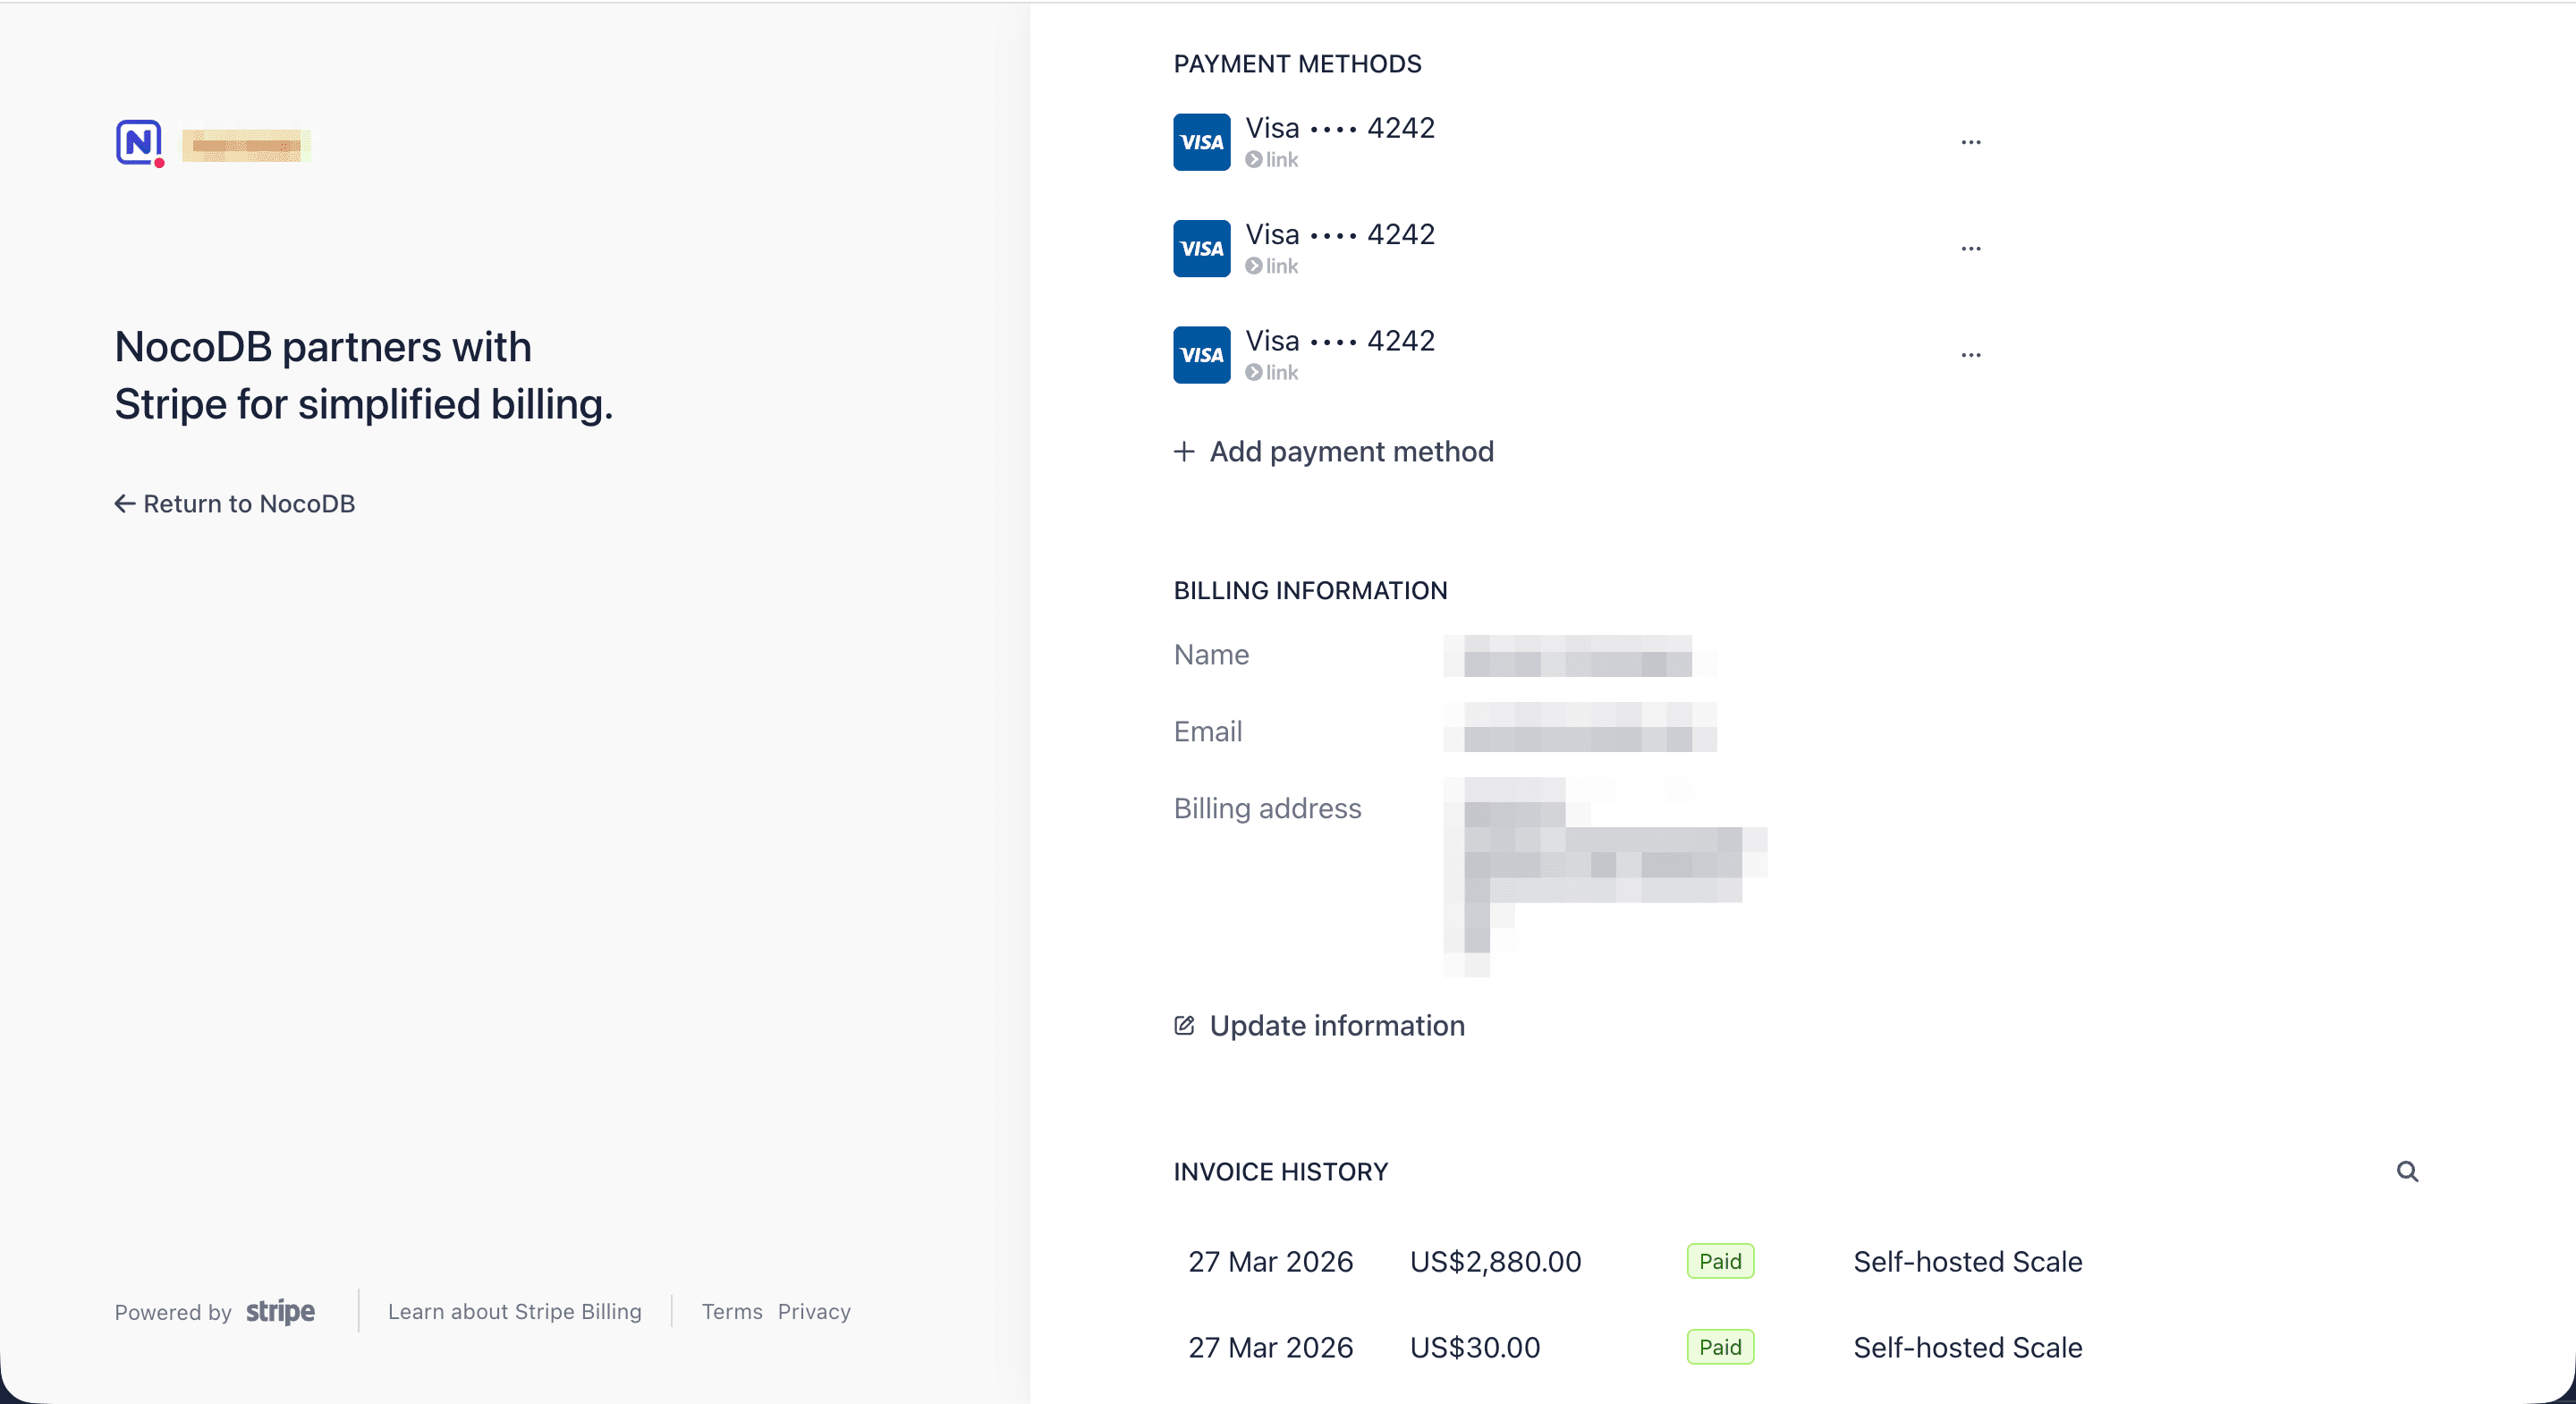
In the billing portal, you can:
- View current subscriptions and next billing dates
- Update or add payment methods
- Update billing information
- View invoice history
- Cancel a subscription
Last updated on