Activating a License
Self-hosted NocoDB needs a valid license key to enable paid features. The correct activation method depends on the internet access of your server. If you do not have a license yet, refer to Purchase a License.
Before you begin
To activate a license, your NocoDB instance must use Postgres as its database. SQLite and MySQL cannot activate a license. Migrate to Postgres before you continue.
Which method should I use?
| Method | When to use | Internet needed |
|---|---|---|
| Standard | Your server can reach the internet | Yes, ongoing |
| Airgapped | Your server has limited or no internet access | One-time only |
| Offline (manual) | Your server has no internet access at all | Never |
Most self-hosted customers use Standard. If your environment restricts outbound connections, use Airgapped. If your server can never connect to the internet, contact us. We will set it up for you.
Standard license
Use this method for cloud VMs, usual data centers and all environments with internet access.
How to activate
-
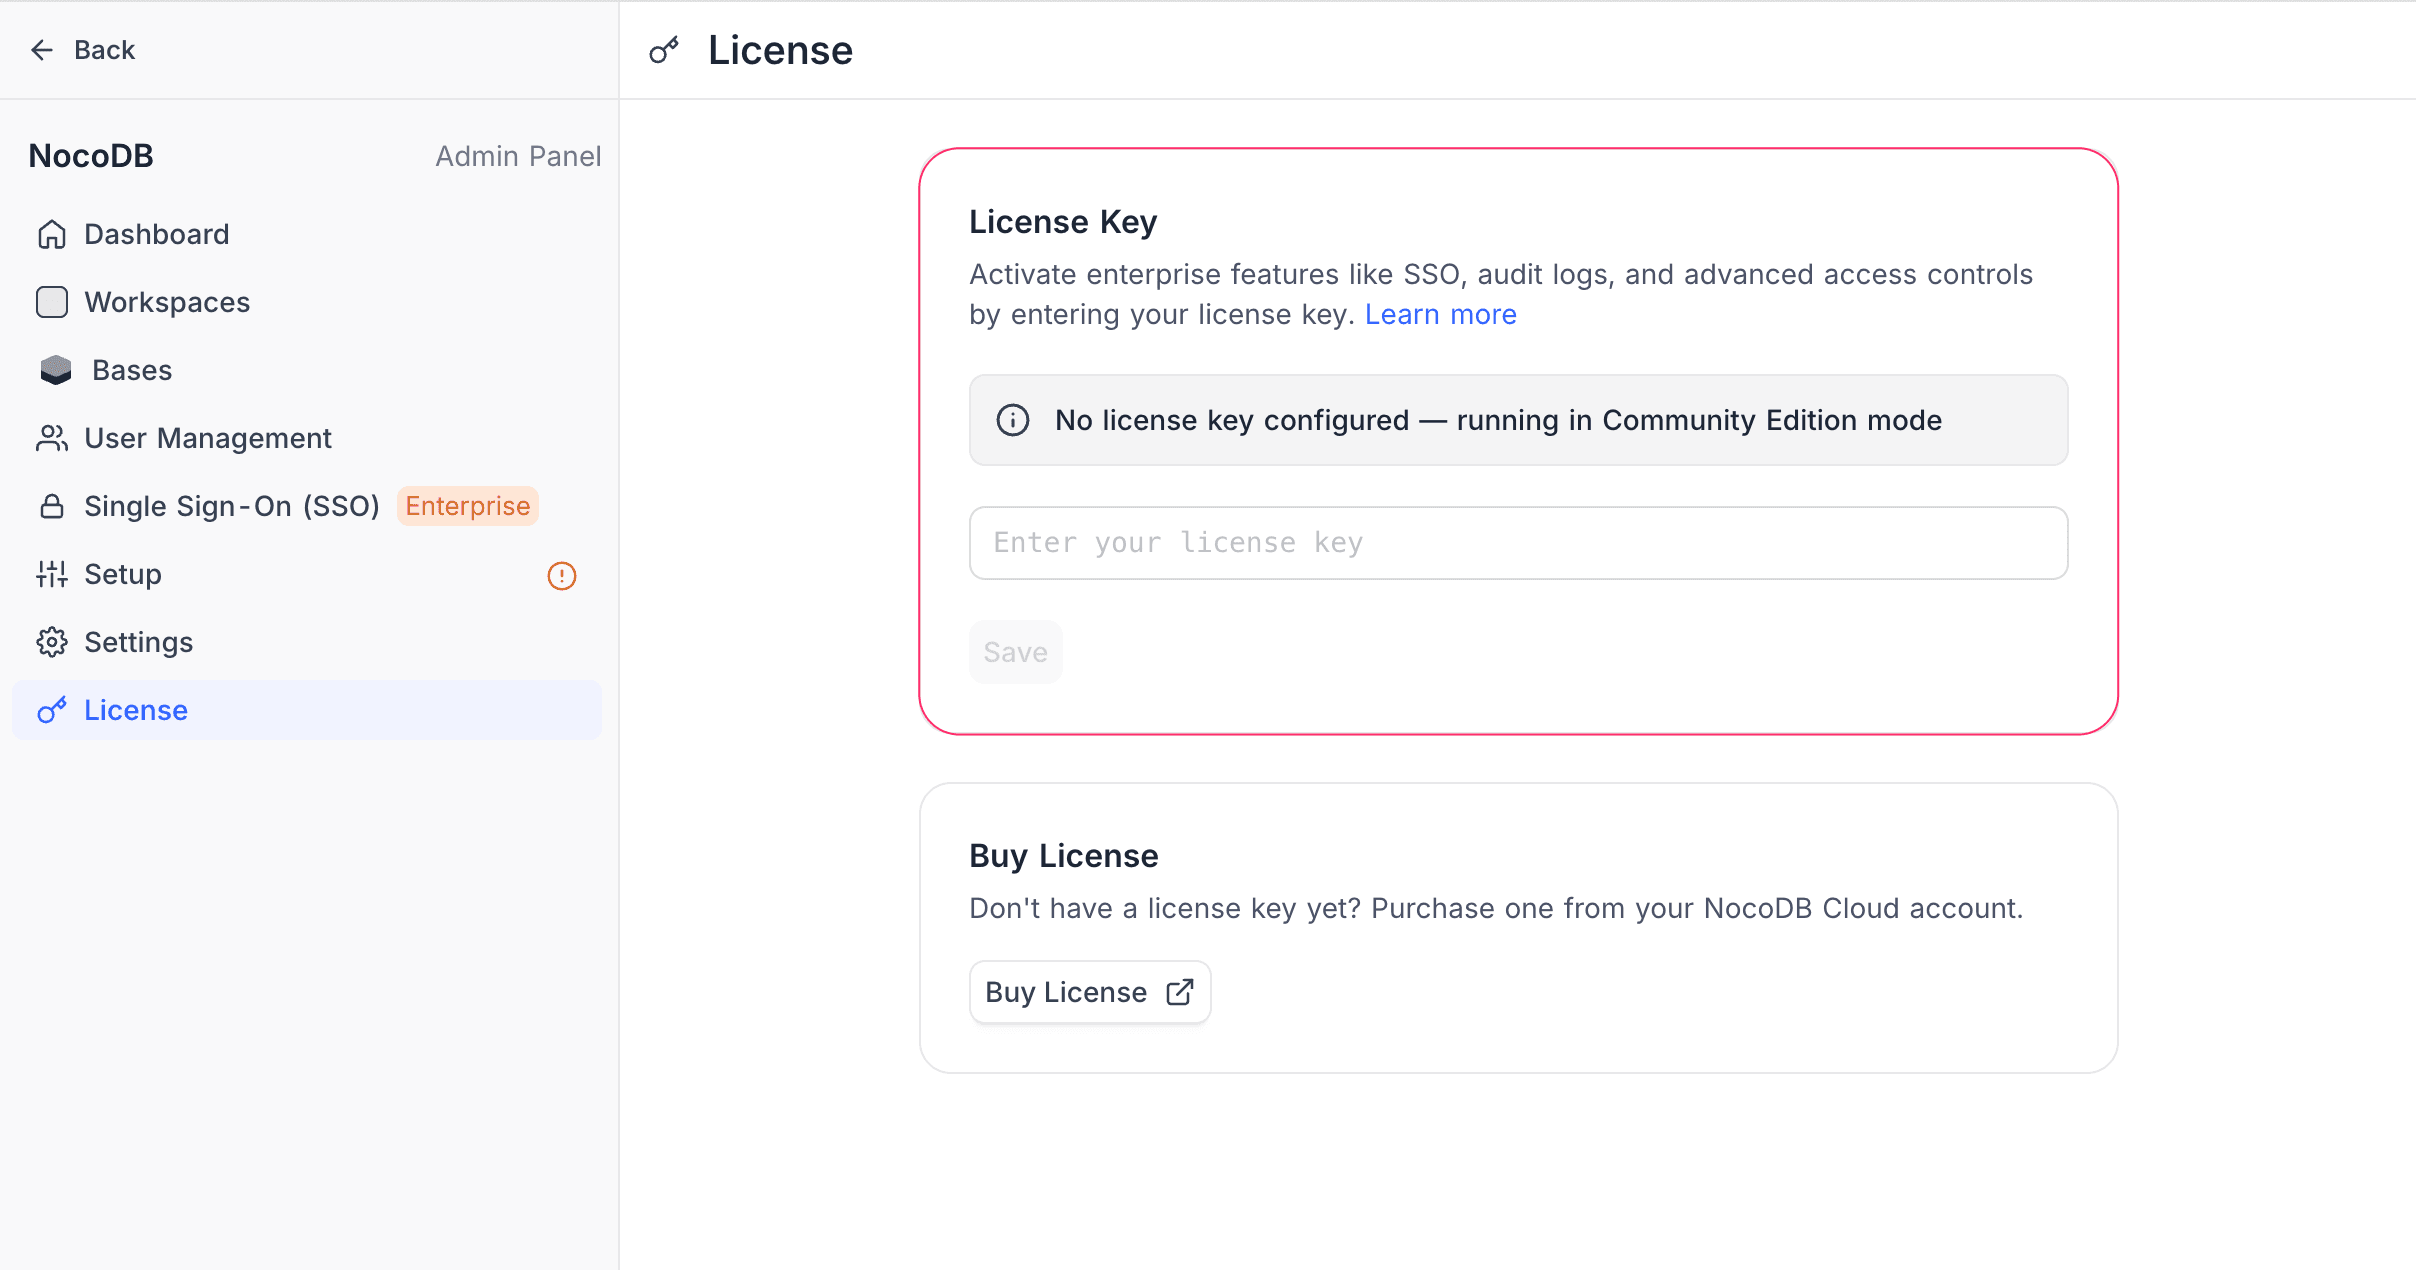
Open the NocoDB UI and go to Admin Panel > License.
-
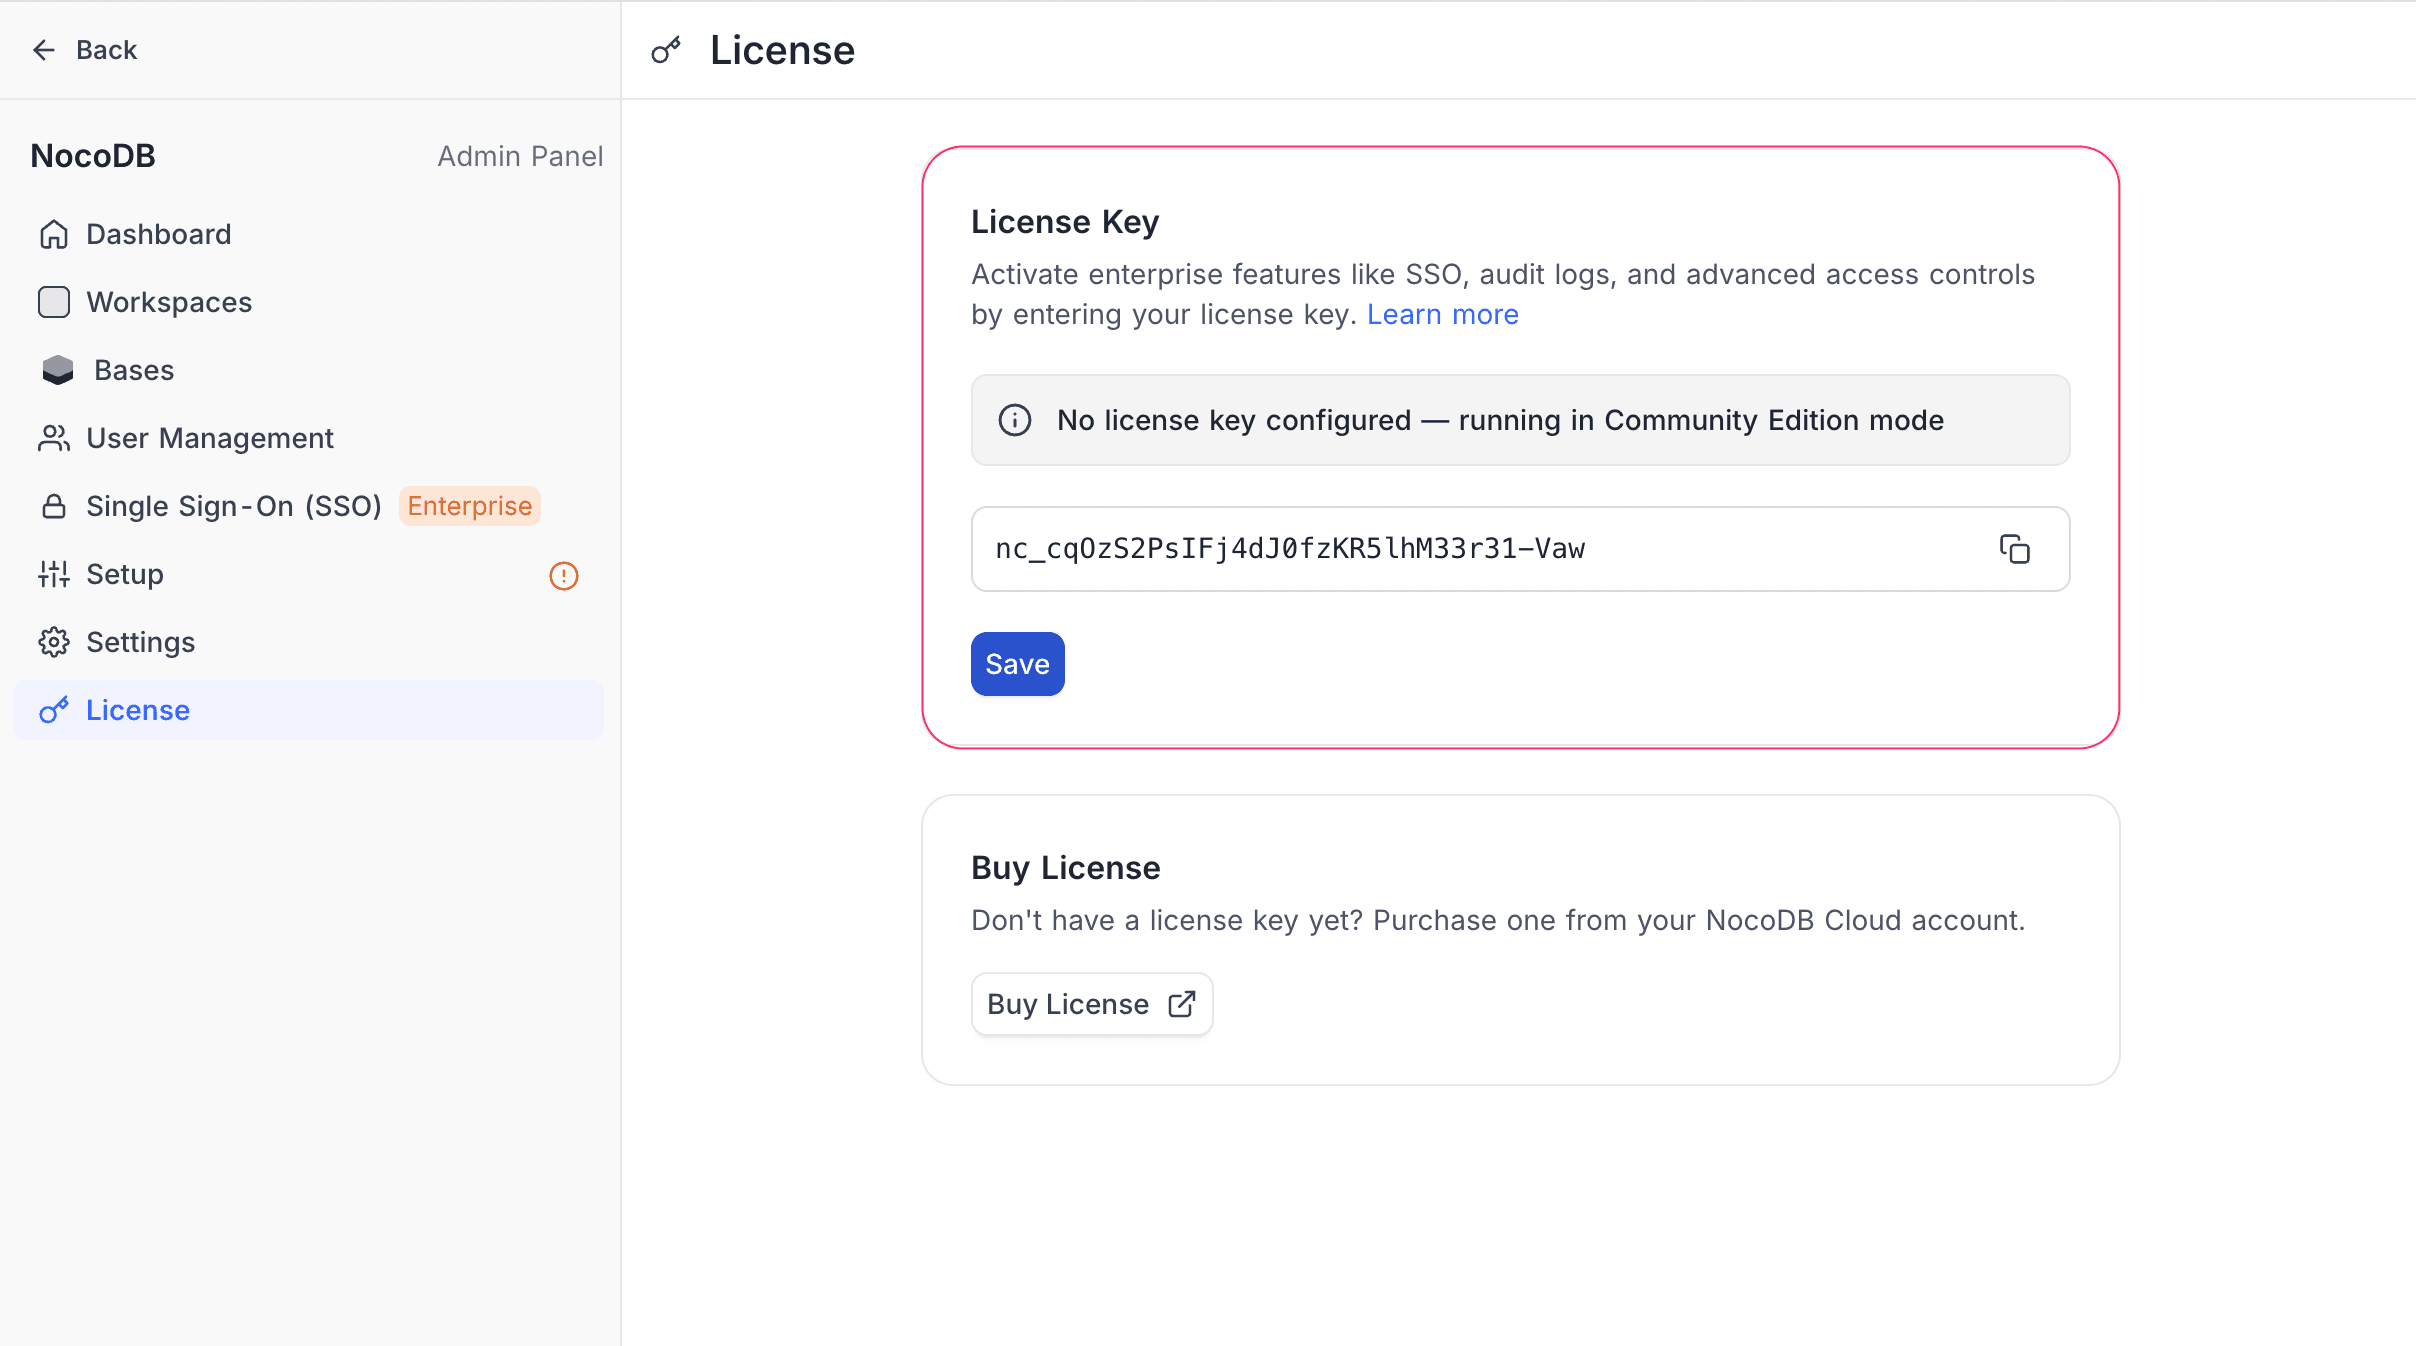
Paste your license key into the Enter your license key field. The Save button becomes available.
-
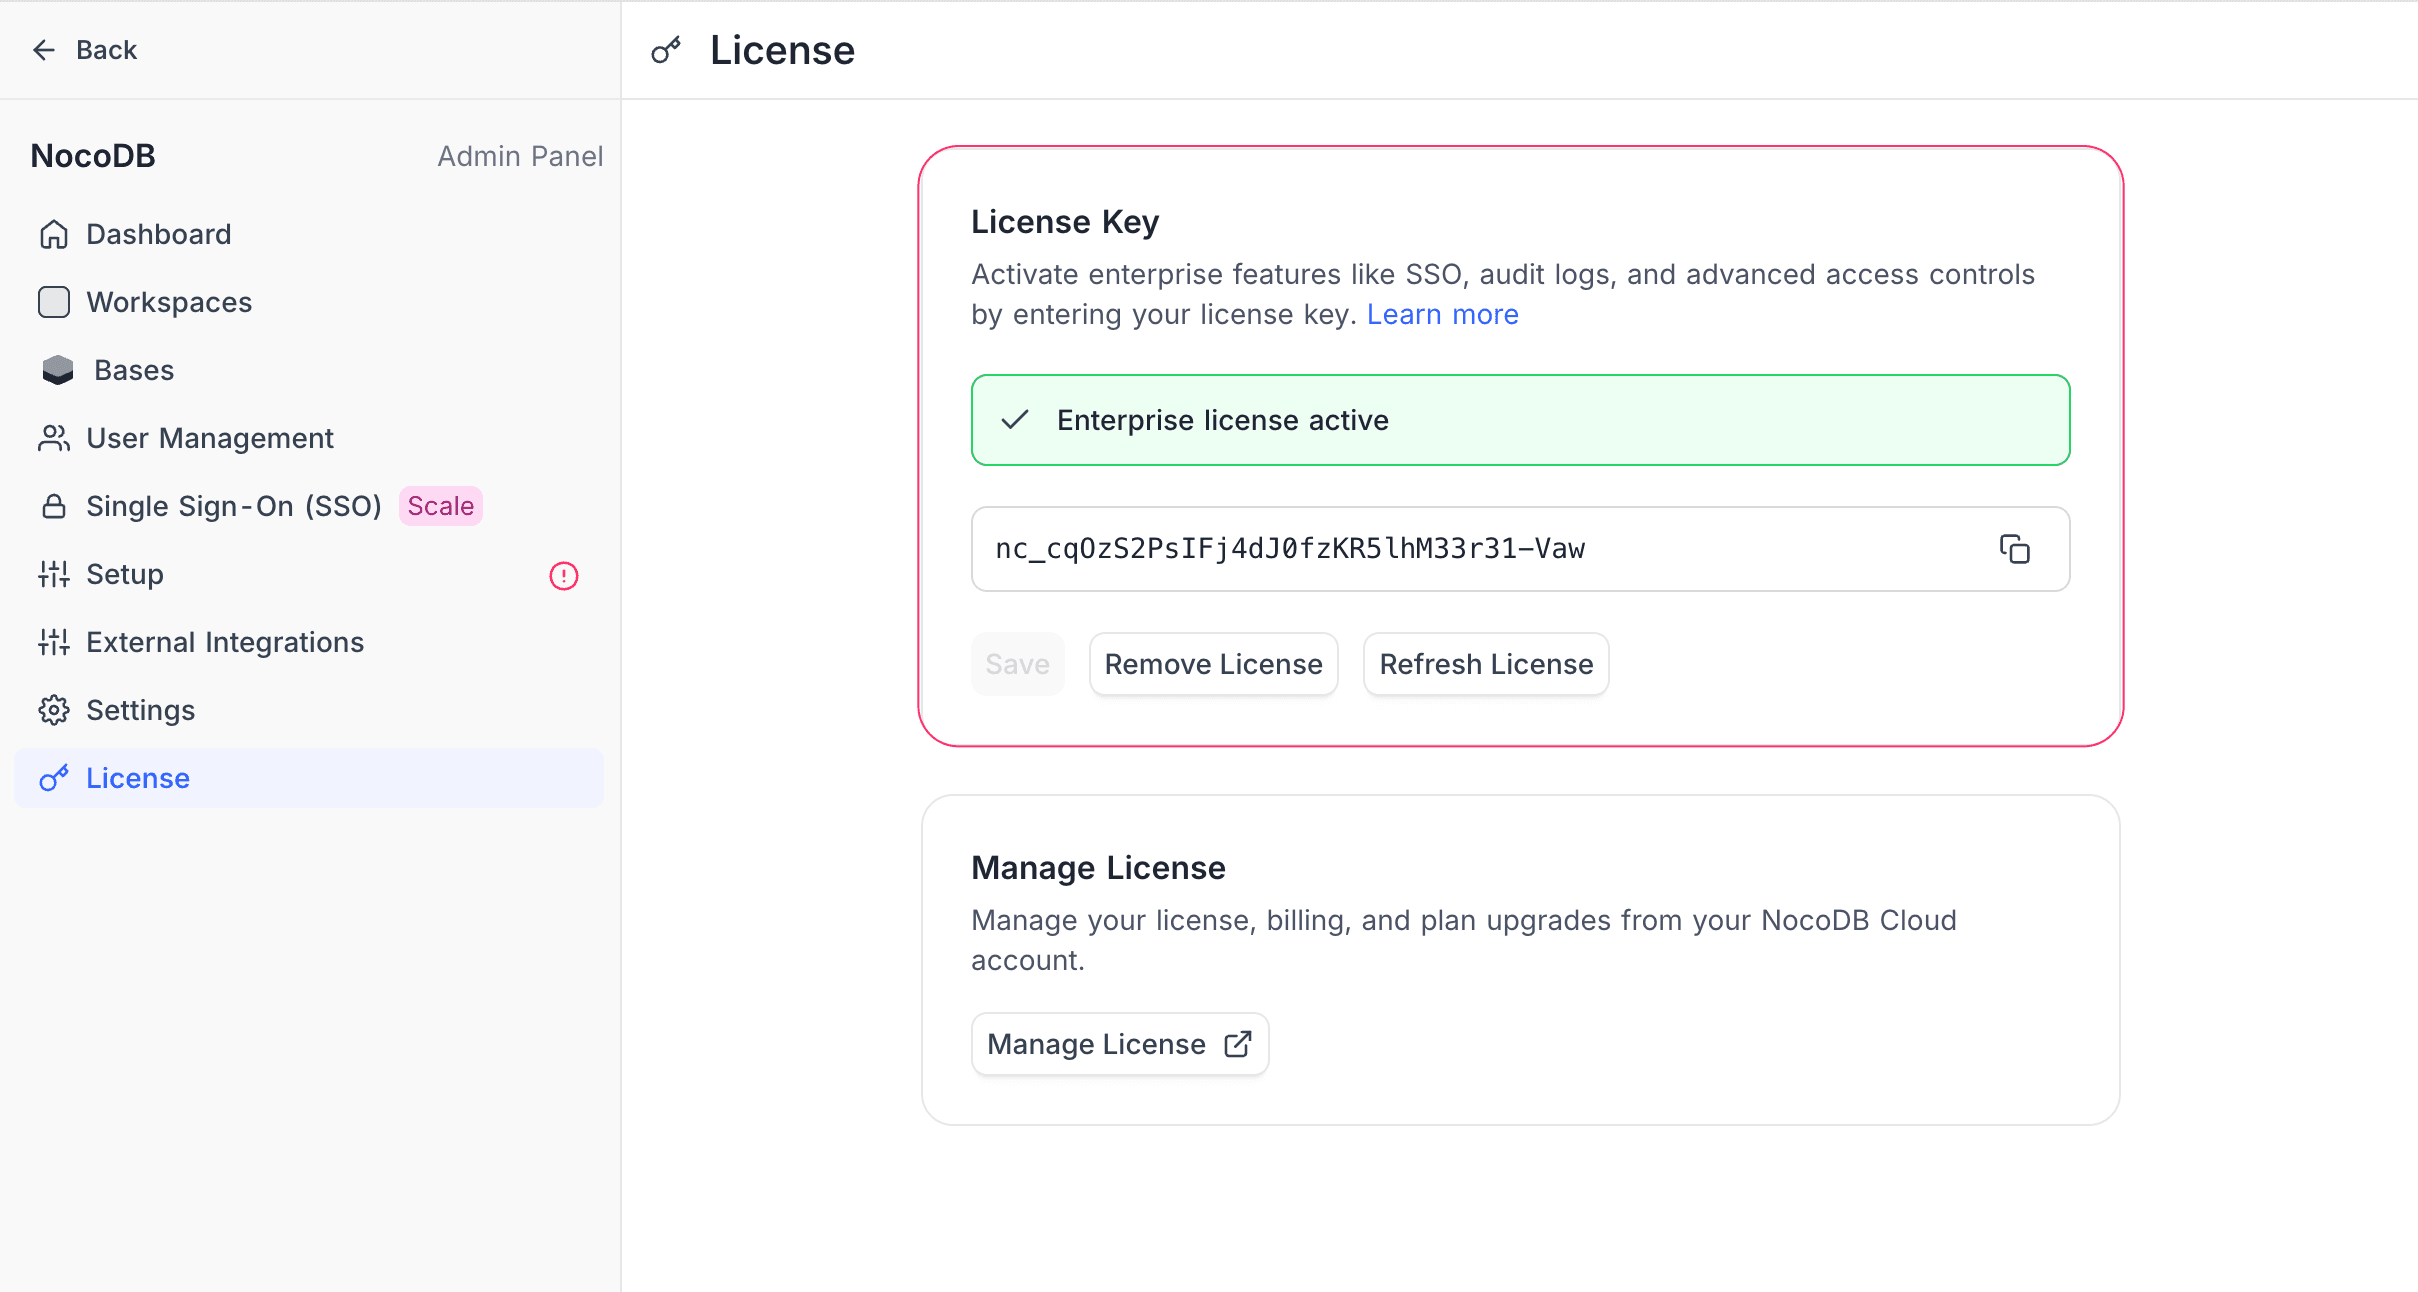
Click Save. NocoDB validates the key with NocoDB Cloud. If the key is valid, the status banner turns green and paid features start immediately. You do not need to restart.
How it stays active
NocoDB checks in with the license server every 6 hours. The call is small and sends no application data. If a check-in fails, NocoDB tries again every hour. After 48 hours without a successful check-in, NocoDB pauses paid features. They start again automatically when the connection comes back.
While check-ins fail, super admins see a warning in the left sidebar. The warning shows:
- the host that needs outbound access
- the time that is left before paid features stop
To check in immediately, click Retry now in the warning. You then do not wait for the next scheduled attempt. After the 48 hours, the warning shows that paid features are off until access comes back. The license itself stays valid.
Network requirements
NocoDB makes outbound HTTPS calls to one endpoint only:
POST https://app.nocodb.com/api/v1/on-premise/agentIf your network filters outbound traffic by host or path, allow exactly that host (app.nocodb.com) and that path (/api/v1/on-premise/agent) over TCP 443. NocoDB needs no other access.
Setting the license key via environment variable
You can set the key at startup, instead of in the Admin Panel:
NC_LICENSE_KEY=nc_...When you set NC_LICENSE_KEY in the environment, the Admin Panel → License page becomes read-only. The environment value takes precedence. Use this method for IaC and for temporary instances that must activate again at each boot.
Multi-process deployments
If you run the API and the worker as separate containers, or scale nocodb to multiple replicas, all processes must get license changes. NocoDB sends these changes through a Redis pub/sub channel. You need a working Redis connection (NC_REDIS_URL) for this. Without it, license changes in the Admin Panel do not reach all processes until you restart. The production examples and the Single-server install already include Redis.
Airgapped license
Use this method for networks with a firewall or other restrictions, or where permanent internet access is not possible.
With an airgapped license, NocoDB connects to the internet once during setup. After this activation, it runs fully offline for the lifetime of the license. It makes no check-ins and no callbacks.
How to activate
-
Get your license key from NocoDB. It starts with
nc_ag_. -
Make sure that your server has temporary outbound internet access (only for the first activation).
-
Open the NocoDB UI and go to Admin Panel > License.
-
Paste your
nc_ag_license key. -
Click Save.
-
NocoDB activates the license with one outbound call. When the activation is confirmed, you can remove internet access. NocoDB continues to run with full paid features.
Notes
- After activation, no internet connection is needed until the license expires.
- The license is tied to your installation. If your Instance ID changes, contact us to activate it again.
Offline activation
Use this method for environments that can never connect to the internet: classified networks, isolated infrastructure or strict compliance setups.
We do the activation for you:
-
Start NocoDB. During startup, it writes an Instance ID in the logs:
docker compose logs nocodb | grep "Instance ID"The output is similar to this:
Instance ID: a1b2c3d4e5f6789... -
Send us your Instance ID and your license key by email to cs@nocodb.com.
-
We will send you back a license token. Open the NocoDB UI.
-
Go to Admin Panel > License.
-
Paste the token.
-
Click Save.
Manage license on this instance
When a license is active, the Admin Panel → License page shows more controls.
Refresh license
Click Refresh License to validate the license with NocoDB Cloud again. Use this if you recently upgraded or renewed your plan and the instance does not show the change yet.
Remove license
- Click Remove License to deactivate the license on this instance.
- Confirm the removal.
The instance goes back to NocoDB Community, and paid features are disabled. The license key stays in your NocoDB Cloud account. You can apply it again at any time.
Manage license (billing portal)
When a license is active, the License page shows a Manage License card. Click it to open the Stripe billing portal. For what you can do there, refer to Manage billing.
What is the Instance ID?
The Instance ID is the unique identifier of your NocoDB deployment. NocoDB writes it in the server logs each time it starts. It stays the same after restarts and updates. If it changes, contact us for a new activation.
Renewing your license
| Method | What to do |
|---|---|
| Standard | Nothing. When your subscription renews, the license renews automatically. |
| Airgapped | Restore internet access for a short time and restart NocoDB. NocoDB gets the new expiry date automatically. |
| Offline | Contact us for a new license token. Update the token in Admin Panel > License. |
Troubleshooting
| Problem | What to do |
|---|---|
| Activation fails | Make sure that your server can reach https://app.nocodb.com/api/v1/on-premise/agent over TCP 443. Check firewalls, egress proxies and DNS. |
| "Bound to a different installation" | Your installation environment changed. Contact us at cs@nocodb.com for a new license. |
| Paid features stopped working | For standard licenses, restore internet access and restart. For expired licenses, renew your subscription. |
| Can't find the Instance ID | Check the NocoDB container logs. NocoDB writes the Instance ID during startup. |
Good to know
- Same image, license-gated.
nocodb/nocodb:latestcontains the Community code and the Enterprise code. Enterprise features start when you set a valid license key, in the Admin Panel or with theNC_LICENSE_KEYenv var. There is no separatenocodb-eeimage to pull.
Related
Last updated on