Map
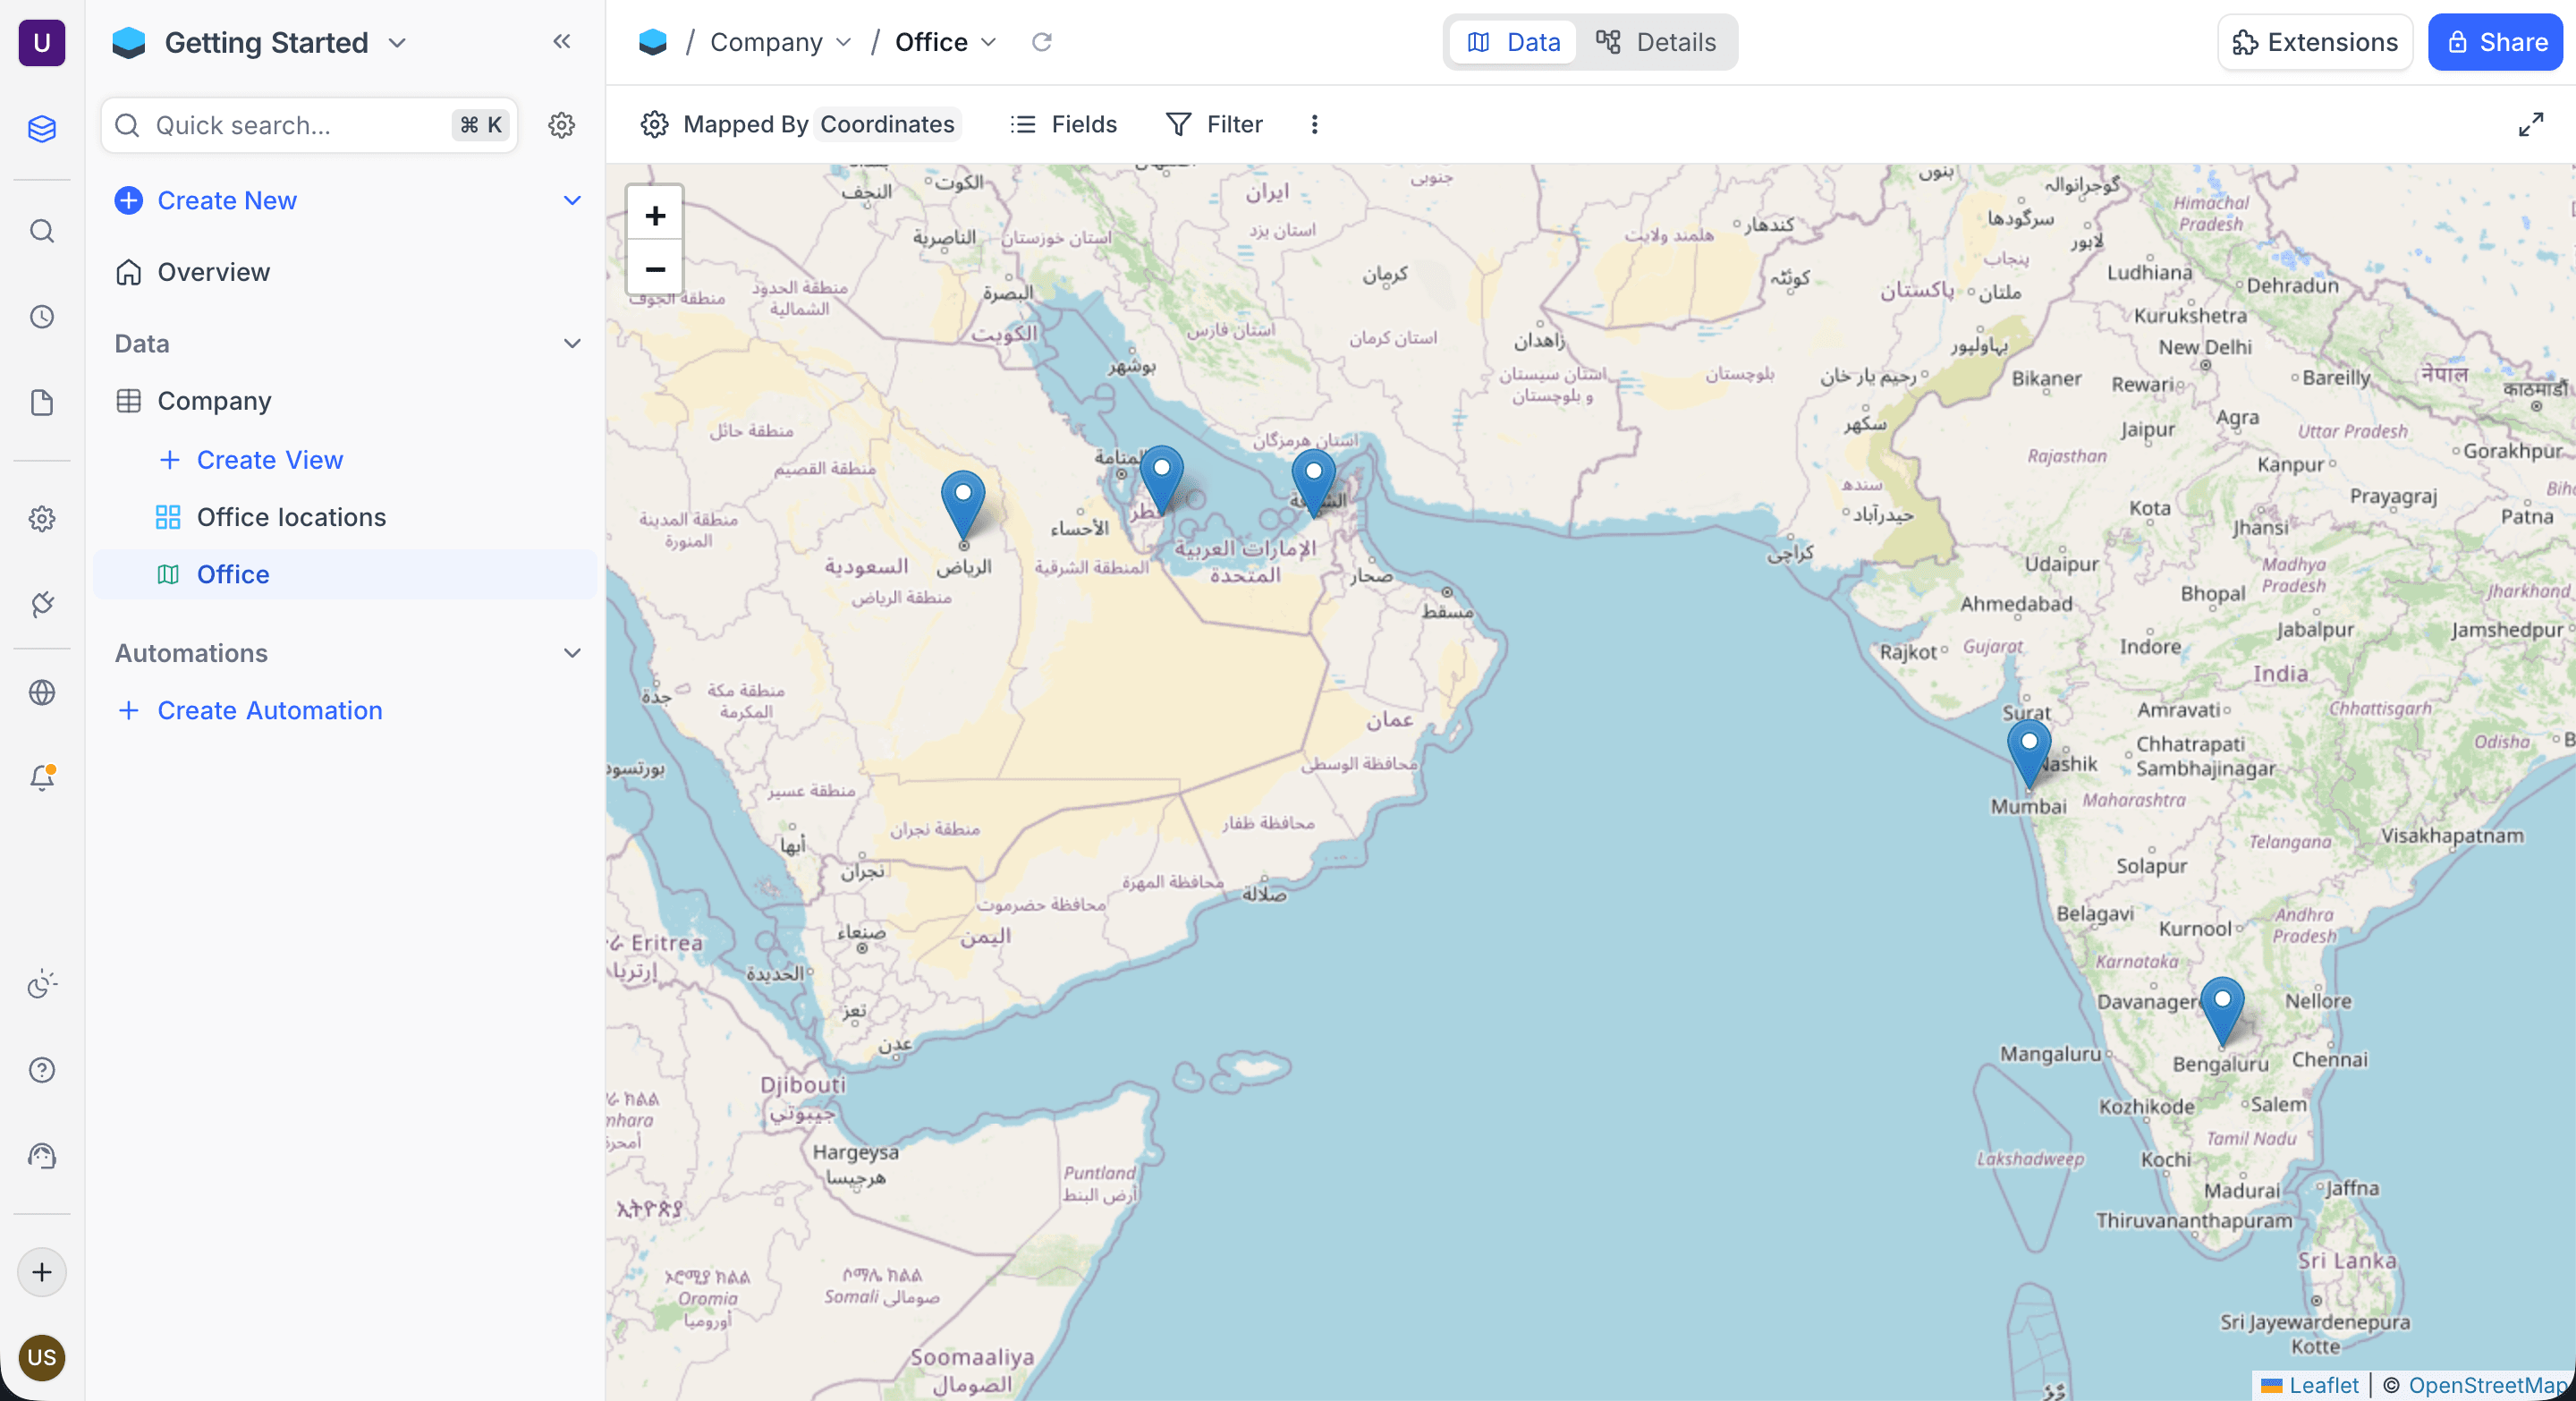
The Map view shows your records as markers on an interactive map. The coordinates in a GeoData field set the position of each marker. Click a marker to see or edit the record details. Right-click the map to create a new record at that location. This section gives all the operations for the Map view.
Copy a prompt, paste it into NocoAI in any base, and replace the words in [brackets] with your own.
- Create a map view of this table using [Location]
- Create a map view of [Stores] that shows only [open] stores
- Which field in this table can a map view use?
Map View Actions
- Create a New Map View
- Rename an Existing Map View
- Duplicate a Map View
- Remove a Map View
- Share a Map View
- Lock Map View for Edits
Prerequisites
The Map view needs at least one GeoData field in your table. If your table does not have a GeoData field, create one before you set up a Map view. The GeoData field keeps the latitude and longitude coordinates that set the marker positions on the map.
Mapped By field
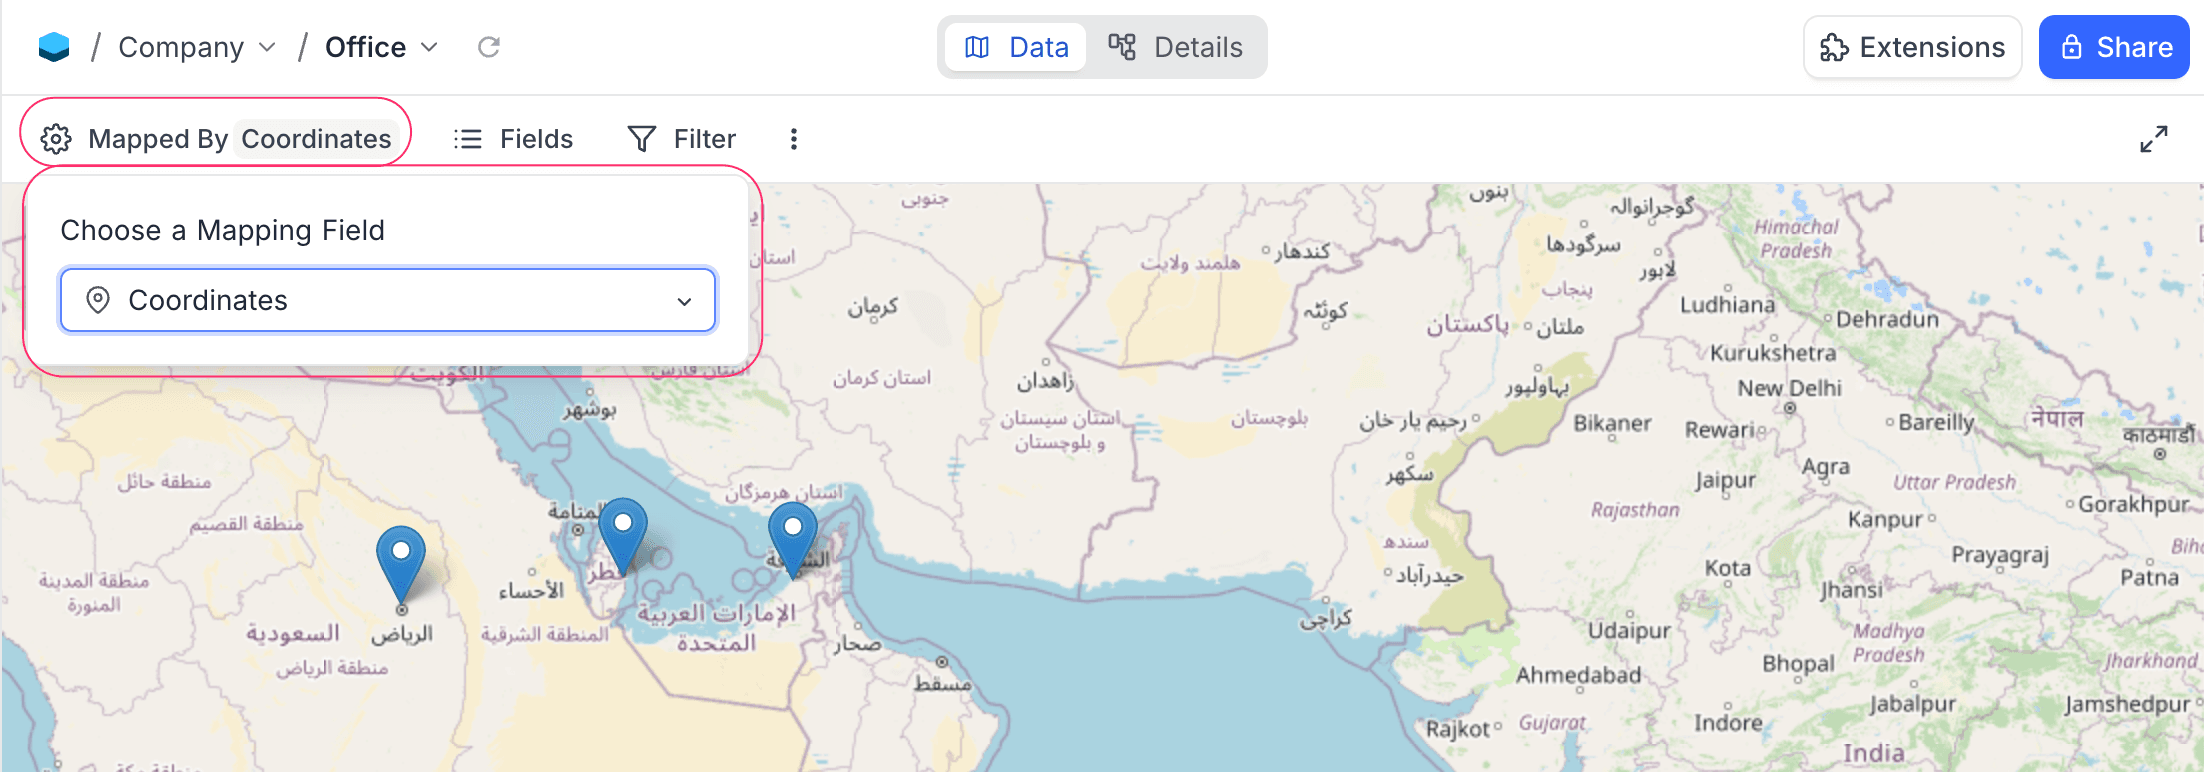
The Mapped By field sets the GeoData field that places the markers on the map. You can select only fields of type GeoData.
Change the Mapped By field
- In the toolbar, click the
Mapped Bymenu. - In the dropdown, select a different GeoData field.
Map View operations
- Show or Hide Fields Within the Map
- Apply Filters to Display Specific Records on the Map
- Export Data to CSV or Excel Format
Marker tooltips
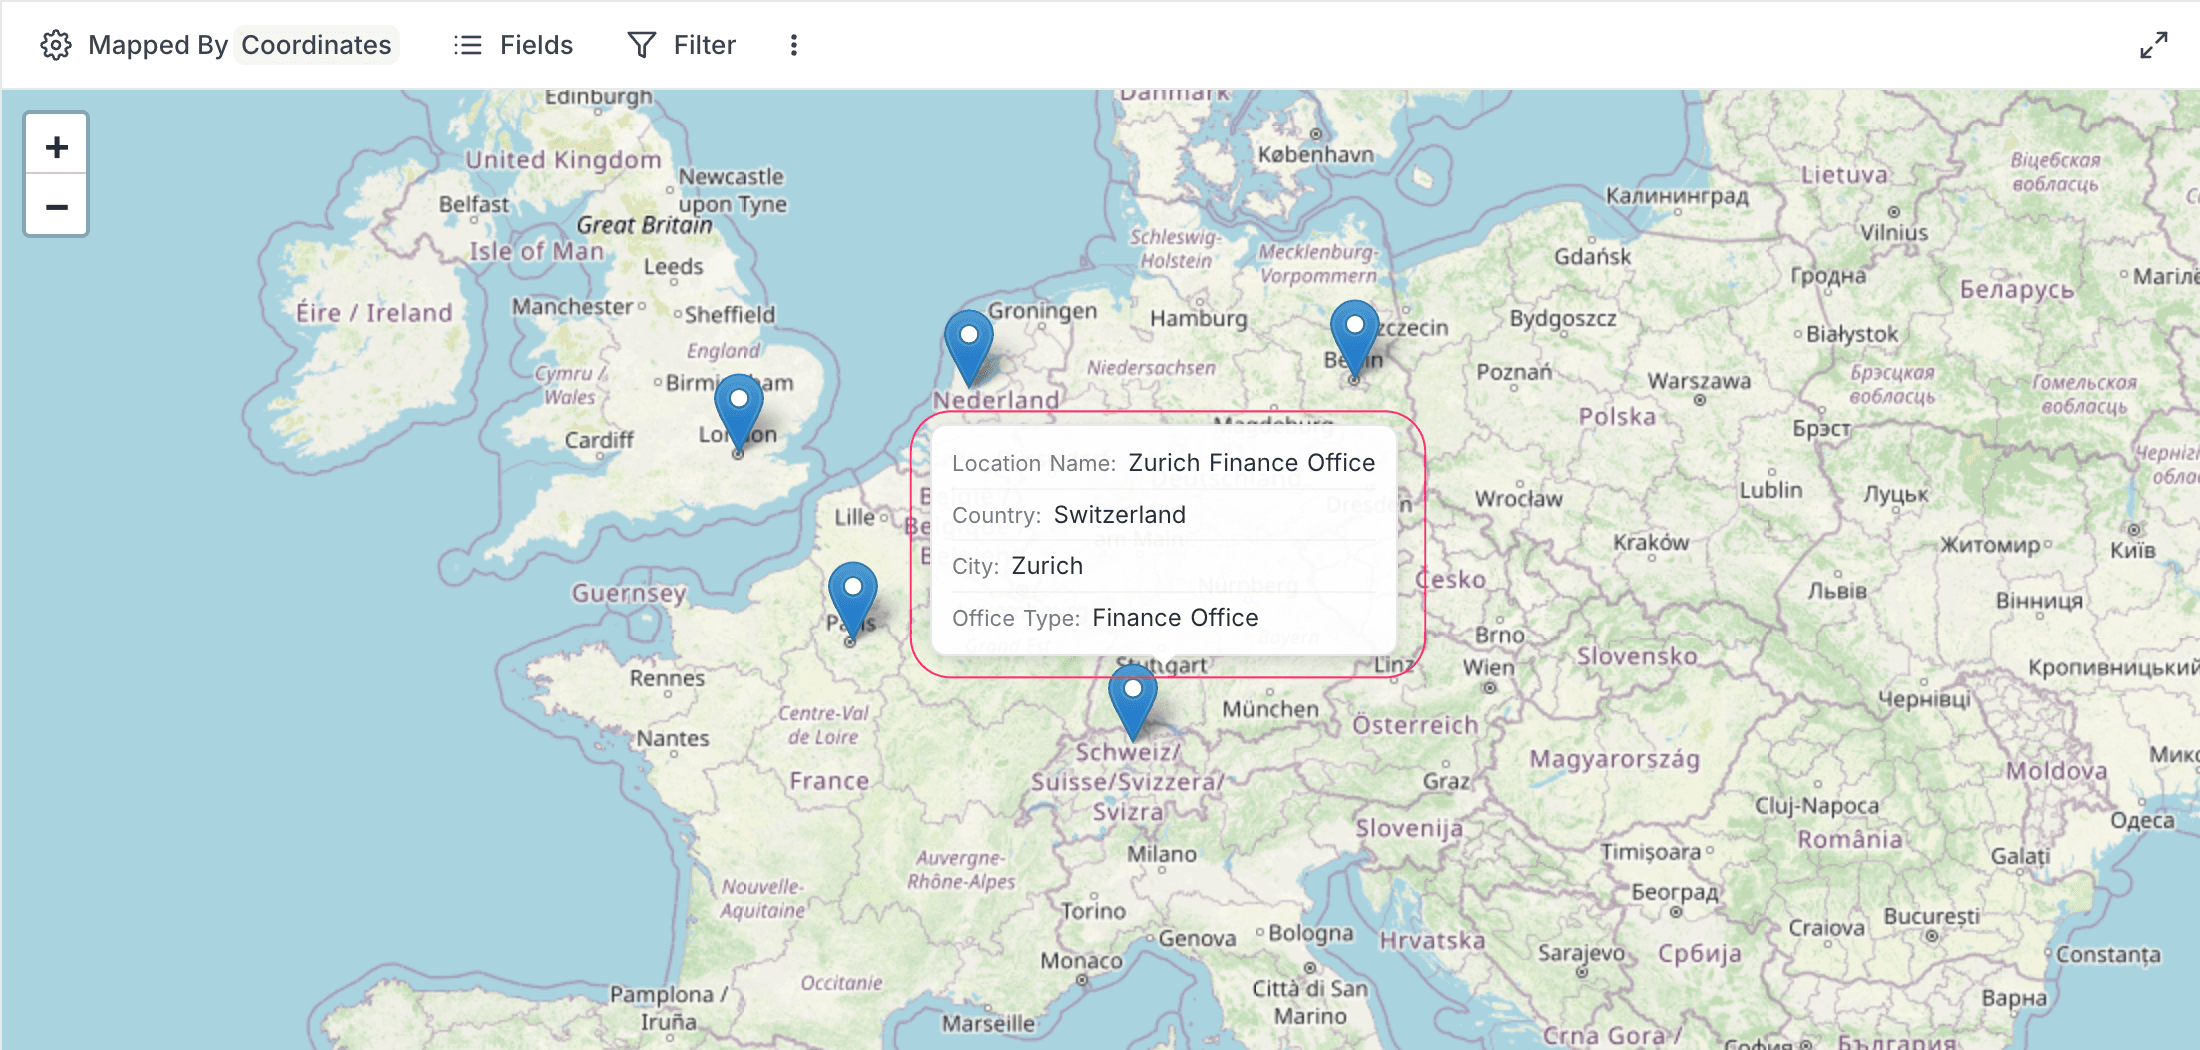
When you hover over a marker, a tooltip shows a summary of the record. The tooltip shows up to four visible fields and the coordinates.
Marker clustering
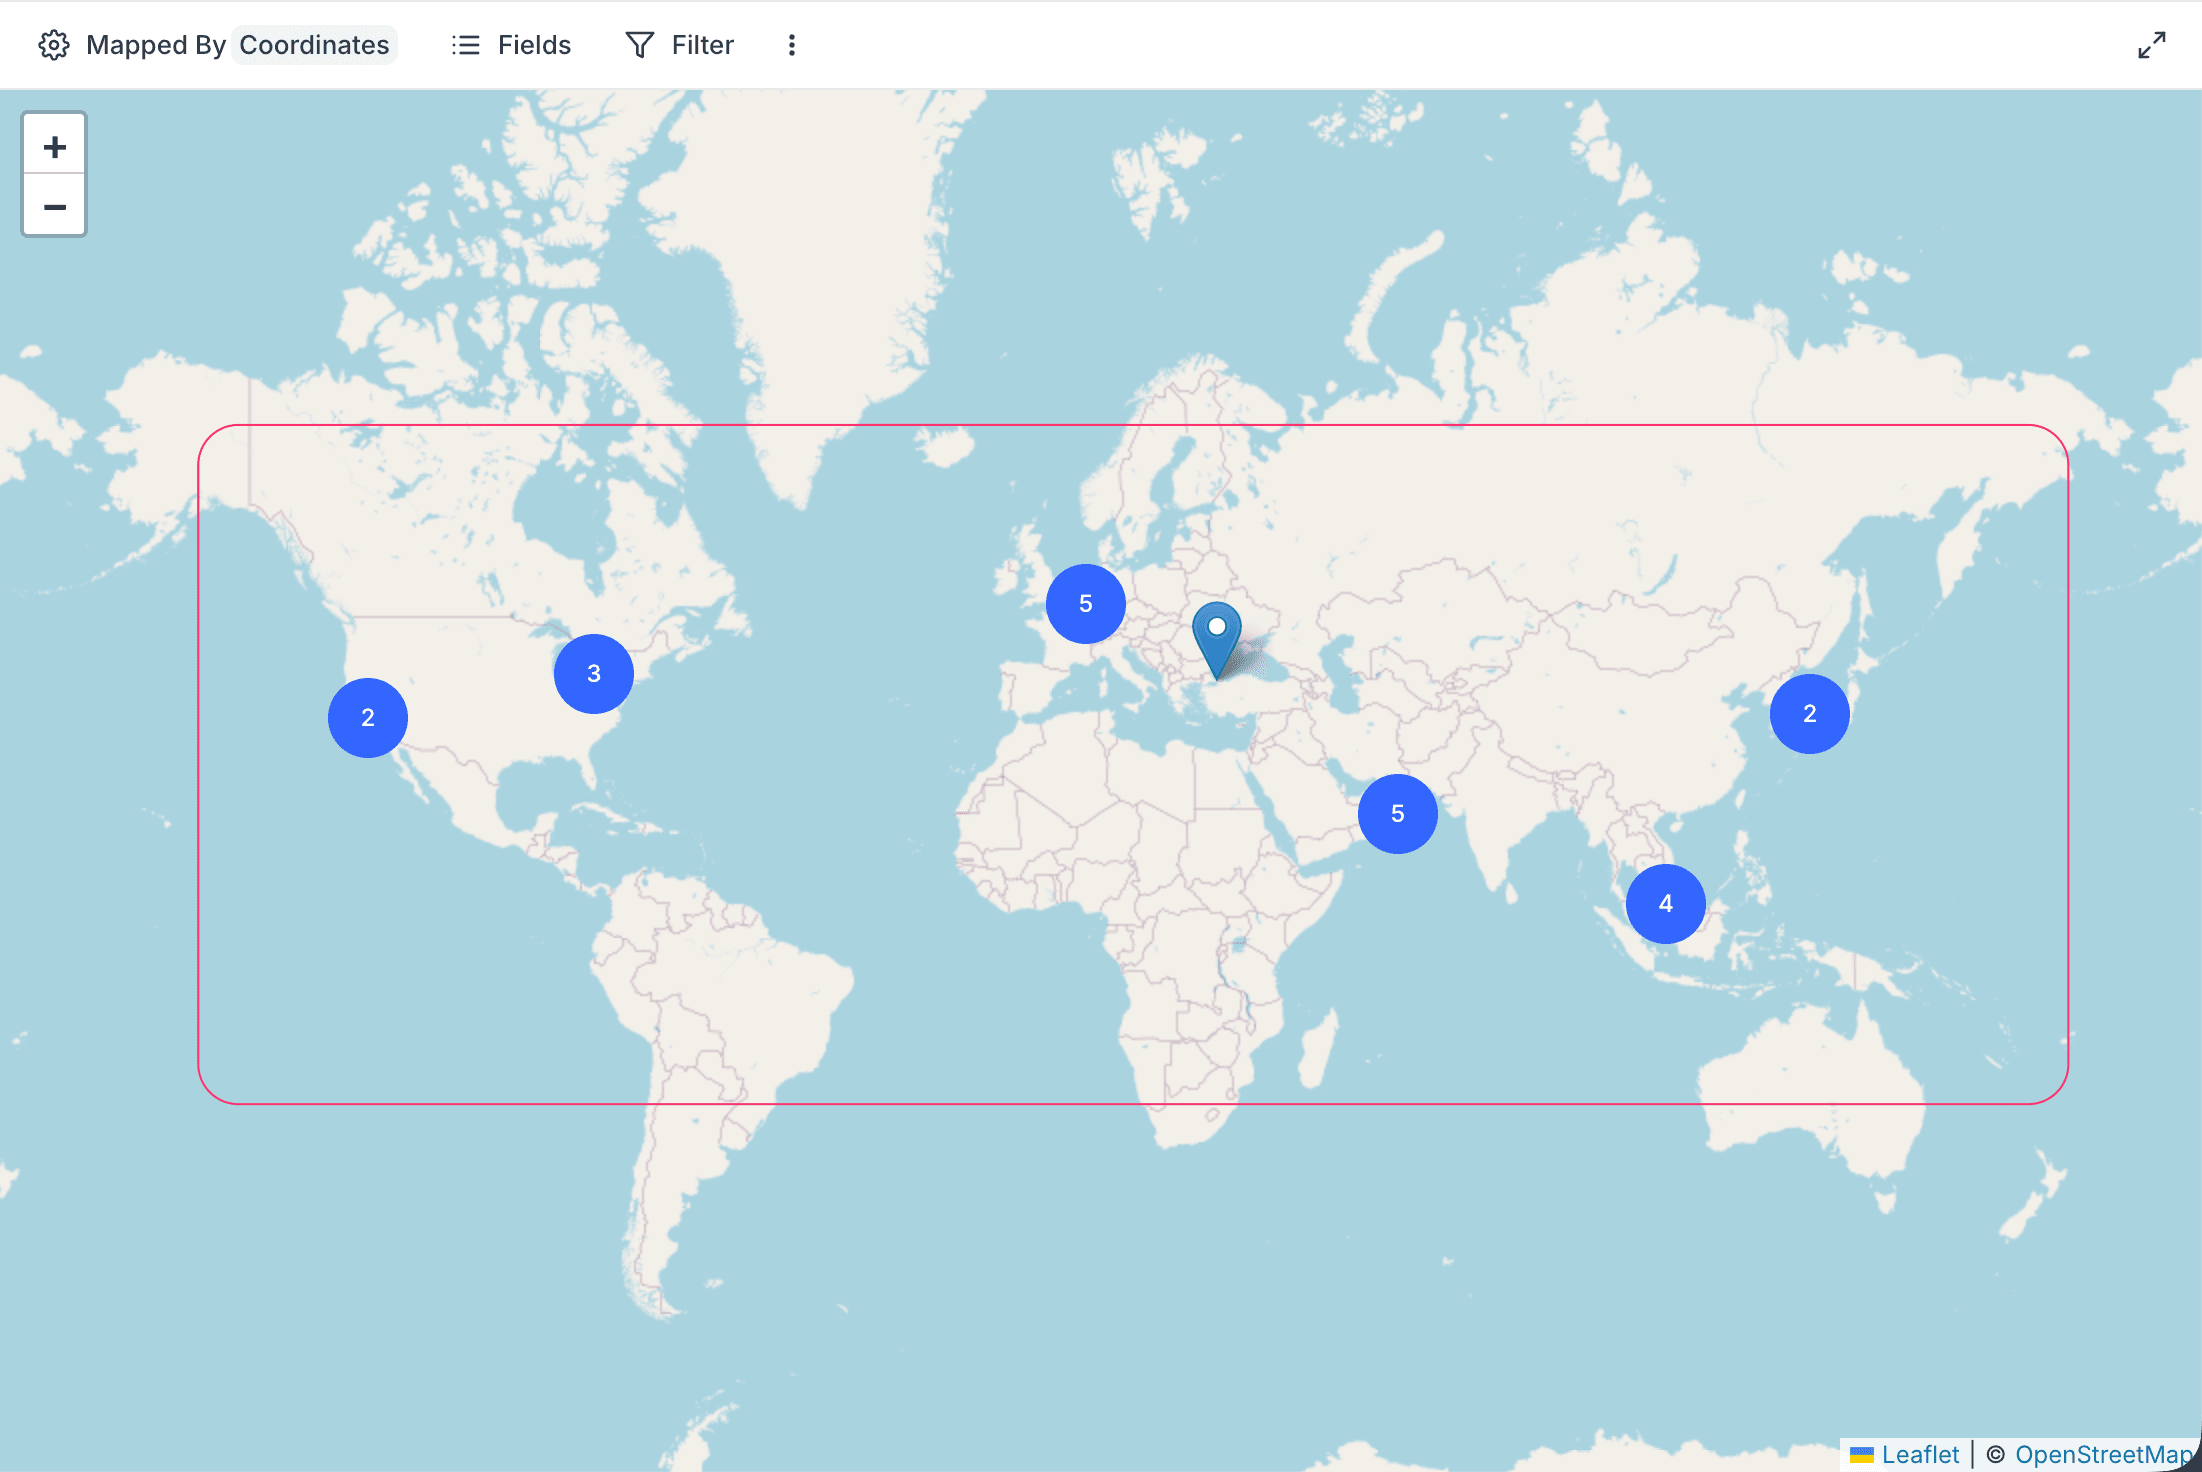
When records are close together, the map groups their markers into clusters. Each cluster shows the number of records in it. Zoom in on a cluster to see the individual markers.
Map navigation
To pan the map, drag it. To zoom, scroll. The map keeps your zoom level and position for each view. Your viewport stays the same across sessions.
Map View record operations
Add a new record
There are two ways to add a new record to the map:
- Click the
+ Add Rowbutton. The expanded record form opens. Enter the data manually. - Right-click a location on the map. NocoDB creates a new record and fills the GeoData field with the coordinates of that location.

Edit an existing record
Click a marker on the map. The record opens in the expanded record view. Edit the record details and save the changes.
Delete a record
Click a marker. The record opens in the expanded record view. To delete the record, use the expanded record context menu.
Shared Map View
When you share a Map view publicly, external users can see the map and use the markers in read-only mode. In a shared view, a click on a marker opens a popup card. The card shows the visible fields of the record.
Availability
- Map View is available on all NocoDB Cloud plans and all self-hosted deployments (including Community Edition).
Related
Last updated on