Actions on Base
Copy a prompt, paste it into NocoAI in any base, and replace the words in [brackets] with your own.
- Rename this base to [new name]
- Give me an overview of the tables in this base and how they are linked
- Suggest improvements to the structure of this base
Base card
The workspace Bases page shows each base as a card. The card shows:
- A colored tile with the base icon, on the left. To change the icon or color, click the tile.
- The base name, with a subtitle. The subtitle tells what opens when you click the card: Interface if the base has a published interface, or else Base.
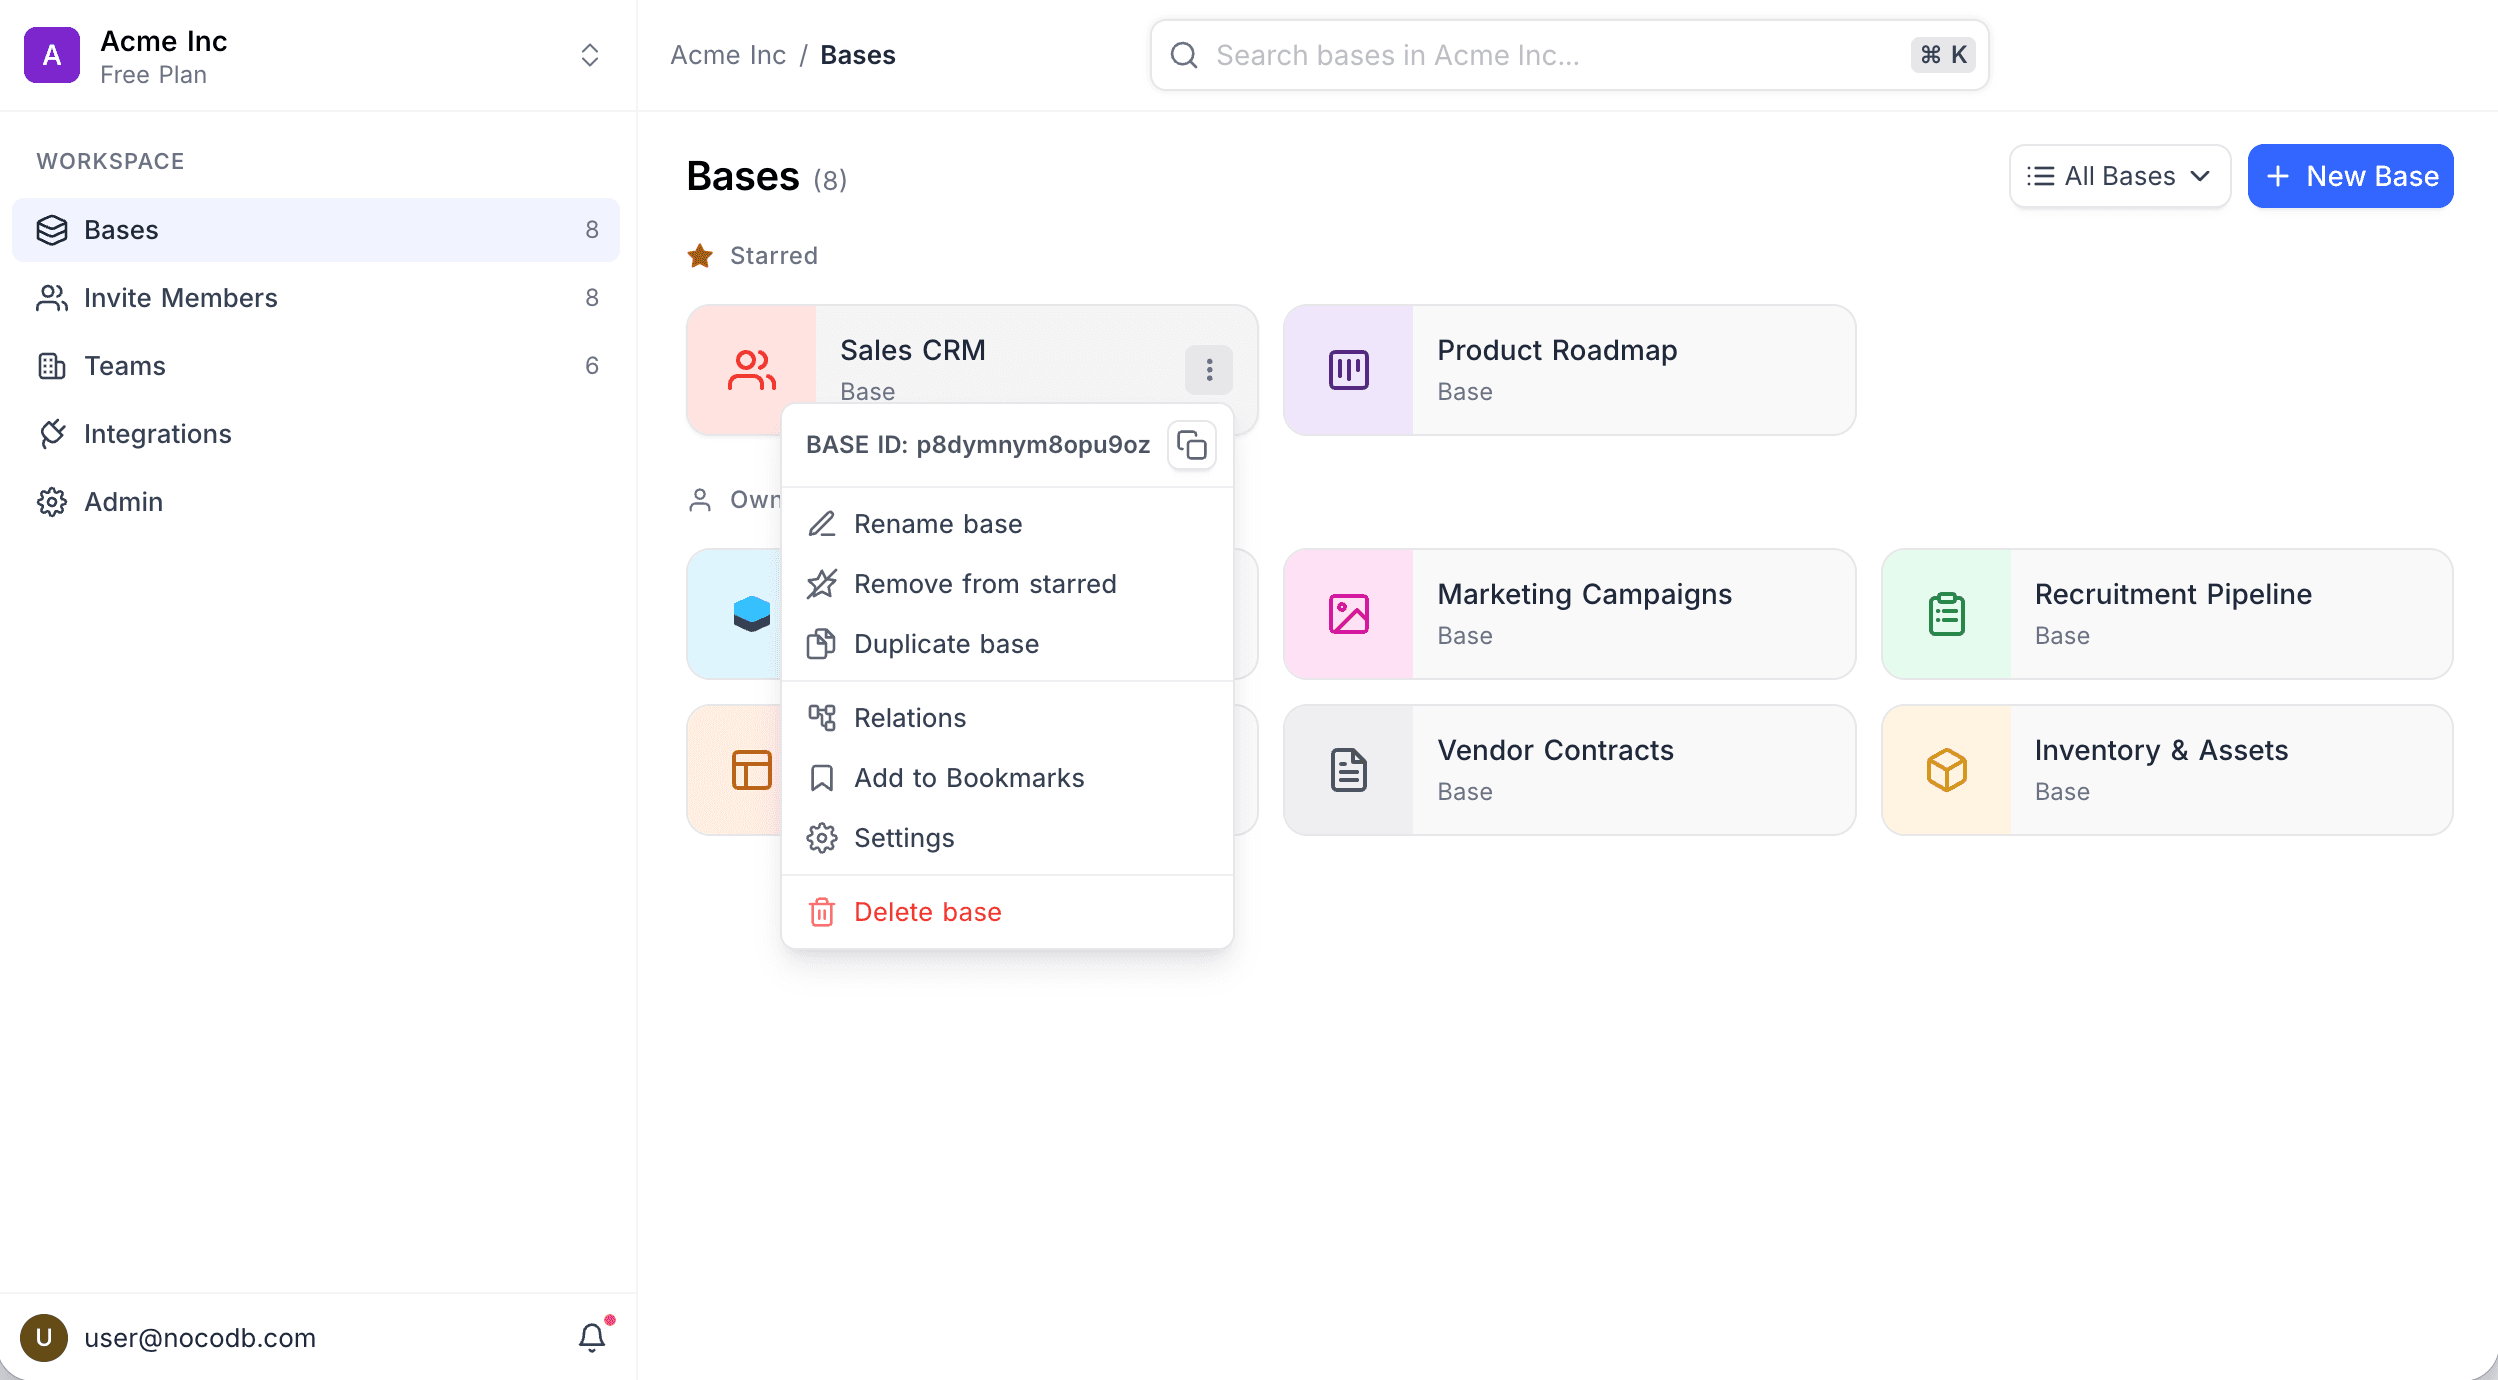
- A ⋮ menu when you hover over the card. The menu opens the base context menu.
If a card opens an interface, a Go to data button also shows when you hover over the card. This button opens the tables of the base.
To show only some cards, use the filter dropdown above the list. The options are All Bases, Starred, Private, and Owned by me. To find a base by name, type in the search box in the top bar.
Base context menu
You can open the base context menu in two ways:
| From | Do this |
|---|---|
| From the workspace Bases page | Click the ⋮ icon on a base card. |
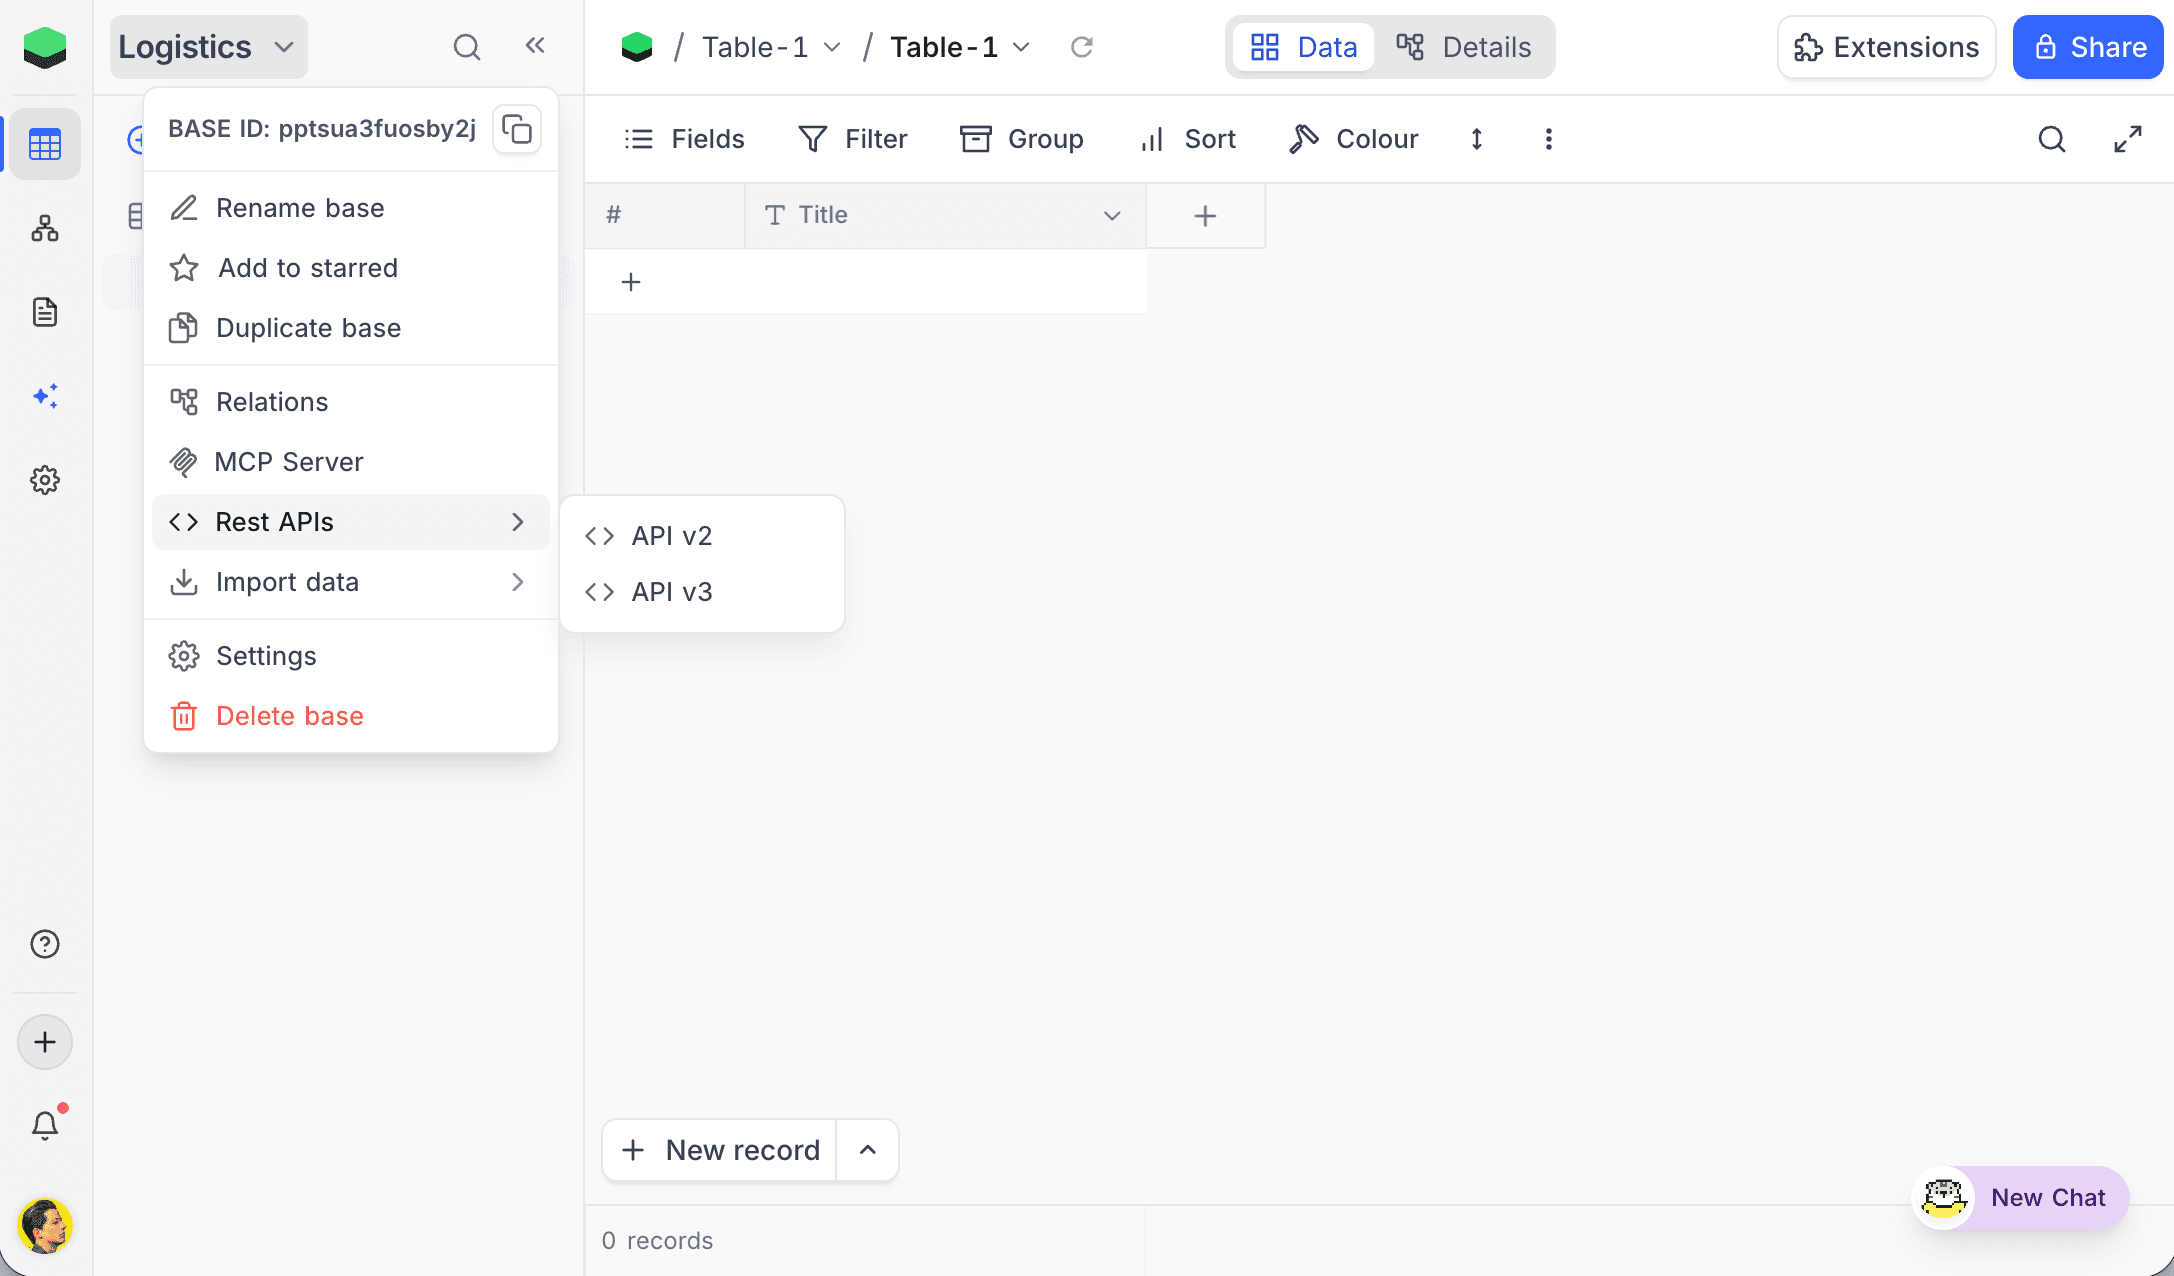
| From within a base | In the top-left of the sidebar, click the base name dropdown. This menu has more options, such as MCP Server, Rest APIs (API v2 / API v3), and Import data. |
Rename base
- Open the base context menu.
- Select Rename base.
- Edit the name.
- To save, press Enter.
Change base icon and colour
- On the workspace Bases page, click the colored icon tile on the left of the base card.
- Below Icon, select an icon from the grid. To find an icon by name, use Search all icons.
- Below Colour, select one of the preset swatches. The tile tint changes to the color that you select, and it adapts to light and dark mode. To set a custom color, click + at the end of the row. This opens More Colors.
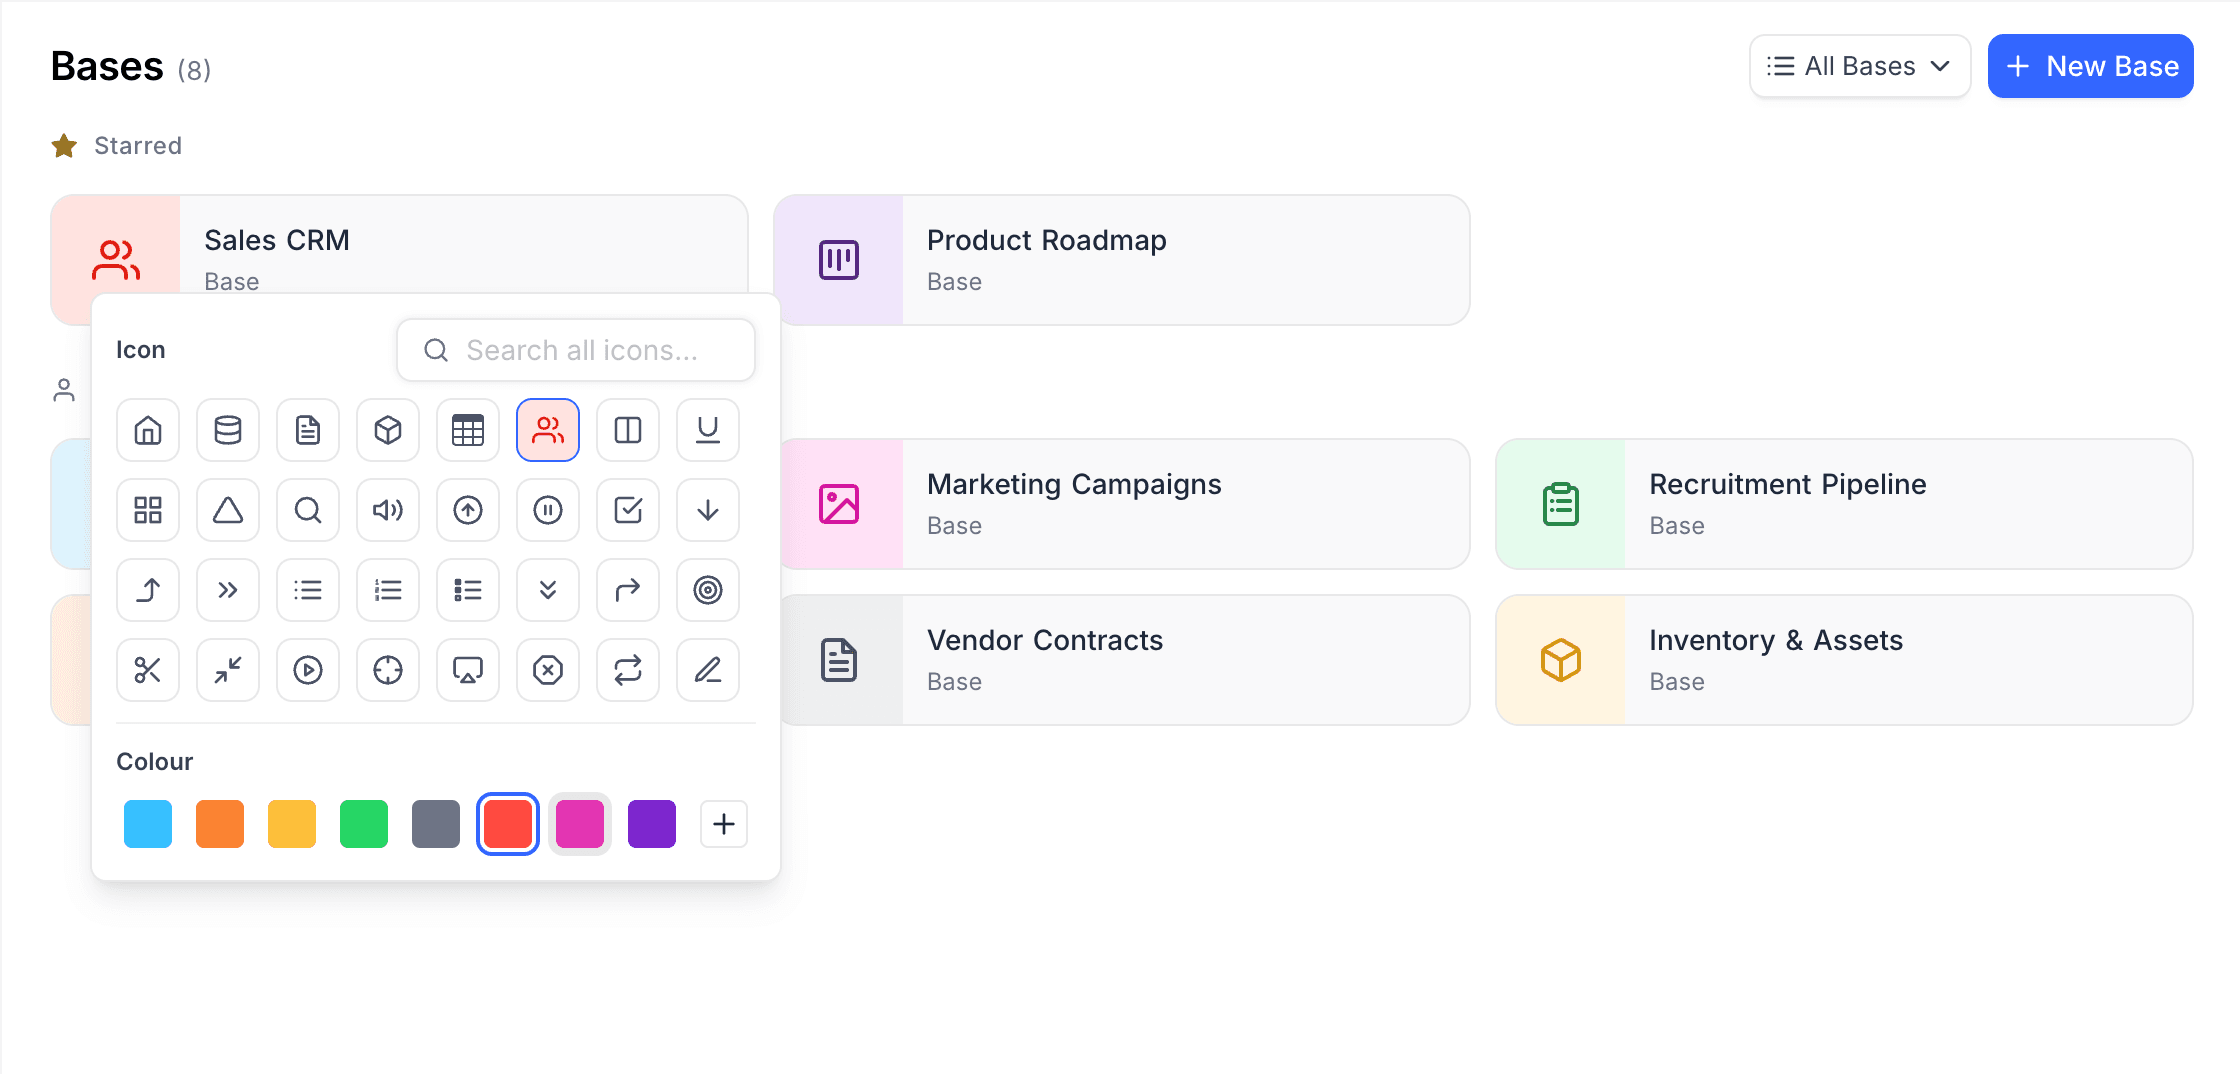
NocoDB saves each change when you select it. The picker stays open, so you can set the icon and the color at the same time.
Star base
- Open the base context menu.
- Select Add to starred.
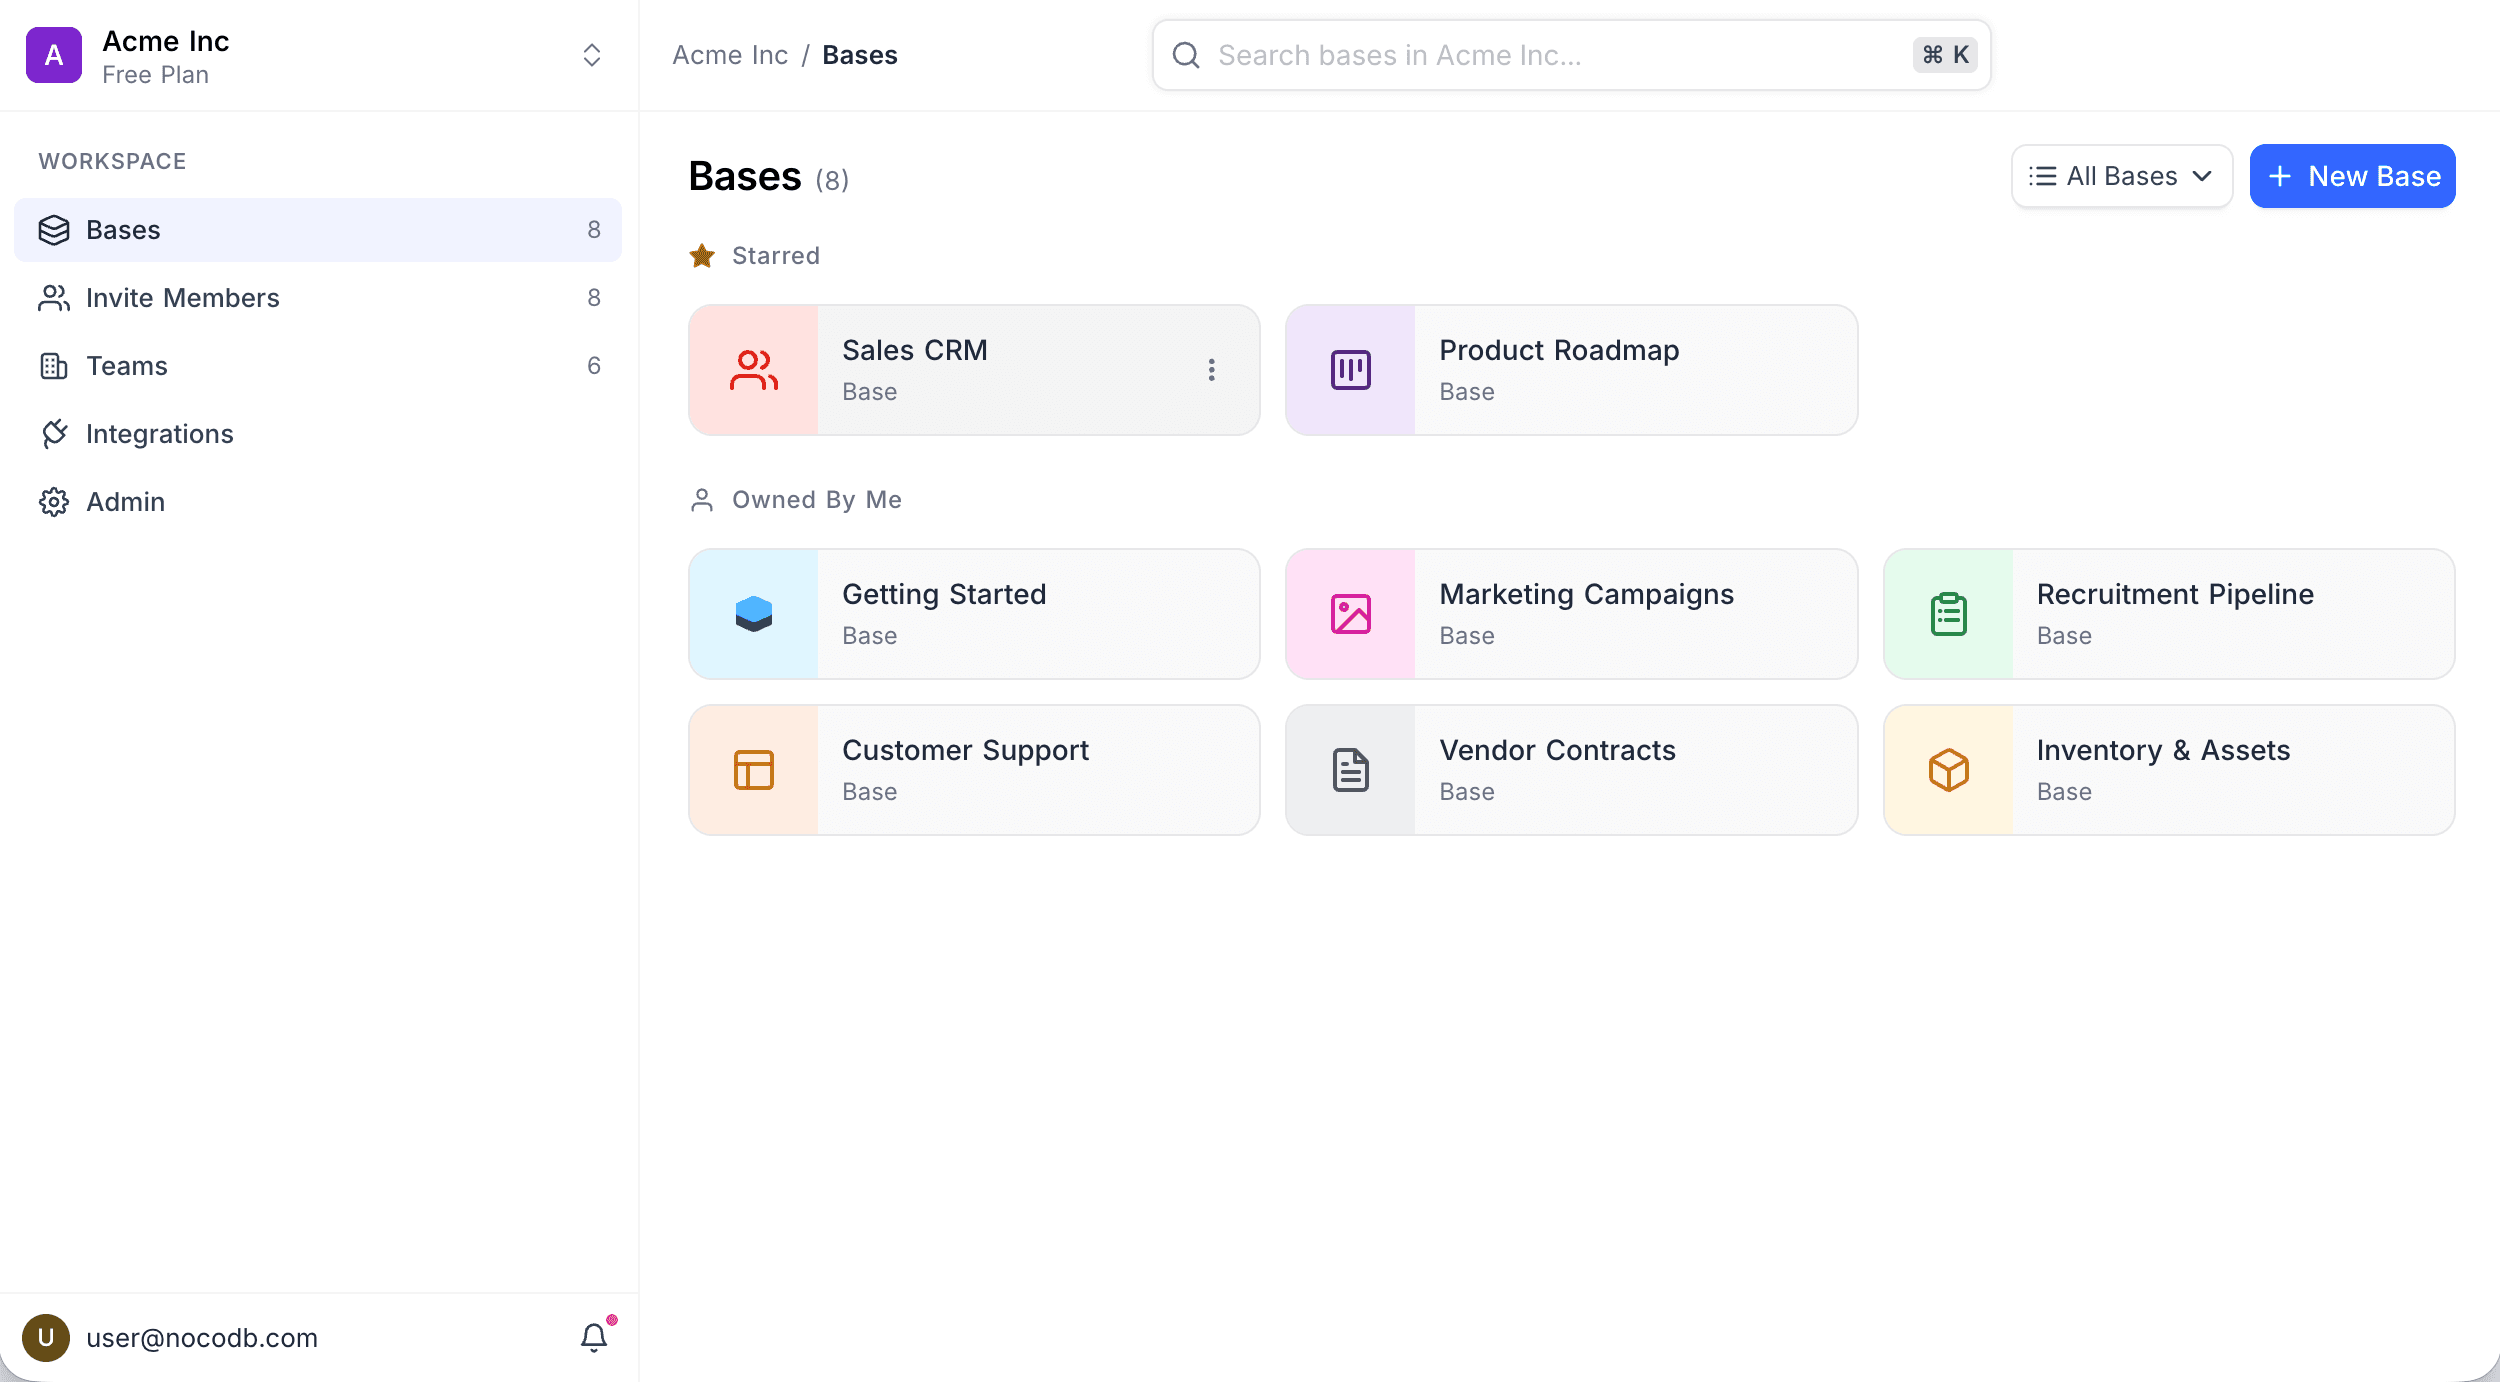
The Bases page shows starred bases below a Starred heading at the top, above Owned By Me. Thus the bases that you use most are easy to find. To show only starred bases, select the Starred option in the base filter dropdown.
Remove a base from starred list
- Open the base context menu.
- Select Remove from starred.
Duplicate base
-
Open the base context menu.
-
Select Duplicate base.
-
Select what to include. If you disable an option, NocoDB does not copy that content:
Option When disabled Include records Copies the schema only, without data. Include comments Does not copy comments. Include scripts Does not copy scripts. Include dashboards Does not copy dashboards. Include workflows Does not copy workflows. Include documents Does not copy NocoDocs documents. -
Select the Workspace for the copy. The default is the current workspace.
-
Click Duplicate Base.
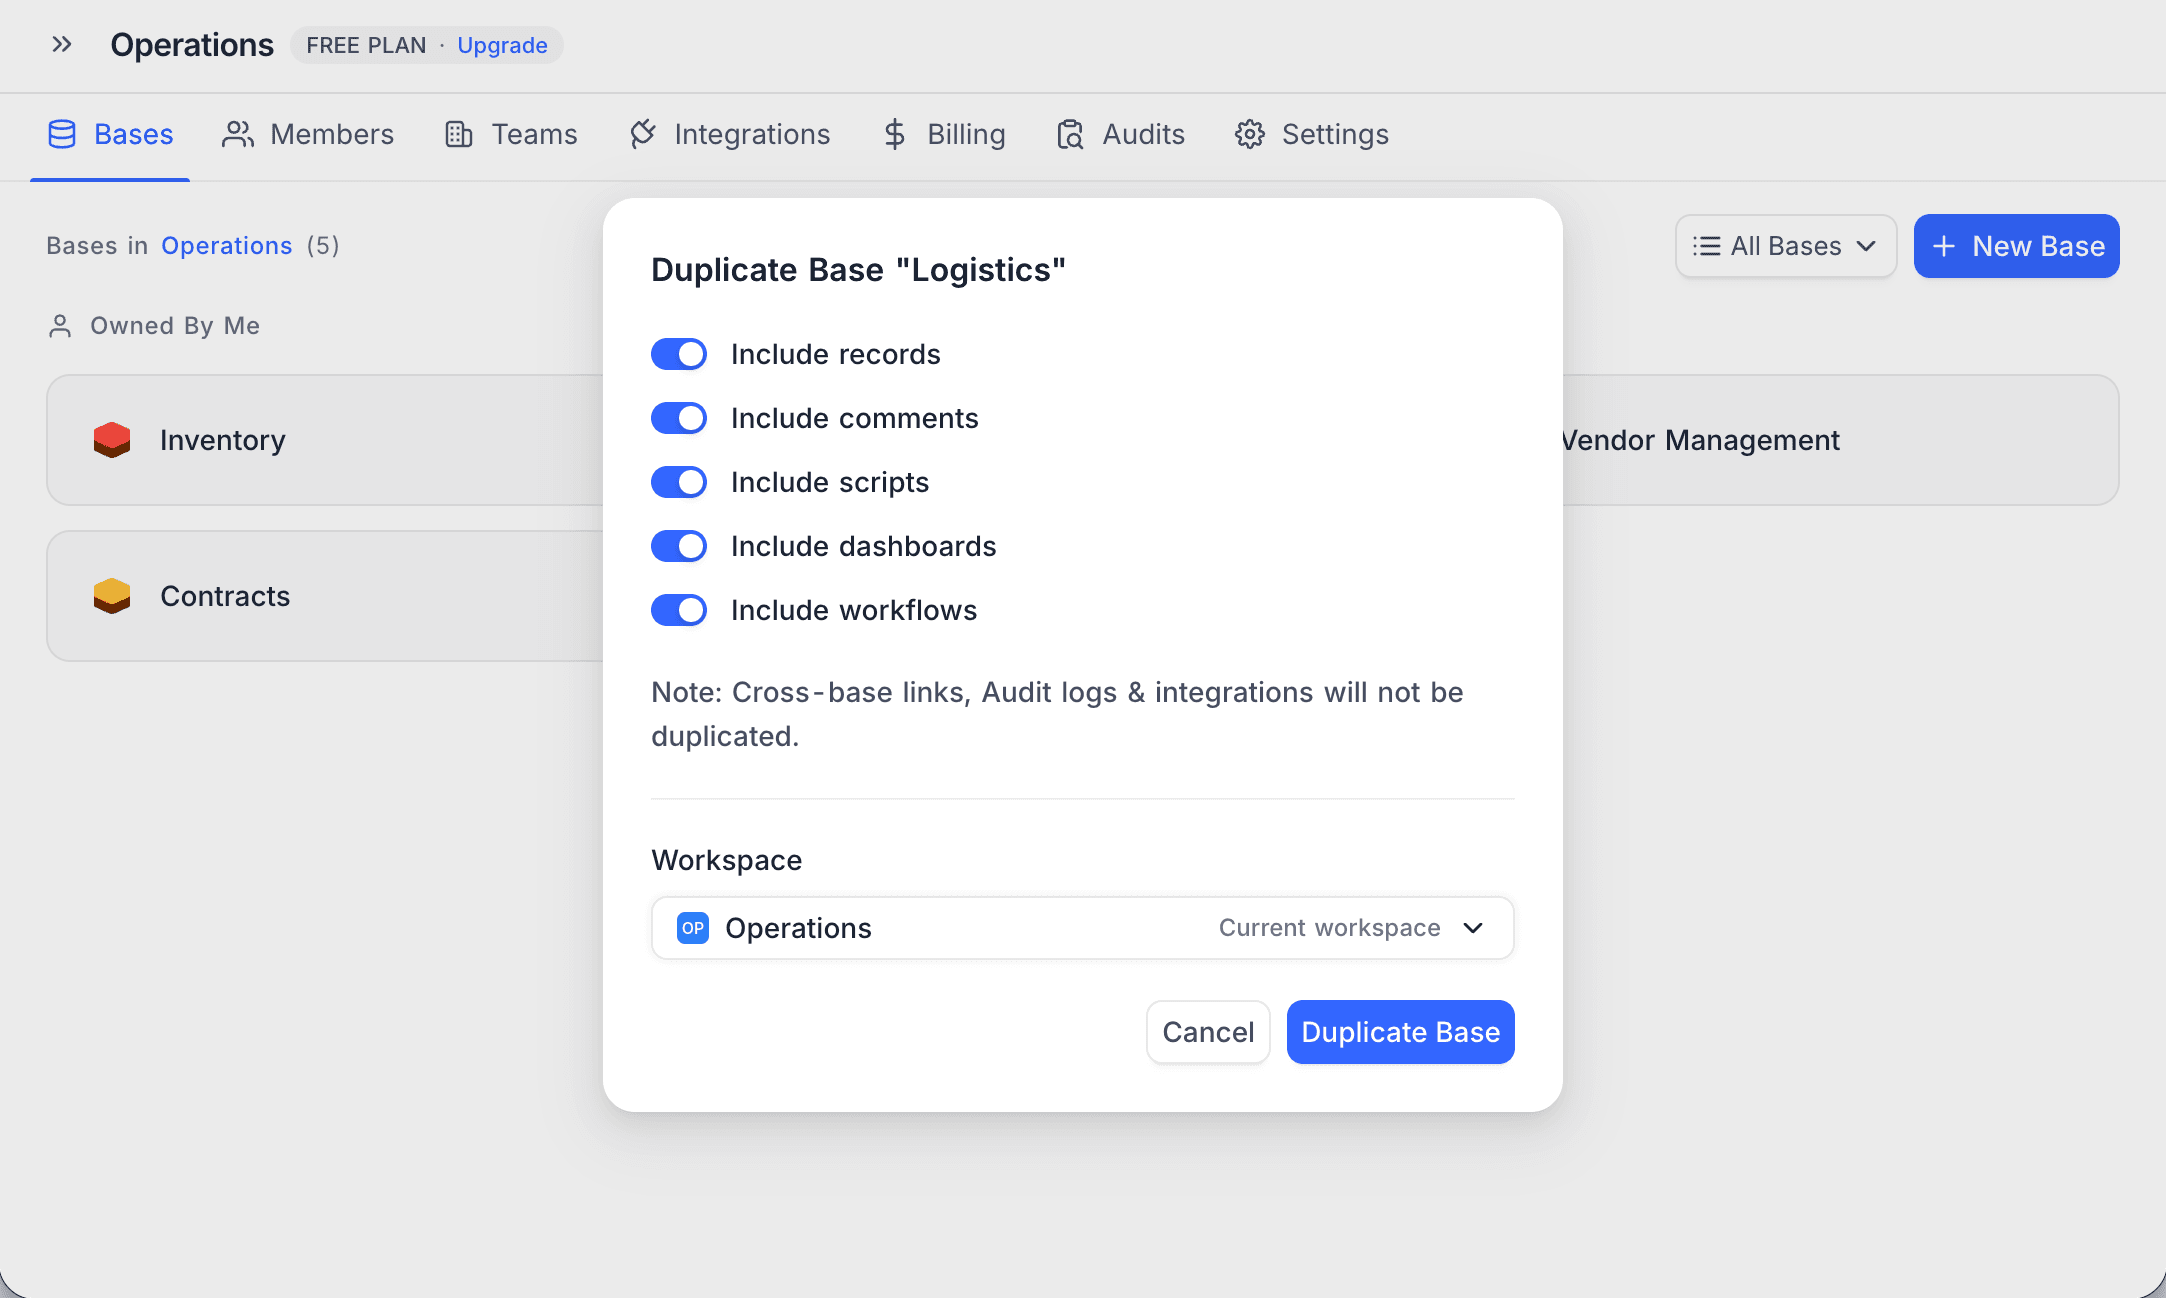
User field values are carried over even when the person is not a member of the destination workspace; a value is dropped only when no NocoDB account exists for that user.Delete base
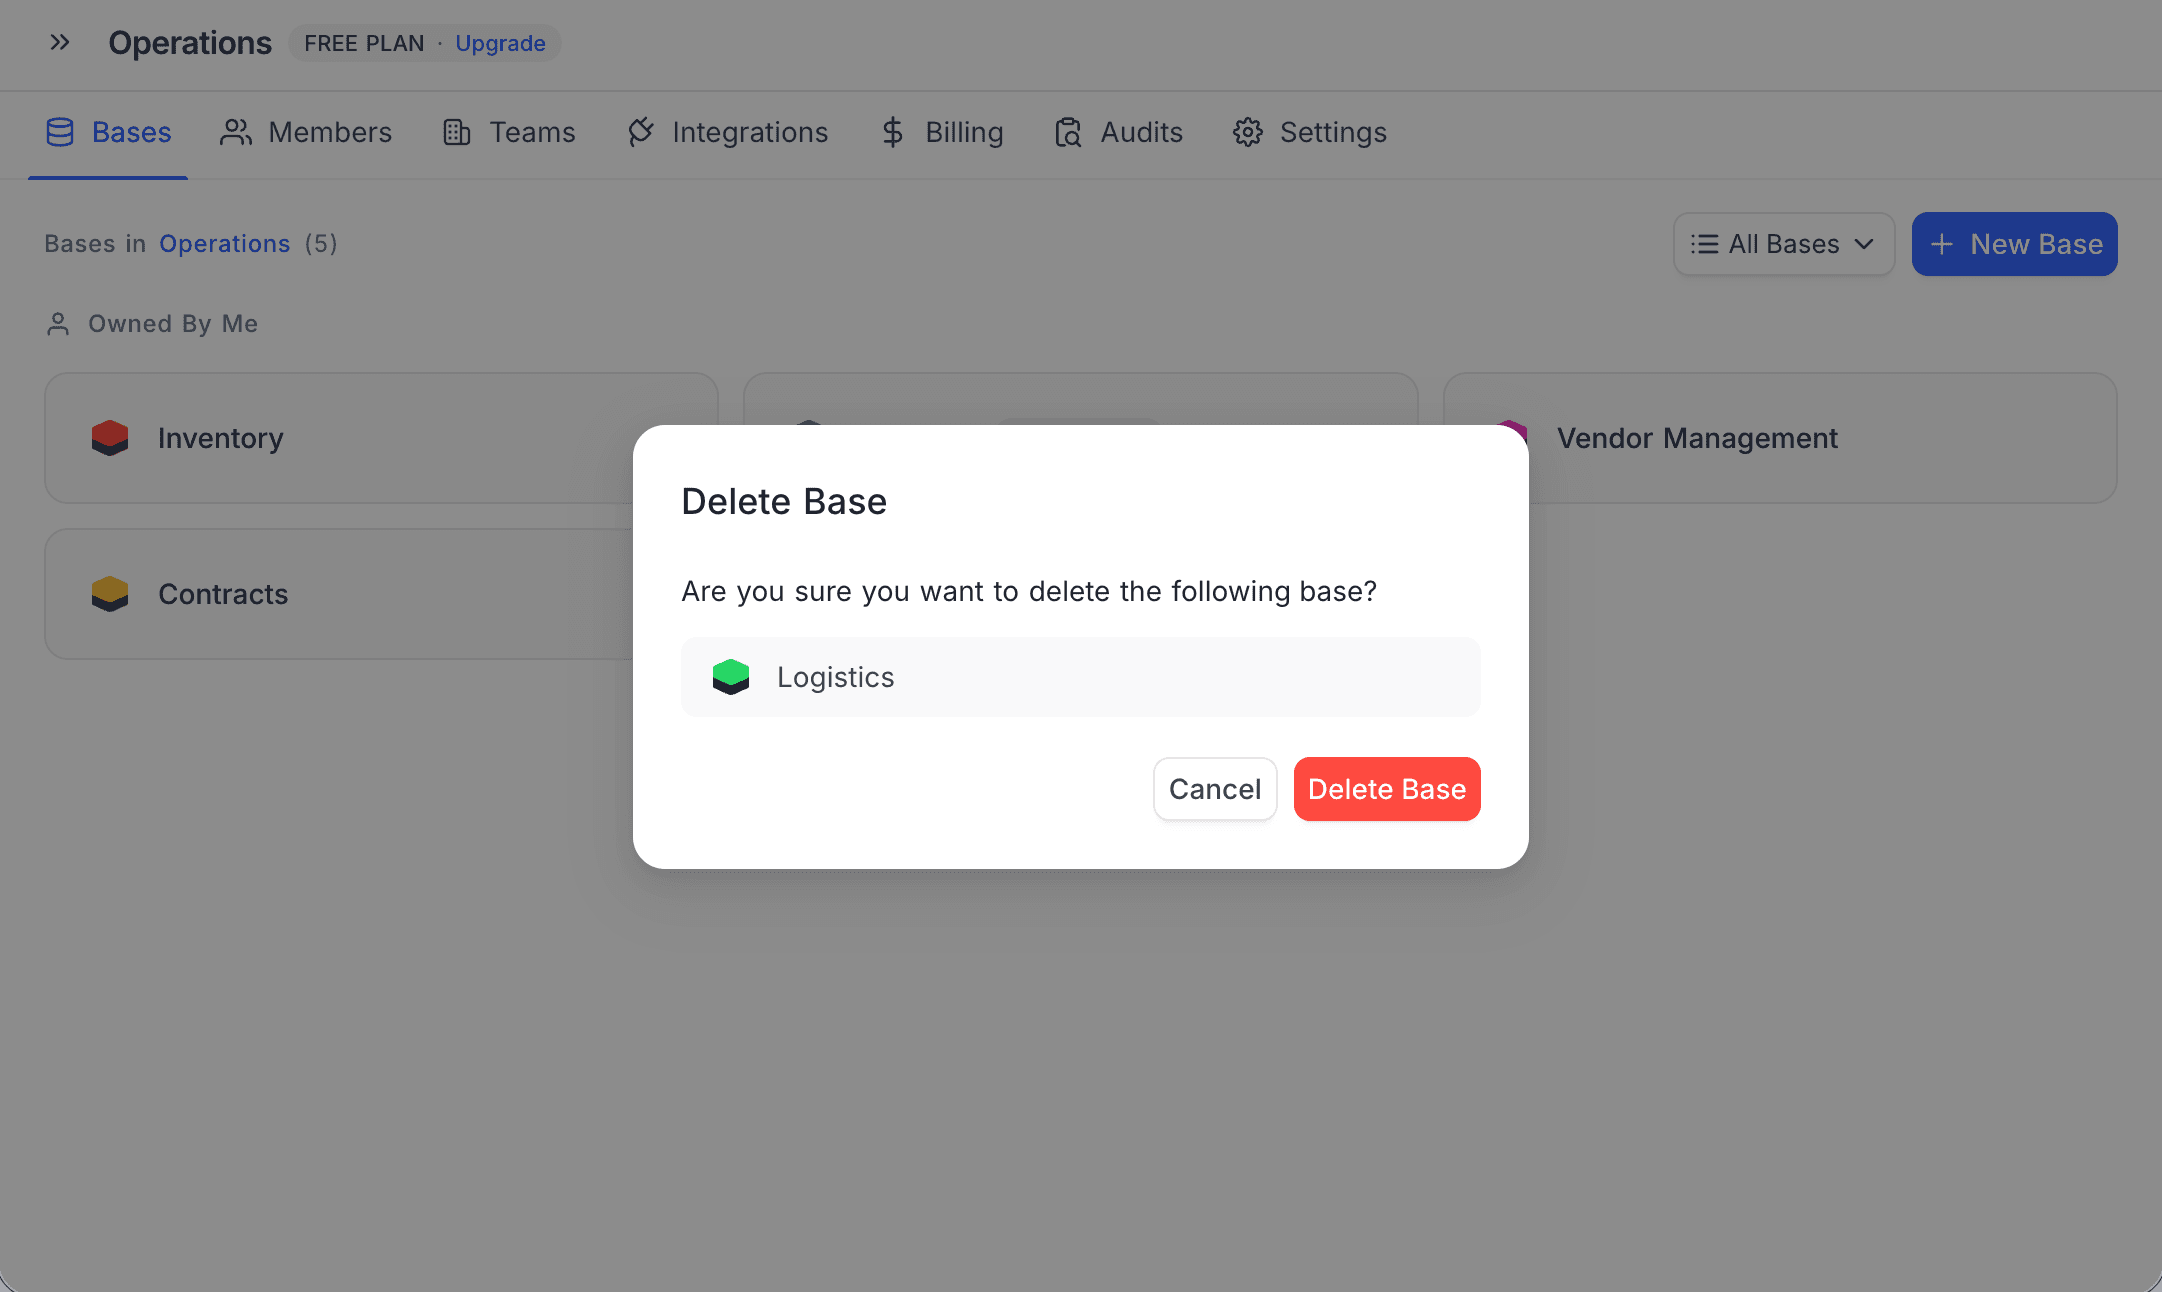
When you delete a base, NocoDB permanently removes all its tables, data, and related content.
- Open the base context menu.
- Select Delete base.
- To confirm, click Delete Base.
Find base ID
Each base has a unique ID that starts with p. The ID shows in the base context menu and in the URL.
Example:
https://app.nocodb.com/wa5dveq3/pptsua3fuosby2jIn this example, the base ID is pptsua3fuosby2j.
Relations
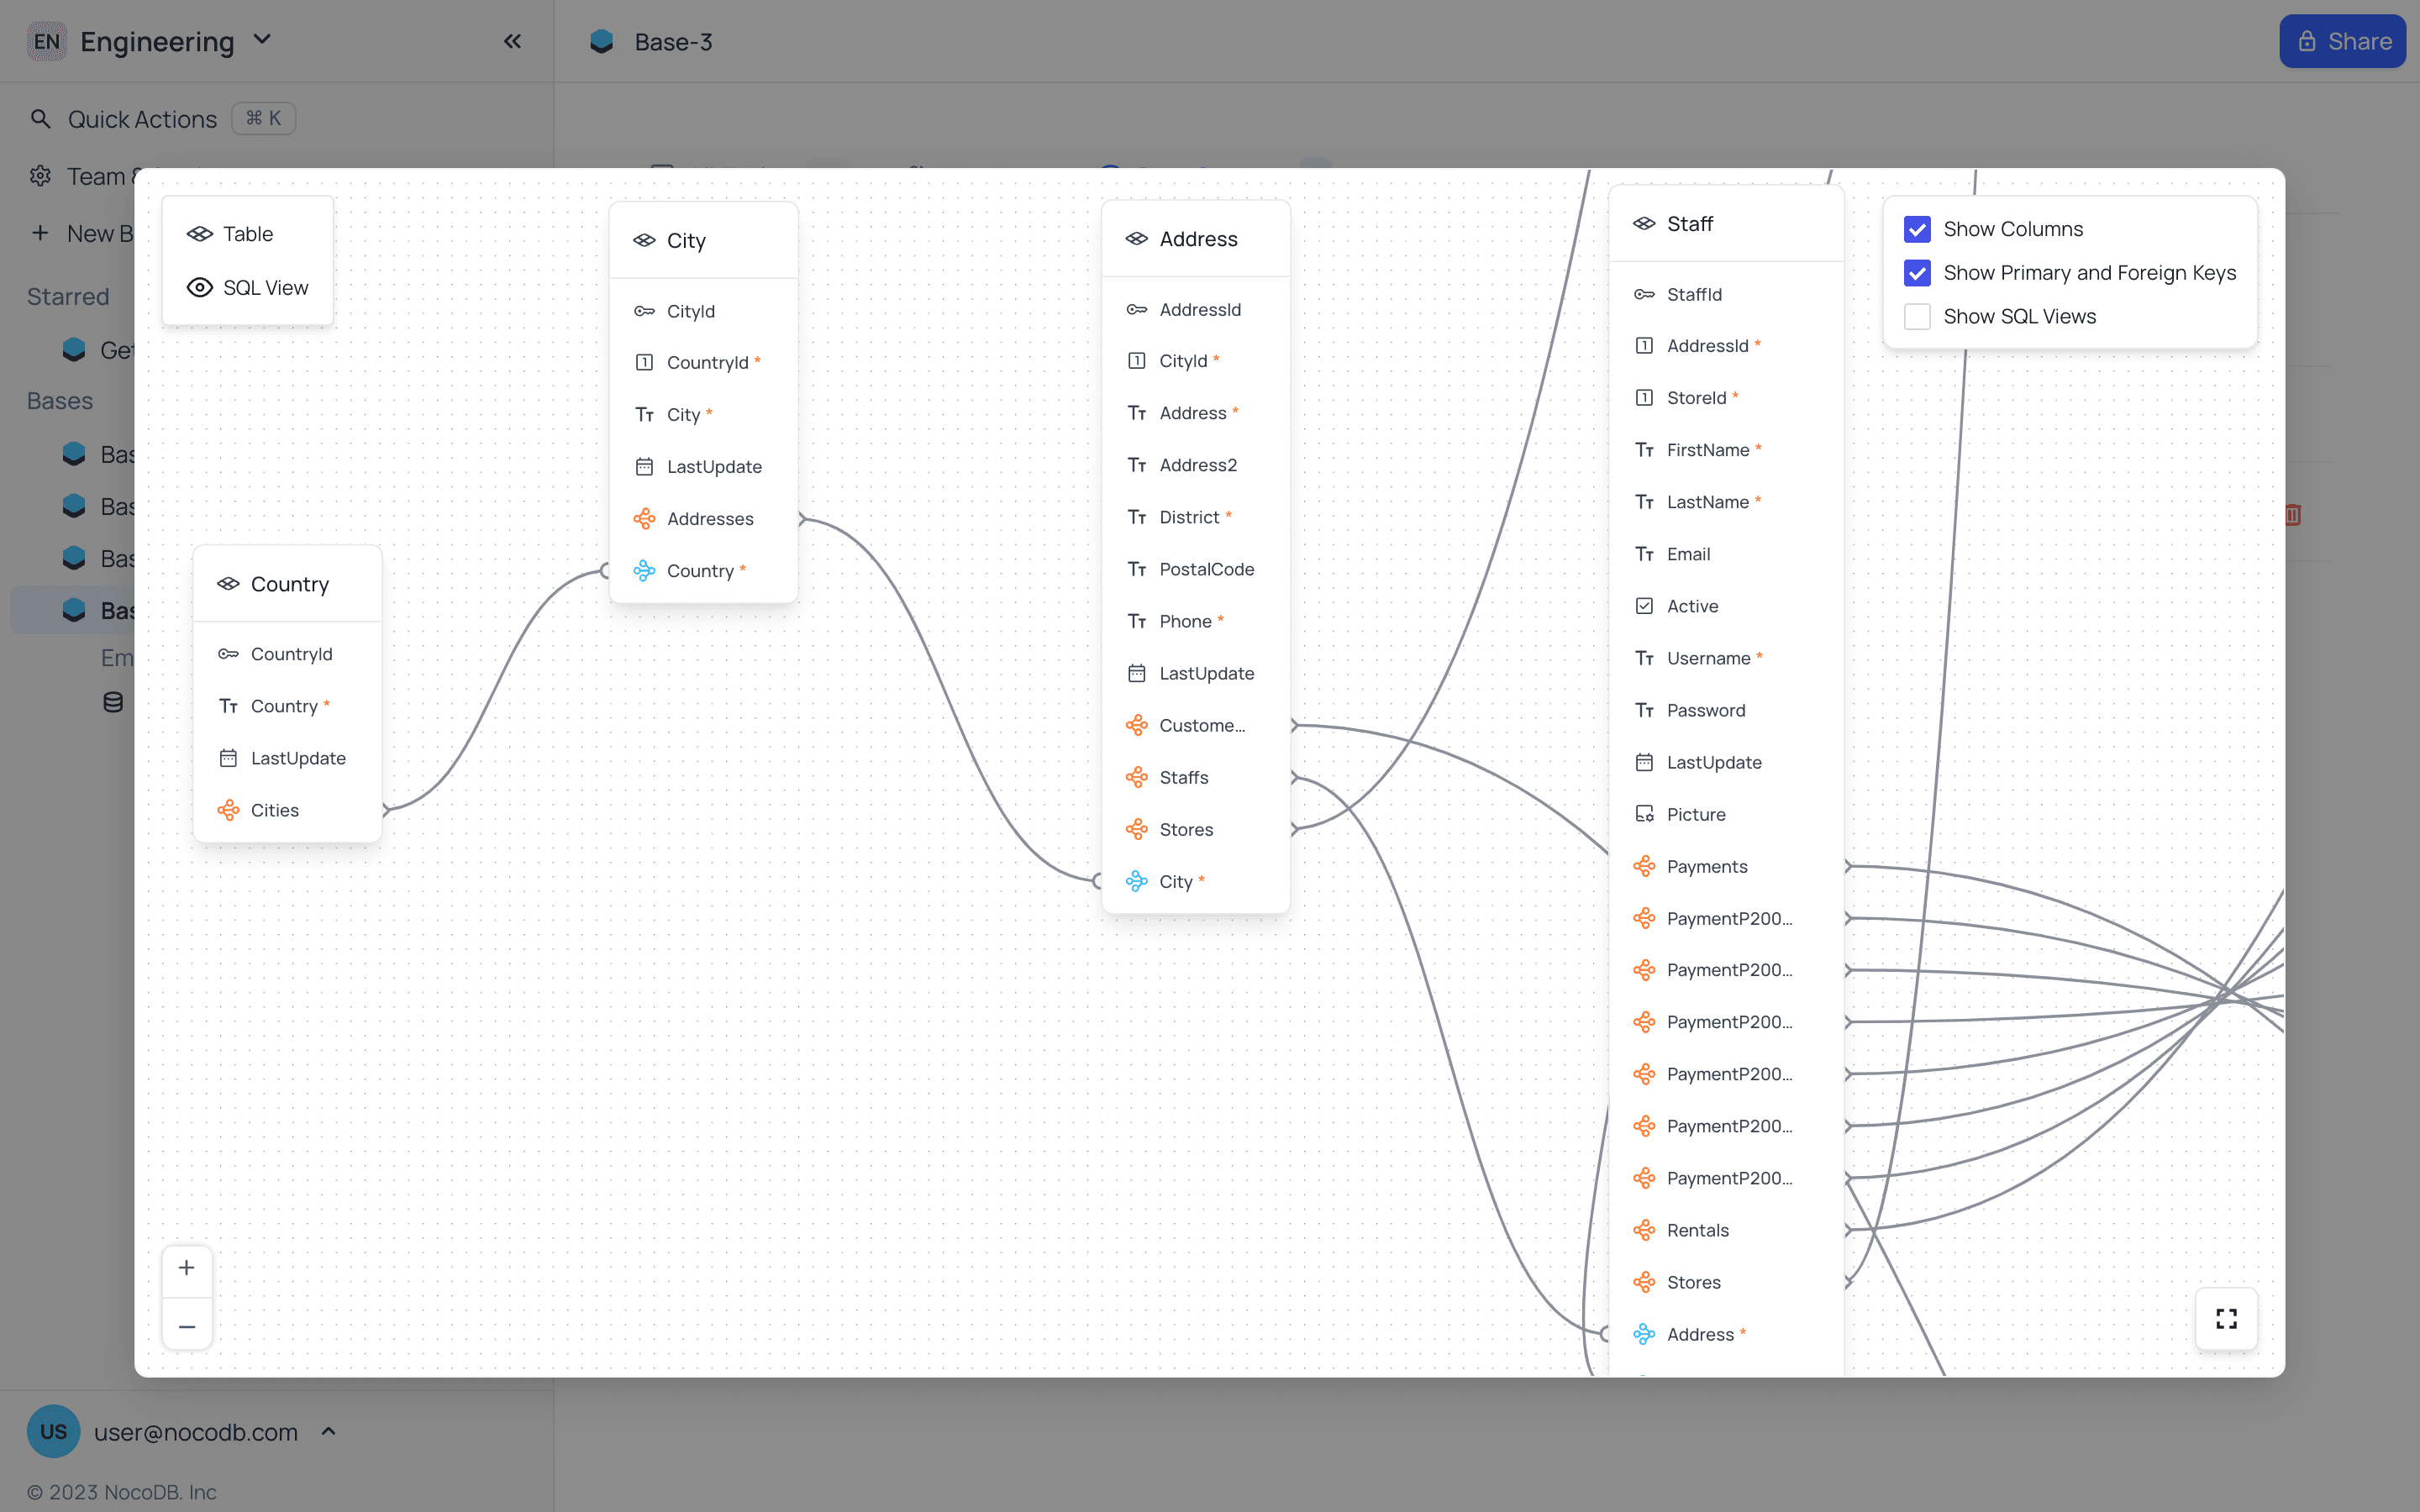
NocoDB shows a diagram of the relationships between the tables in a base.
- Open a table in the base.
- In the view toolbar, click Tools.
- Select Relations.
- Click Base relations.
REST APIs
Each base has a Swagger UI, where you can use its REST API endpoints. API v2 and API v3 are both available.
- In a base, open the base context menu.
- Hover over Rest APIs.
- Select API v2 or API v3.
For more details, see Accessing APIs.
Data display
Data Display controls how a base shows empty values and junction tables. To open it, go to the base context menu → Settings, then Admin → Data Display. The settings are in two groups. The group tells who the setting affects.
| Group | Setting | What it does |
|---|---|---|
| Just for you: changes only what you see, in every base | Show M2M Tables | Shows or hides many-to-many junction tables in the sidebar. |
| Show NULL in Cells | Shows NULL values in cells, so you can tell them apart from empty strings. | |
| For everyone: changes what everyone in this base sees | Show NULL and EMPTY in Filter | Adds filter options that tell NULL apart from empty string values. |
| Show app first in the sidebar | Shows the App tile of the base app above Data in the mini sidebar, instead of after Interfaces. |
Last updated on