Okta
This page gives the steps to configure Okta as the Identity service provider for NocoDB.
NocoDB, Retrieve Redirect URL
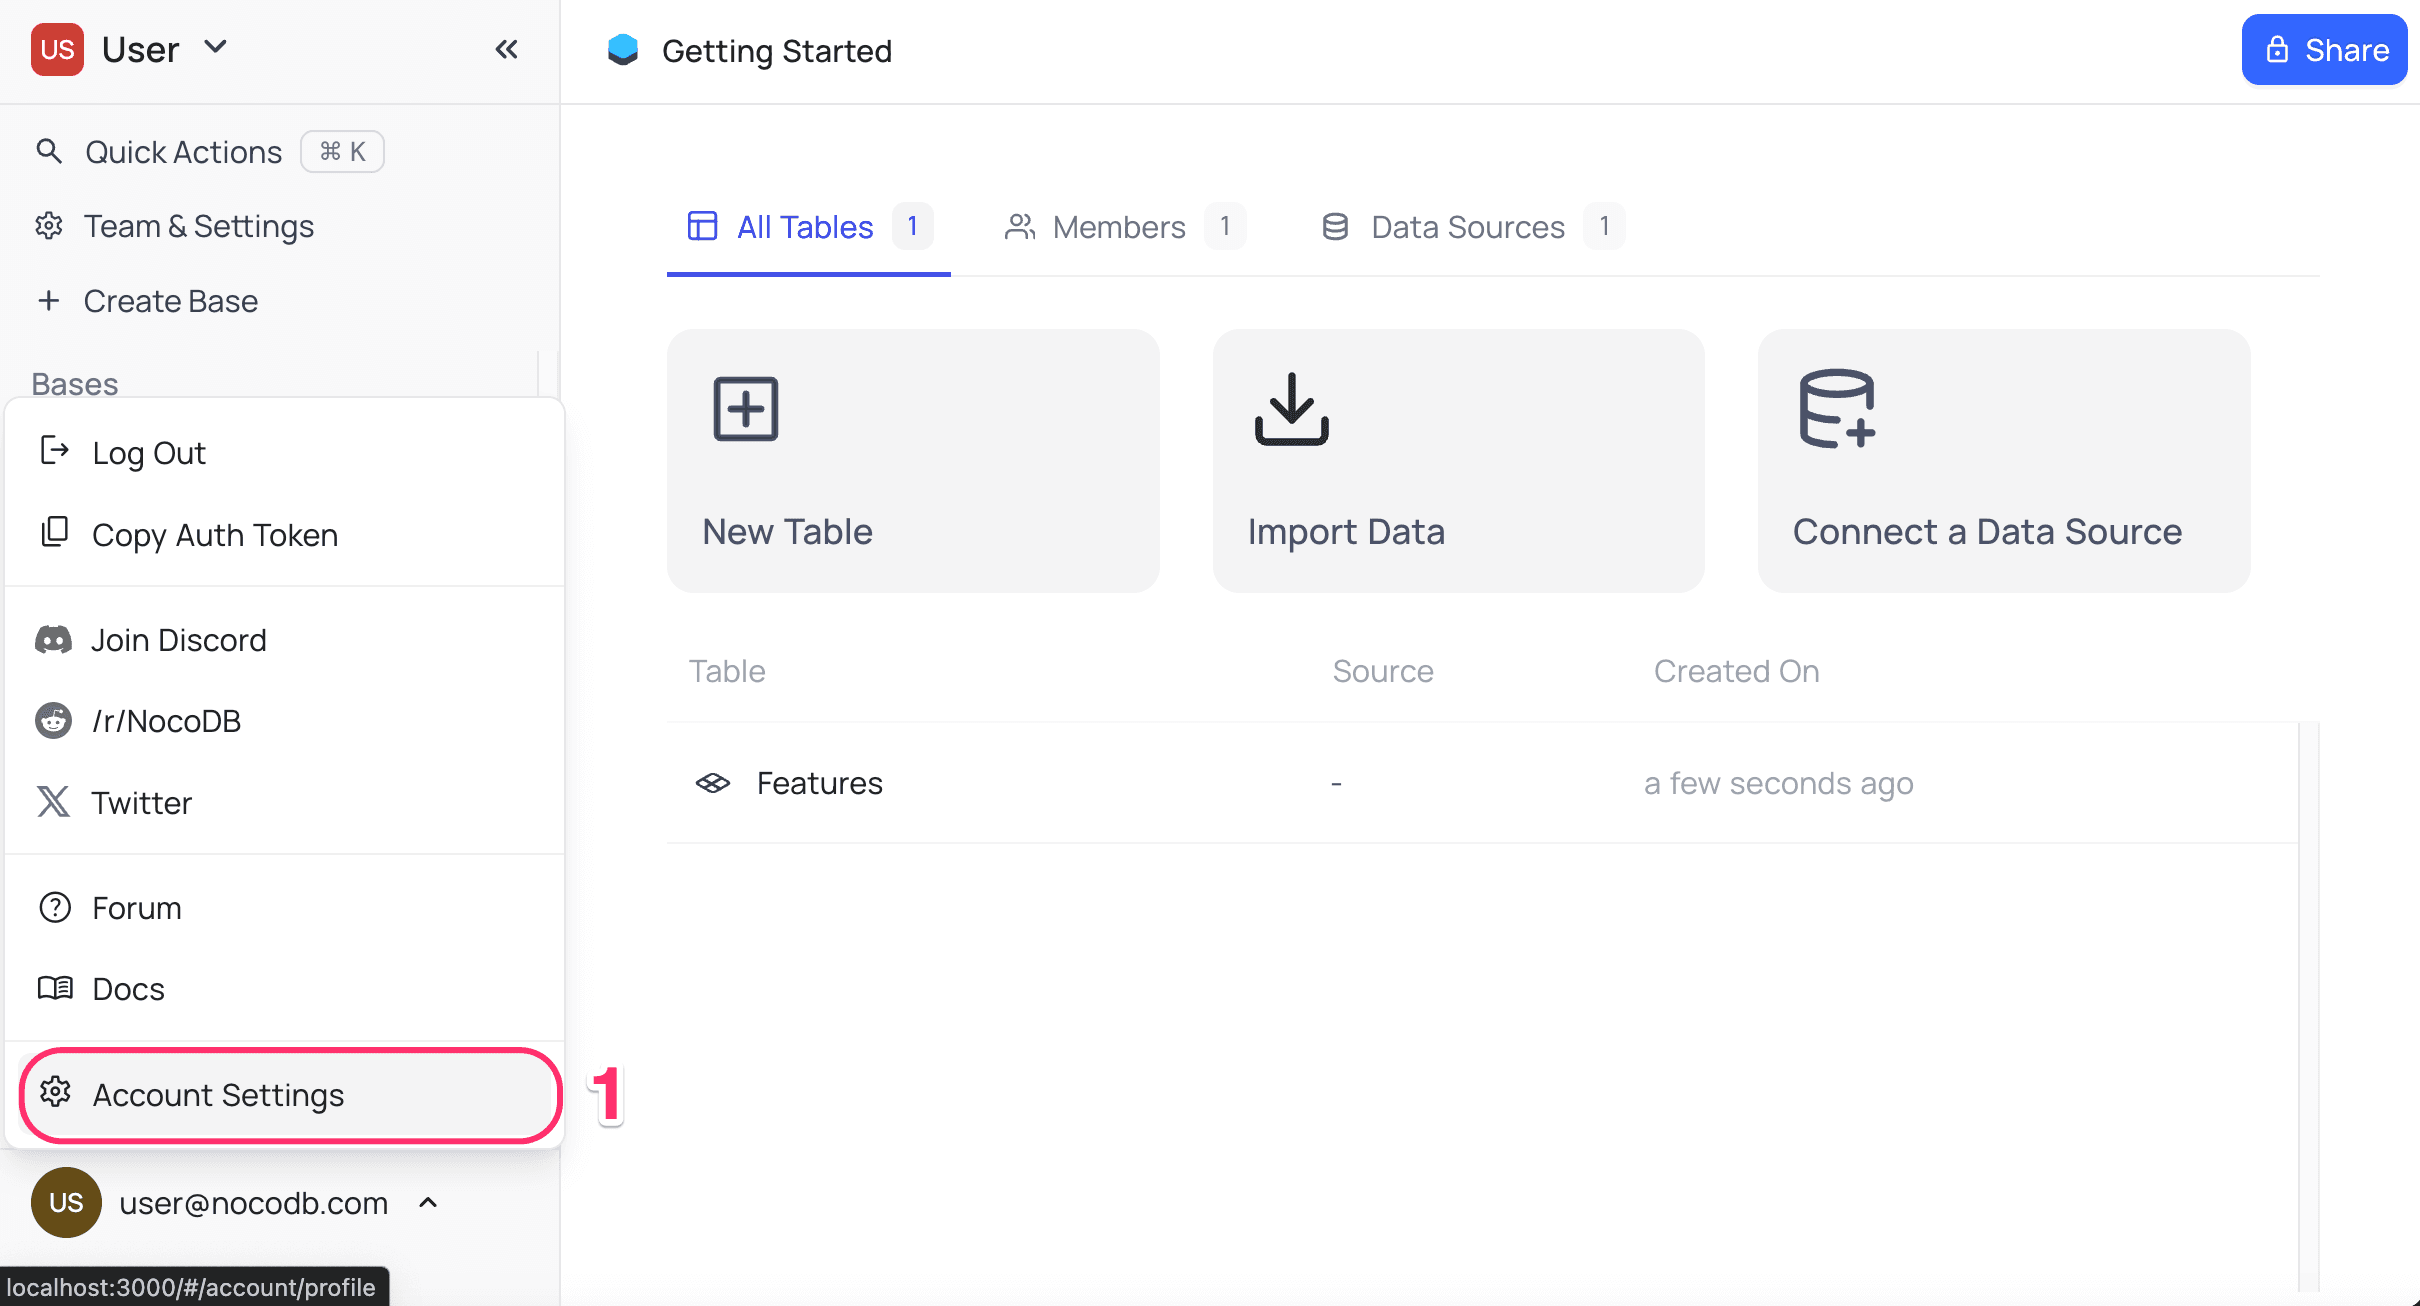
- Go to
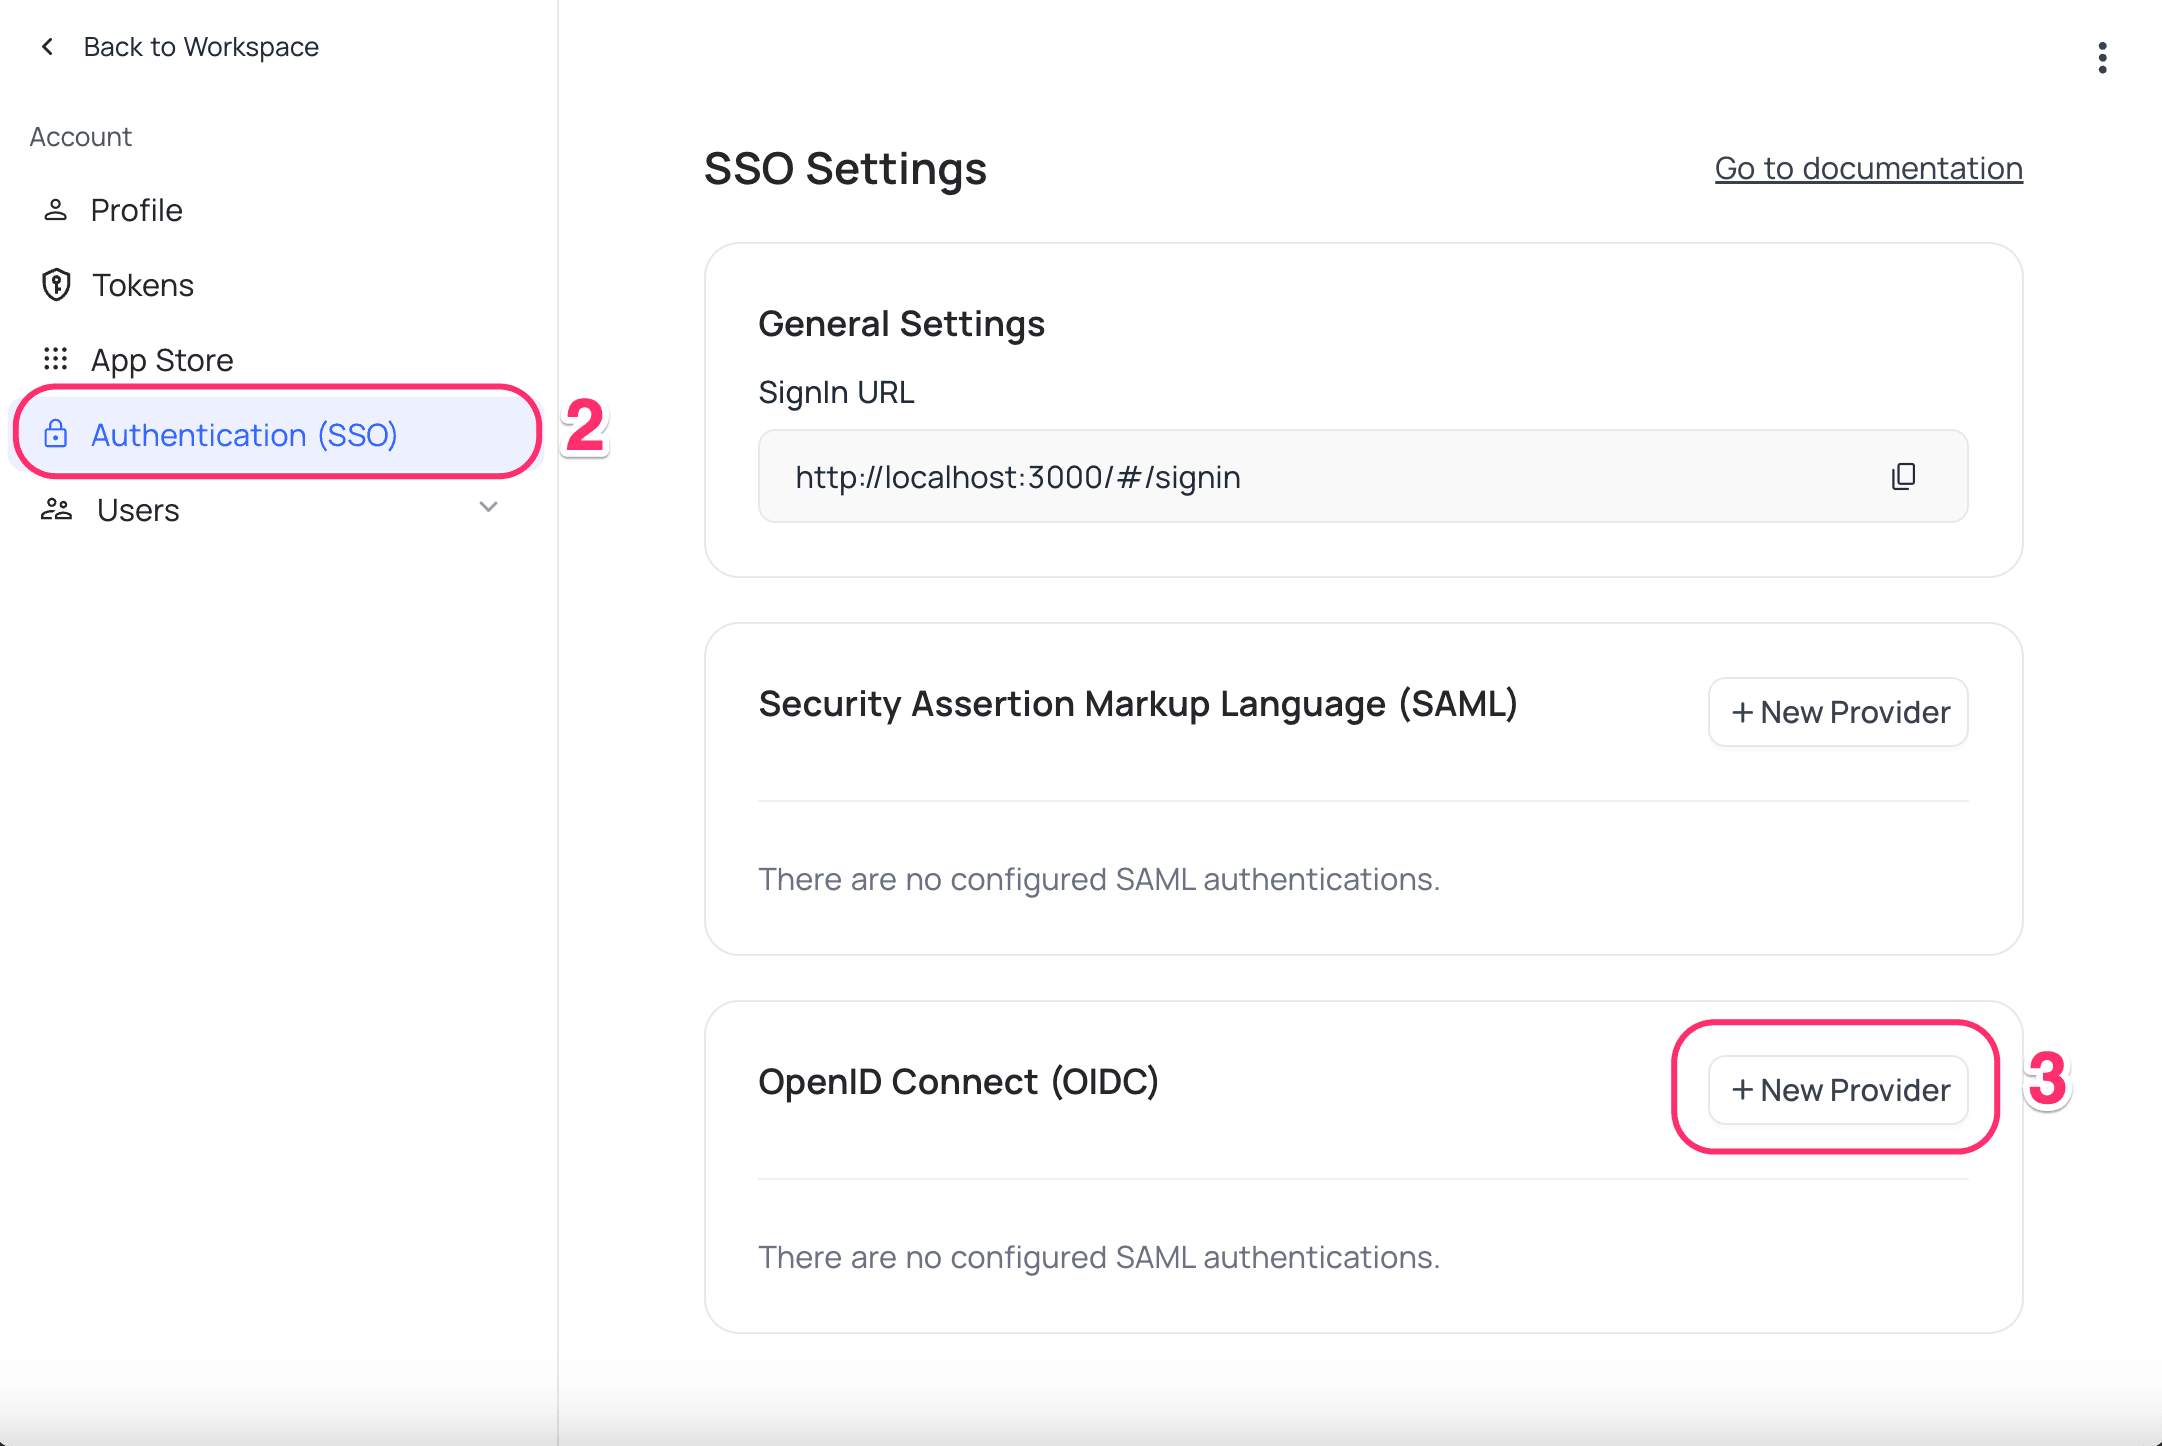
Account Settings. - Select
Authentication (SSO). - Click the
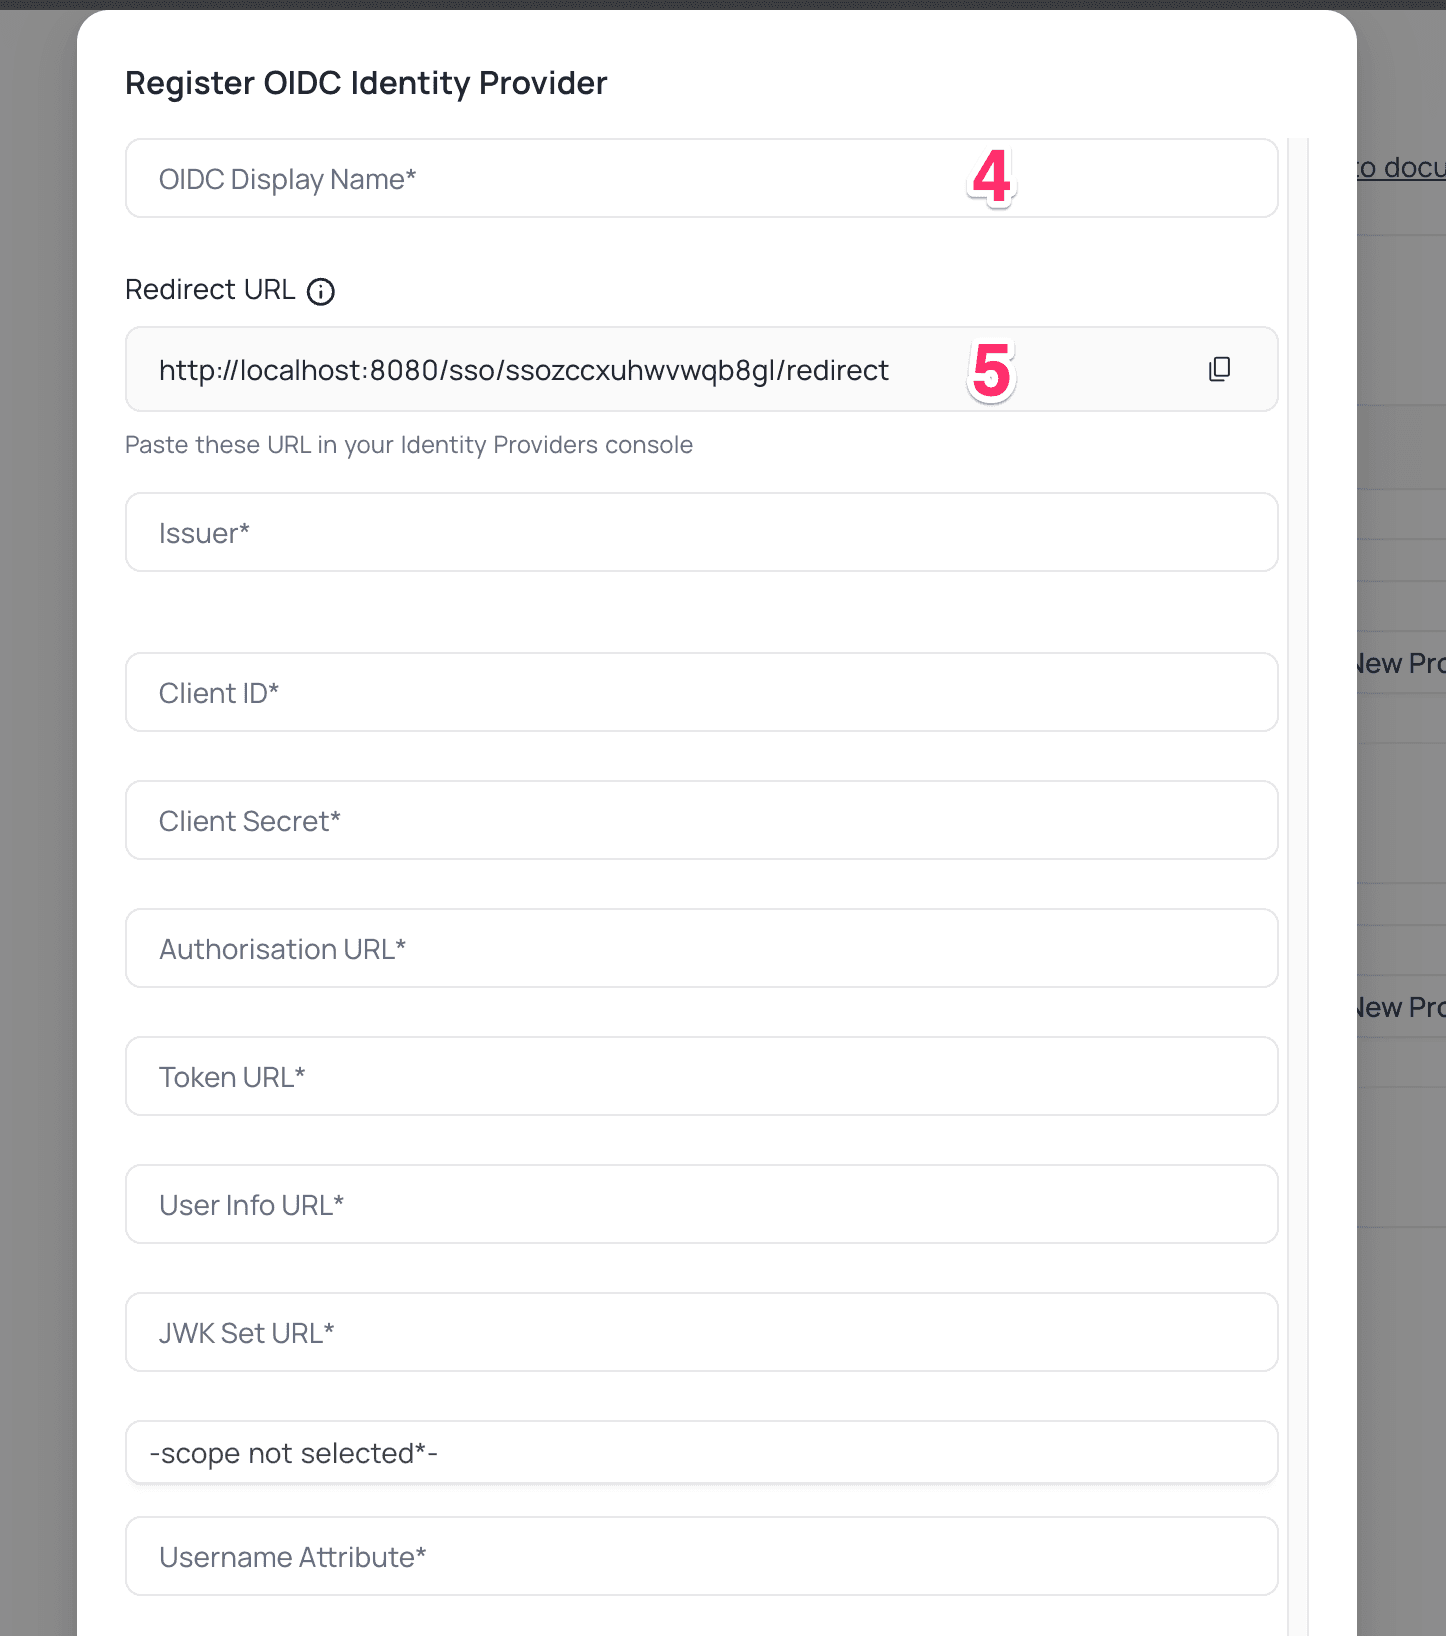
New Providerbutton. A popup modal opens. - In the popup modal, specify a
Display namefor the provider. The login page shows the provider with this name. - Copy the
Redirect URL. You configure it later in the Identity Provider.
Okta, Configure NocoDB as an Application
- Sign in to your Okta account. Go to the "Get started with Okta" page.
- For the Single Sign-On option, click
Add App. - On the
Browse App Integration Catalogpage, selectCreate New App.
- For the Single Sign-On option, click
- In the
Create a new app integrationpop-up:- Select
OIDC - OpenID Connectas the Sign-in method. - Select
Web Applicationas the Application type.
- Select
- On the
New Web App Integrationpage, go toGeneral Settings.- Type the name of your application.
- In the
Grant type allowedsection, selectAuthorization CodeandRefresh Token. - Below
Sign-in redirect URIs, add theRedirect URL. - In the
Assignments section, select an option fromControlled access. This option sets who can access this application. - Click
Save.
- In your new application:
- Go to the
Generaltab. - Copy the
Client IDandClient Secretfrom theClient Credentialssection.
- Go to the
- In the navigation bar, open the
Accountdropdown.- Copy the
Okta Domain.
- Copy the
- Add "./well-known/openid-configuration" to the end of the
Okta DomainURL. Open this URL.- Example: https://dev-123456.okta.com/.well-known/openid-configuration
- From the JSON response, copy
authorization_endpoint,token_endpoint,userinfo_endpointandjwks_uri.
NocoDB, Configure Okta as an Identity Provider
In NocoDB, open Account Settings > Authentication > OIDC. The "Register OIDC Identity Provider" modal opens. Enter this information:
| NocoDB field | Value |
|---|---|
Client ID | The Client ID from step (6) above |
Client Secret | The Client Secret from step (6) above |
Authorization URL | The authorization_endpoint from step (8) above |
Token URL | The token_endpoint from step (8) above |
Userinfo URL | The userinfo_endpoint from step (8) above |
JWK Set URL | The jwks_uri from step (8) above |
Scope | openid profile email offline_access |
| Username Attribute | The name of the claim that holds the email of the user. The default value is "email." |
The sign-in page now shows the Sign in with <SSO> option to users.
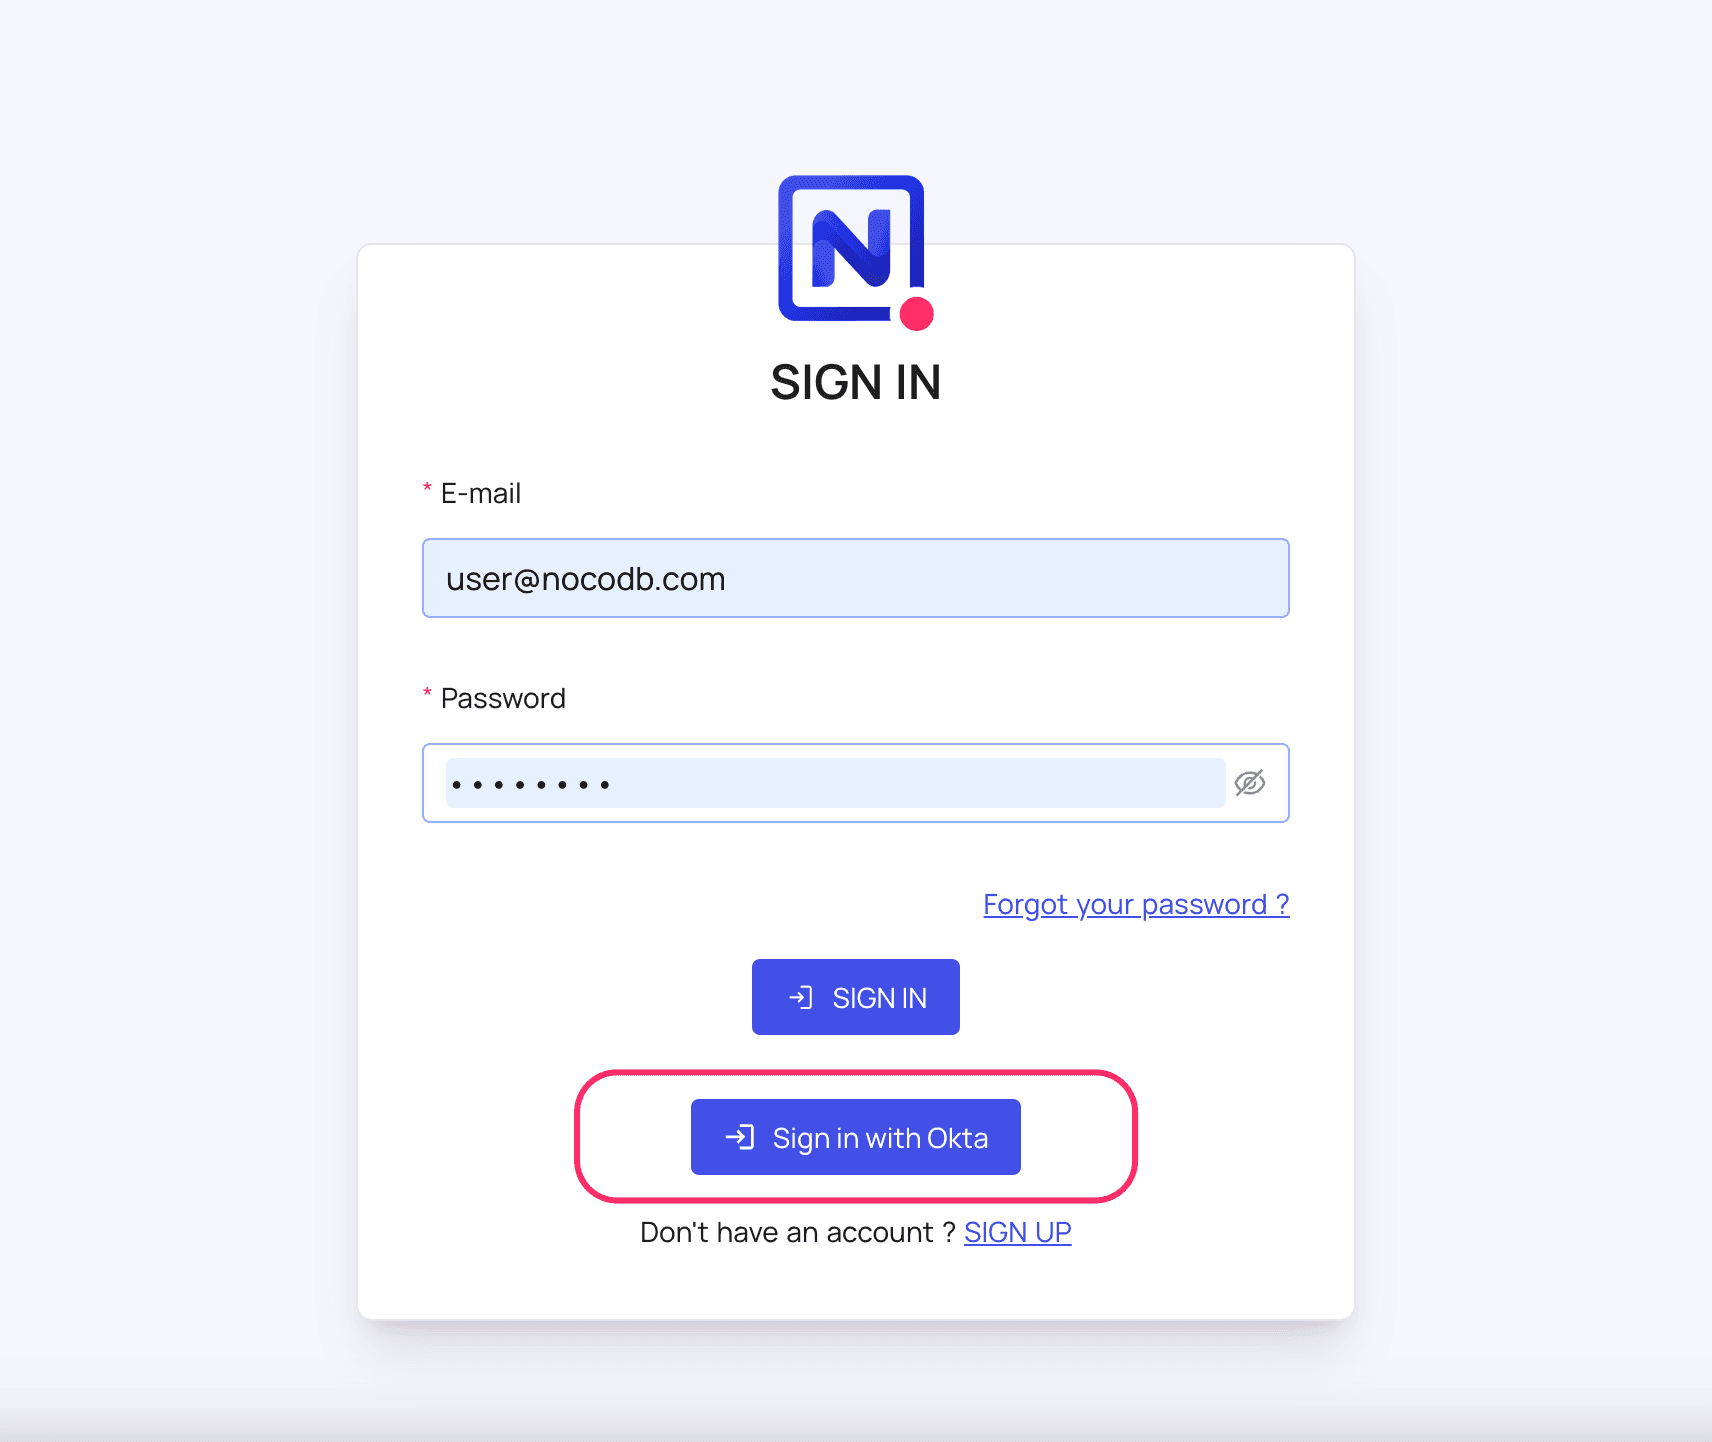
Post sign-out, refresh page (for the first time) if you do not see Sign in with SSO option
For information about Okta API Scopes, refer here.
For more common questions and troubleshooting, see our SSO FAQ.
Availability
- OIDC SSO is available on NocoDB Cloud (Business plan and above) and on licensed self-hosted deployments (Business plan and above). For access, reach out to sales team.
- For users on the Business plan, the SSO configuration menu is in the workspace sidebar, at Settings > Single Sign-On (SSO). For more information, refer here.
- Domain Verification Required for Cloud Plans: Before you configure OIDC SSO, you must verify your domain in NocoDB. This is necessary for both Business and Enterprise plans in the cloud. Only users with email addresses from verified domains can sign in through SSO. For more information, refer to Domain Verification.
Last updated on
Latest product updates?See Changelog