Custom Sync
Custom Sync is the App Sync category for databases. It mirrors tables from an external PostgreSQL, MySQL, or Microsoft SQL Server database into your base. The synced tables stay up to date with their source. Business teams get a friendly interface over operational data, without migrations or export scripts.
Other App Sync categories map sources onto predefined schemas. Custom Sync works with your schema. You select the tables, and you control how each column maps to a NocoDB field type.
How It Works
Custom Sync is strictly one-way: from the database into NocoDB. Synced tables are read-only mirrors, so the source database stays the single source of truth. Custom Sync refreshes data with the standard App Sync system:
- Incremental or Full runs
- Runs that start manually or on a schedule
- Configurable source-delete handling
Custom Sync lists only regular tables for syncing. It does not list database views. Each Custom Sync connects to one source, but a base can contain as many Custom Syncs as you need.
Create a Custom Sync
-
On the base overview page, open the Manage → Sync tab.
-
Click + New Sync.
-
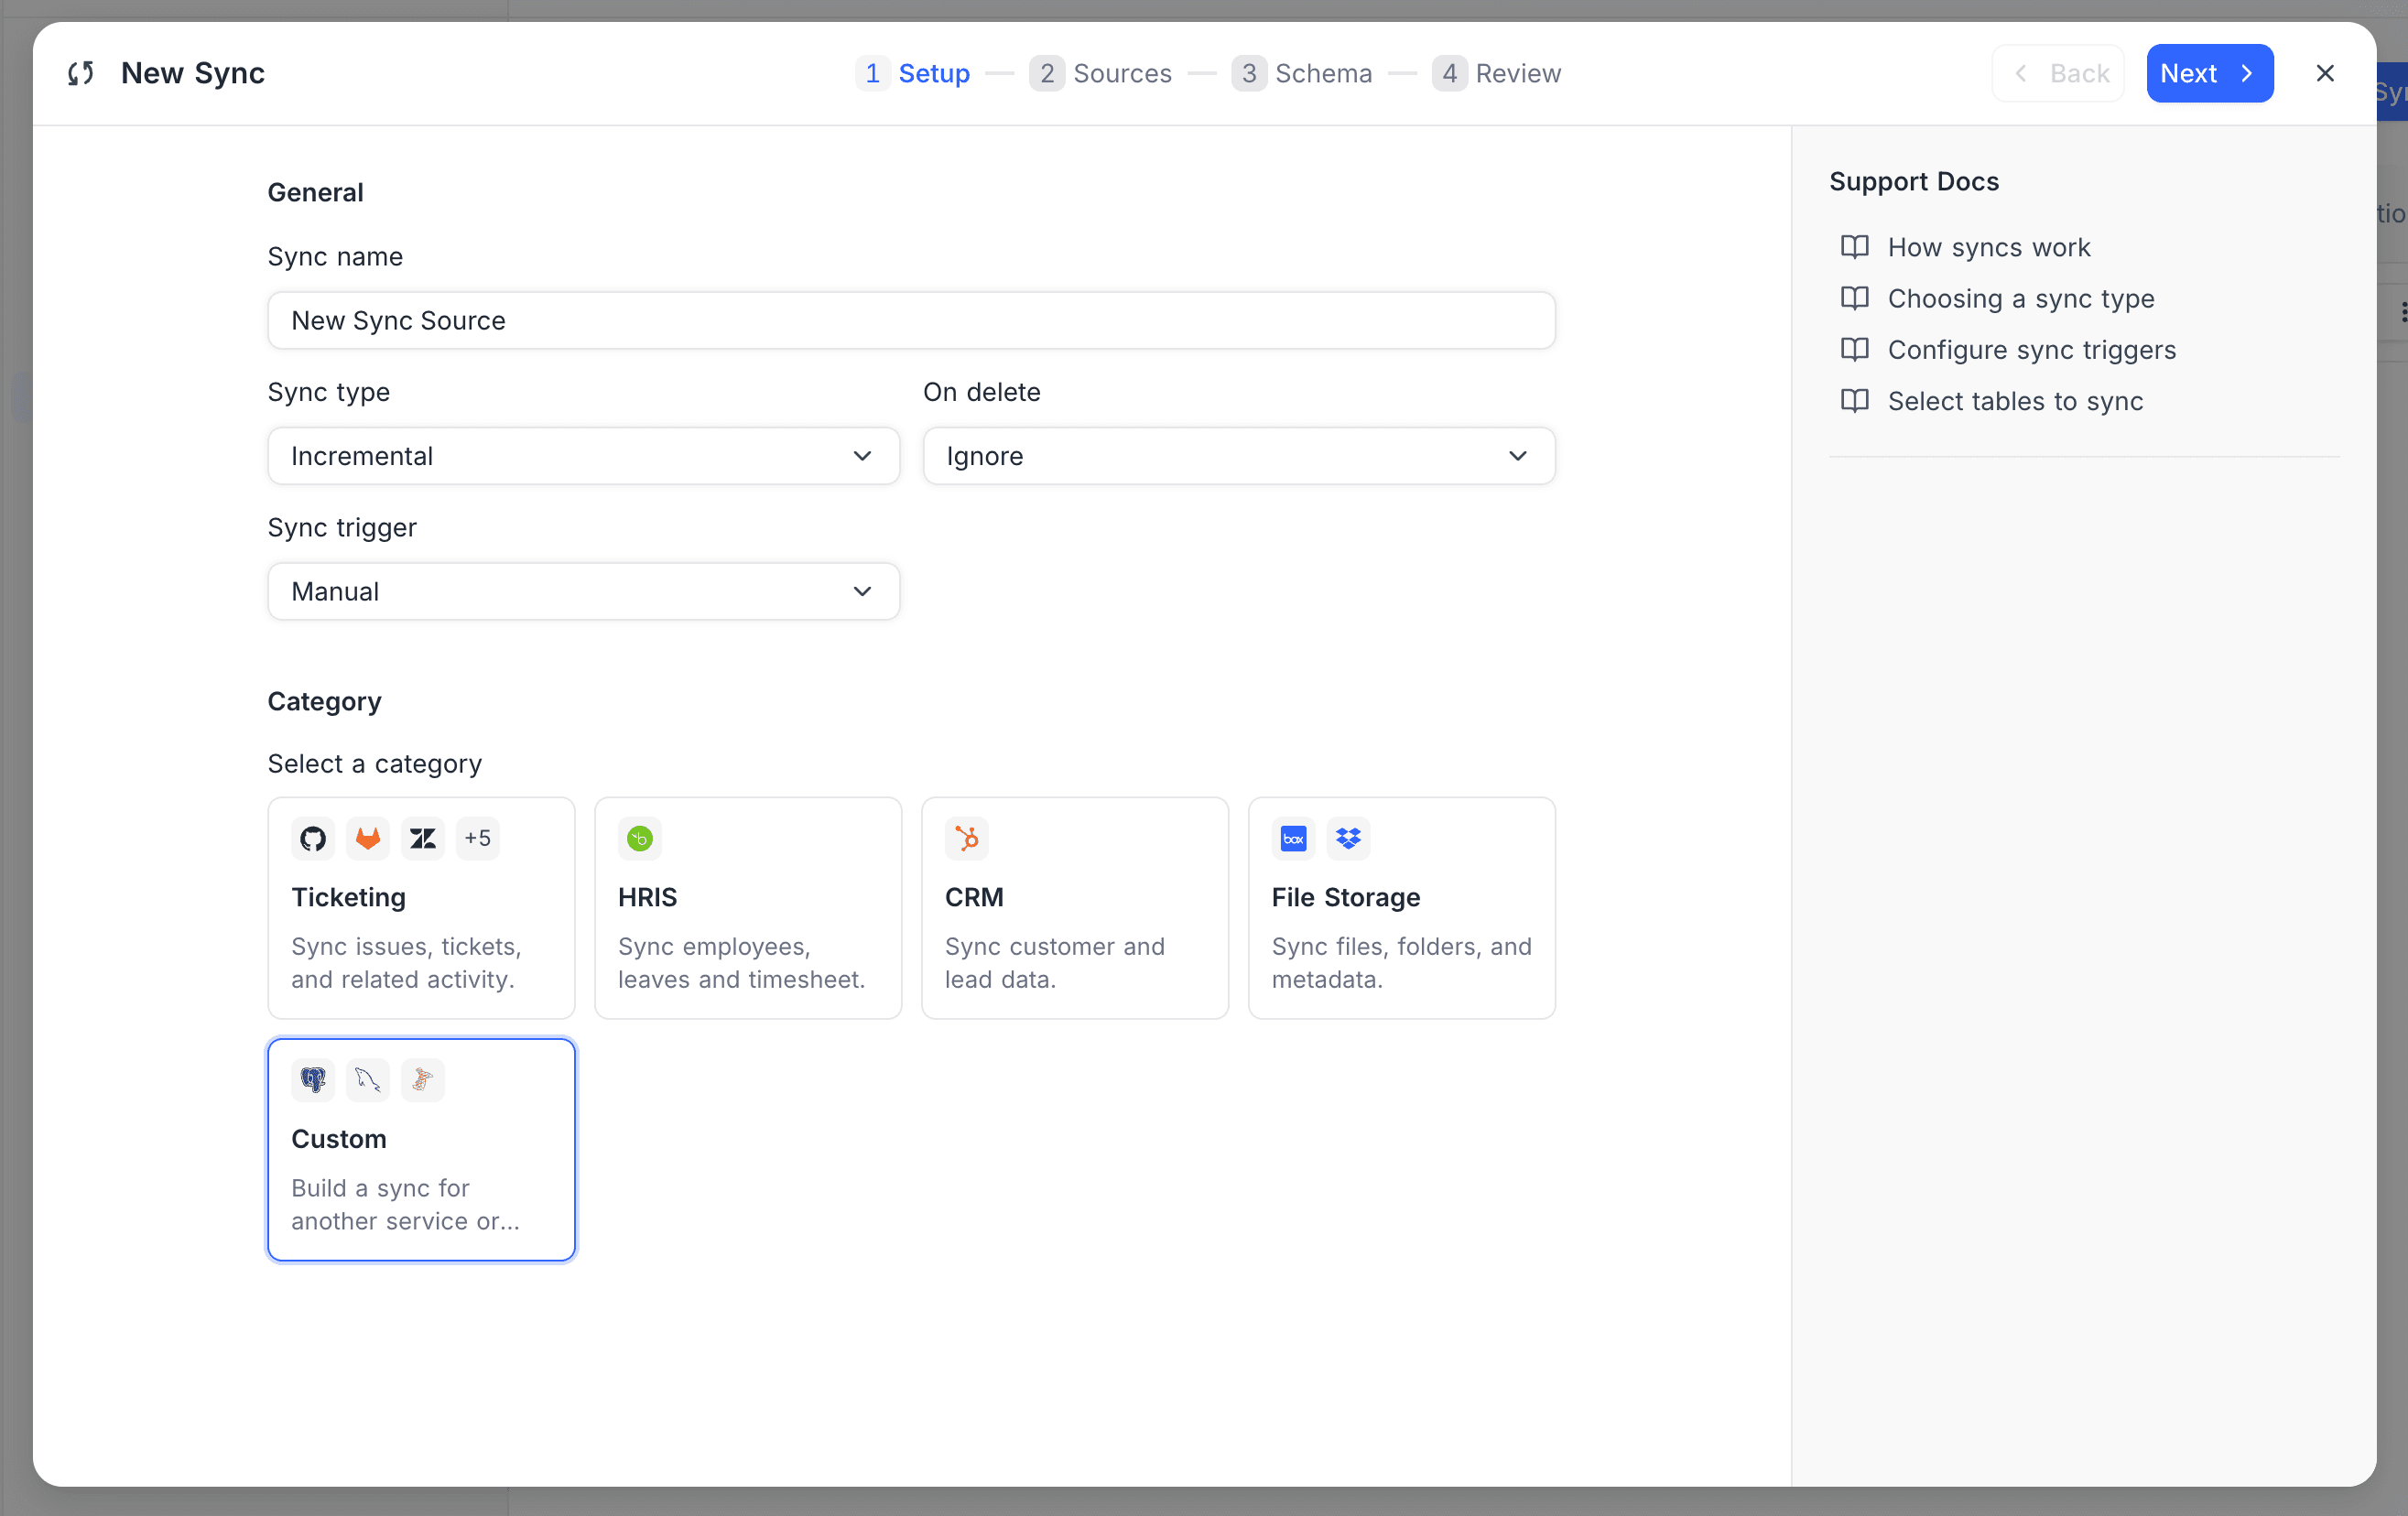
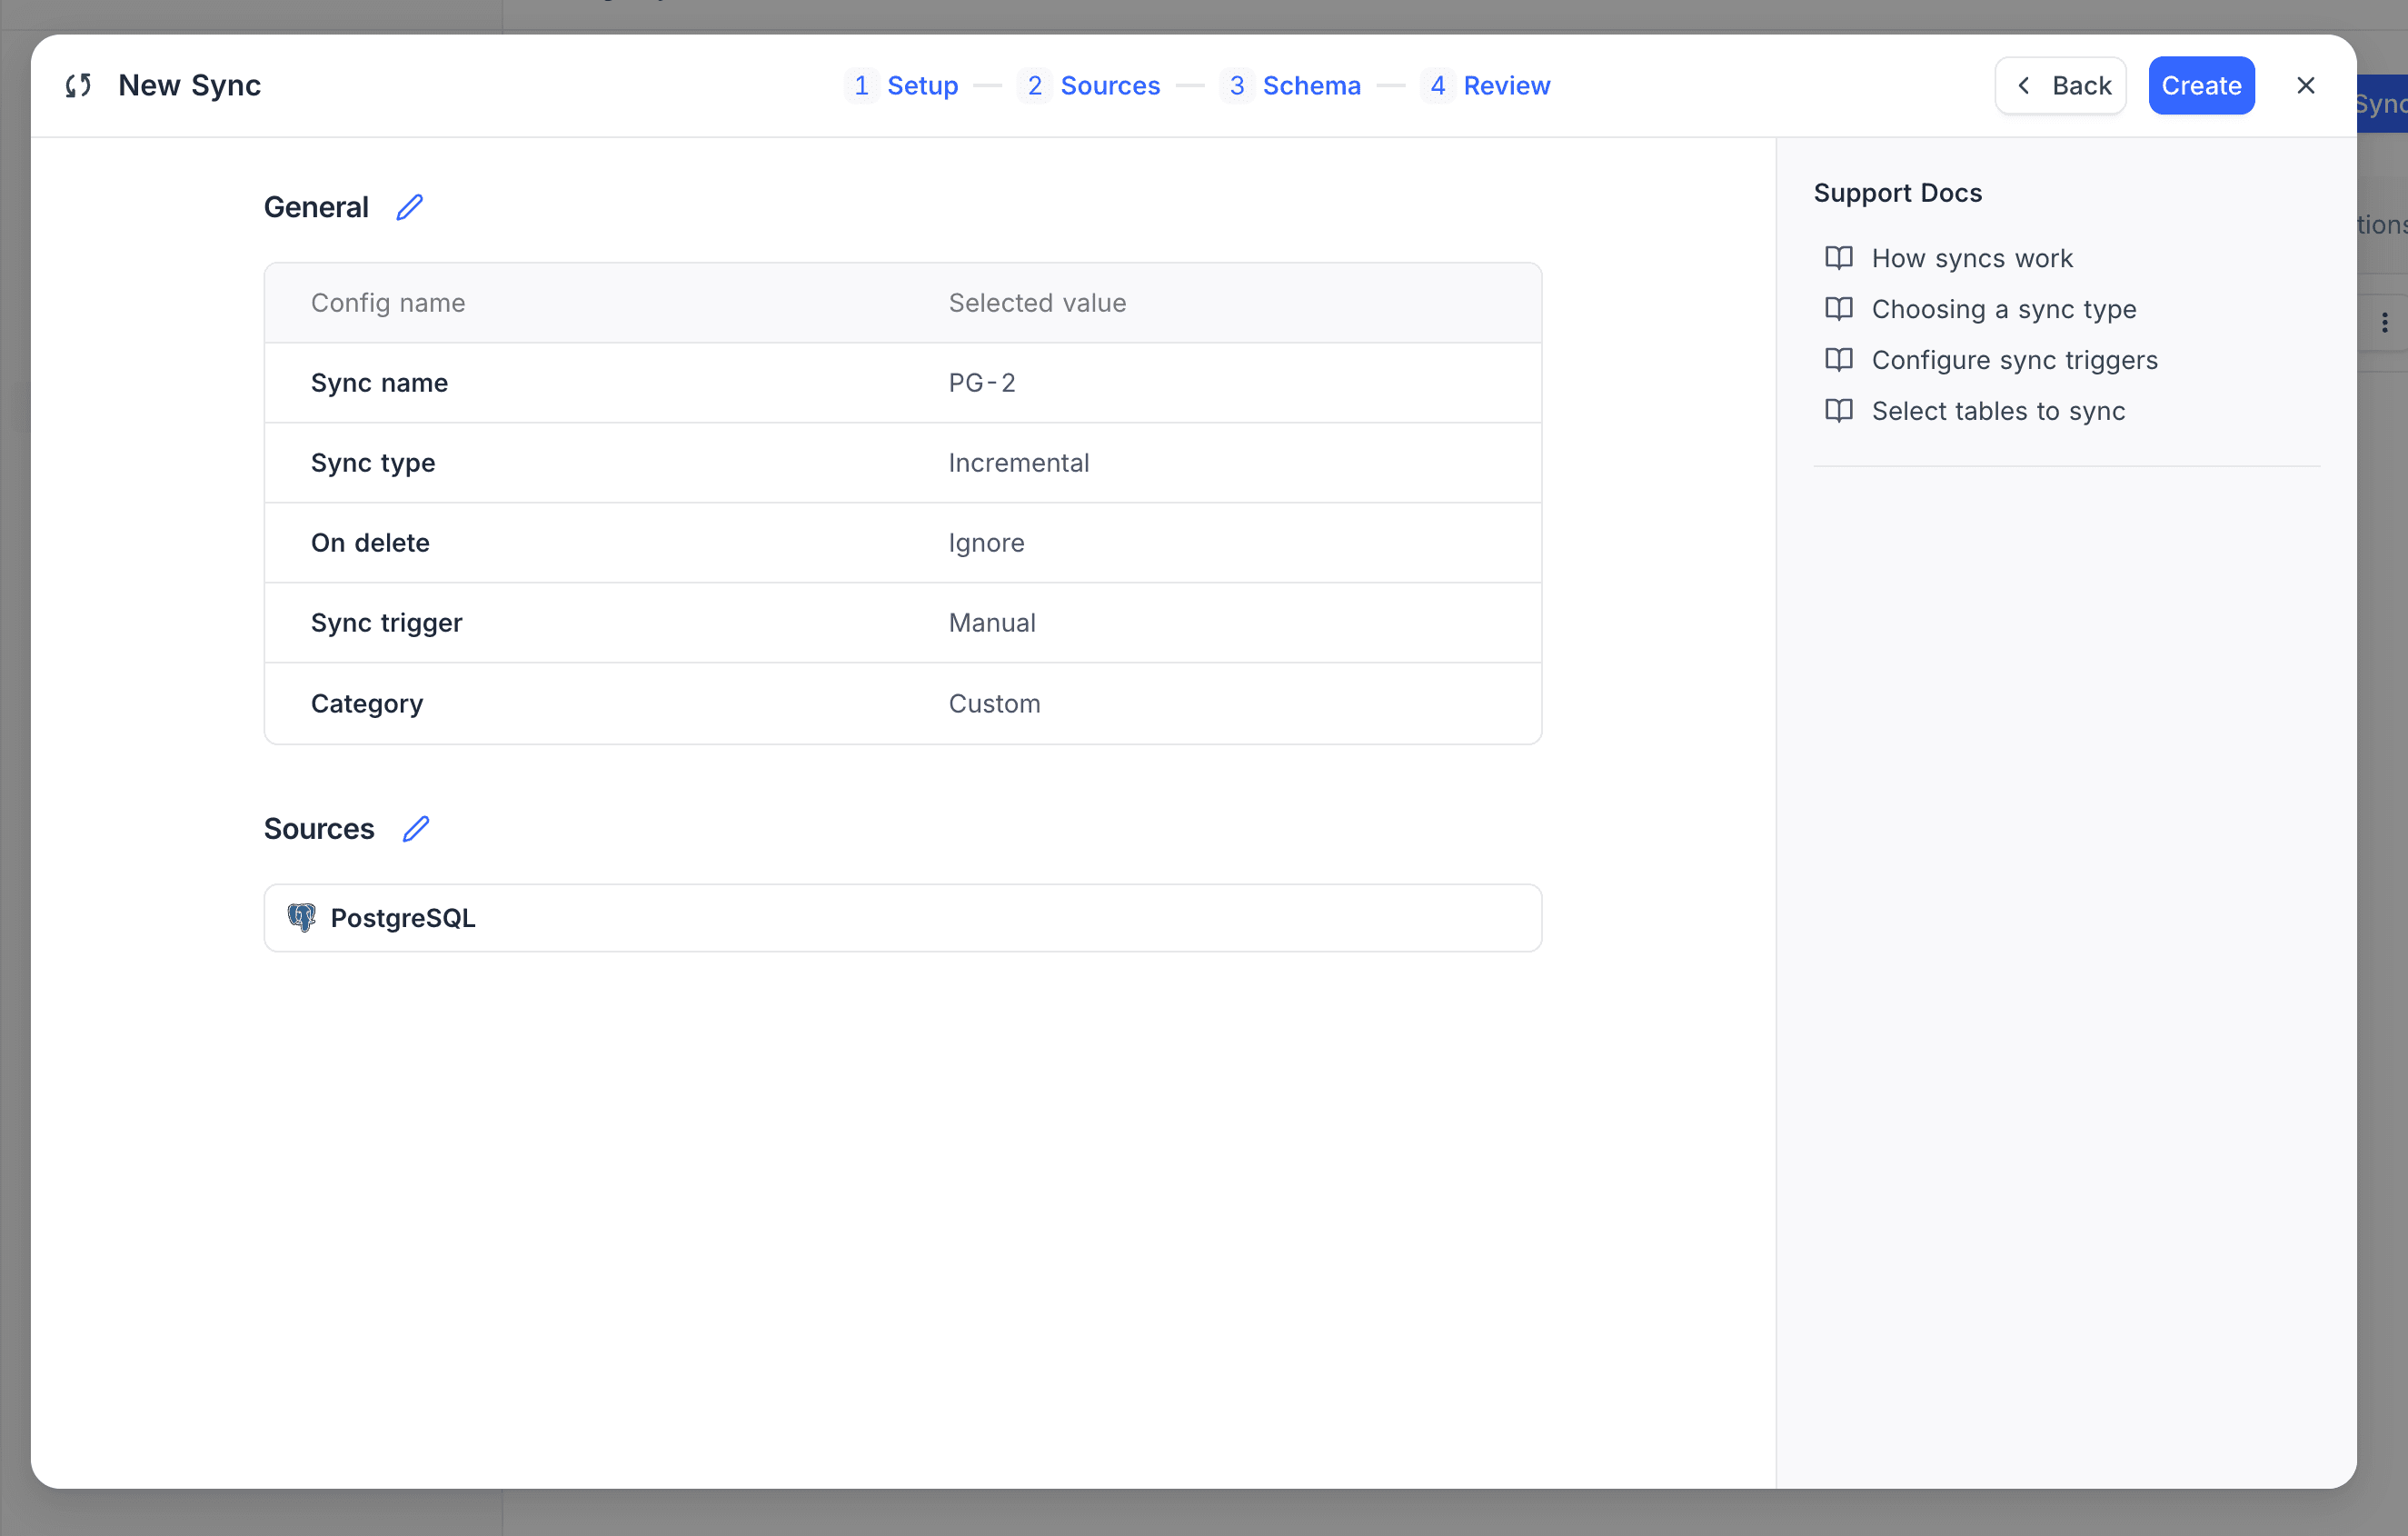
In the Setup step, type a name for the sync.
-
Configure the Sync type, Sync trigger, and On delete behavior.
-
Select the Custom category.
-
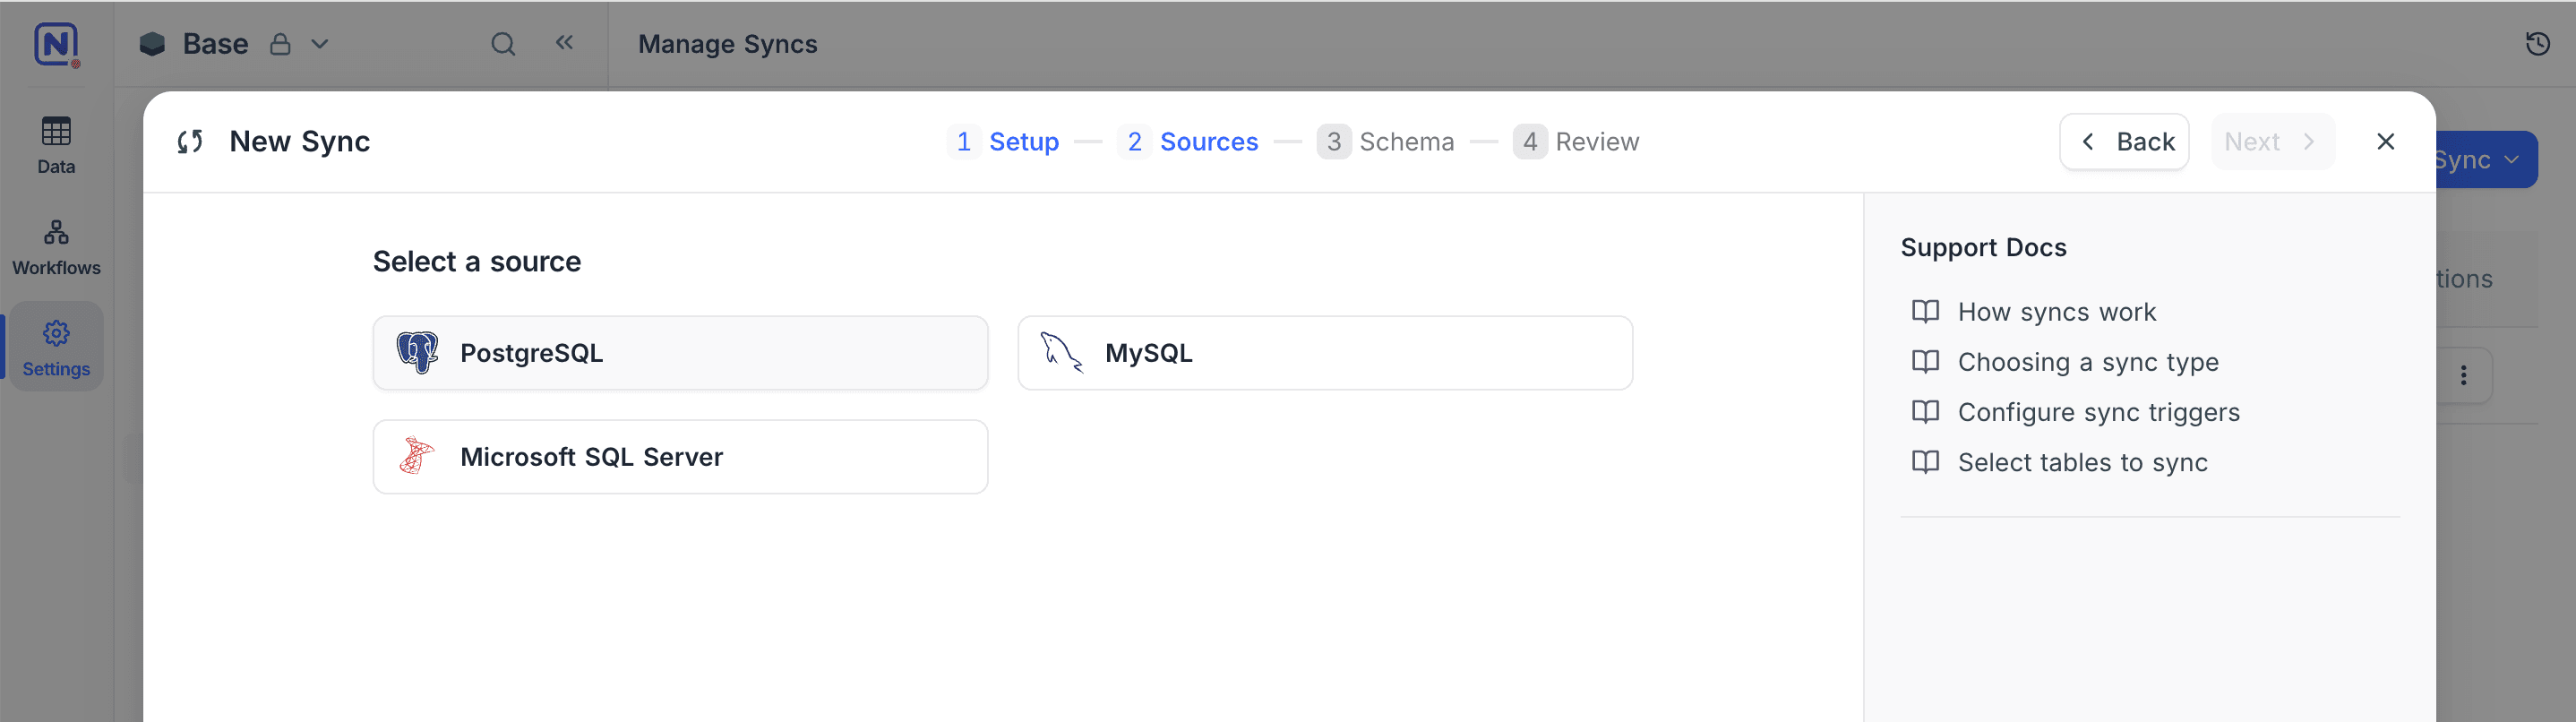
In the Sources step, select your database engine: PostgreSQL, MySQL, or Microsoft SQL Server.
-
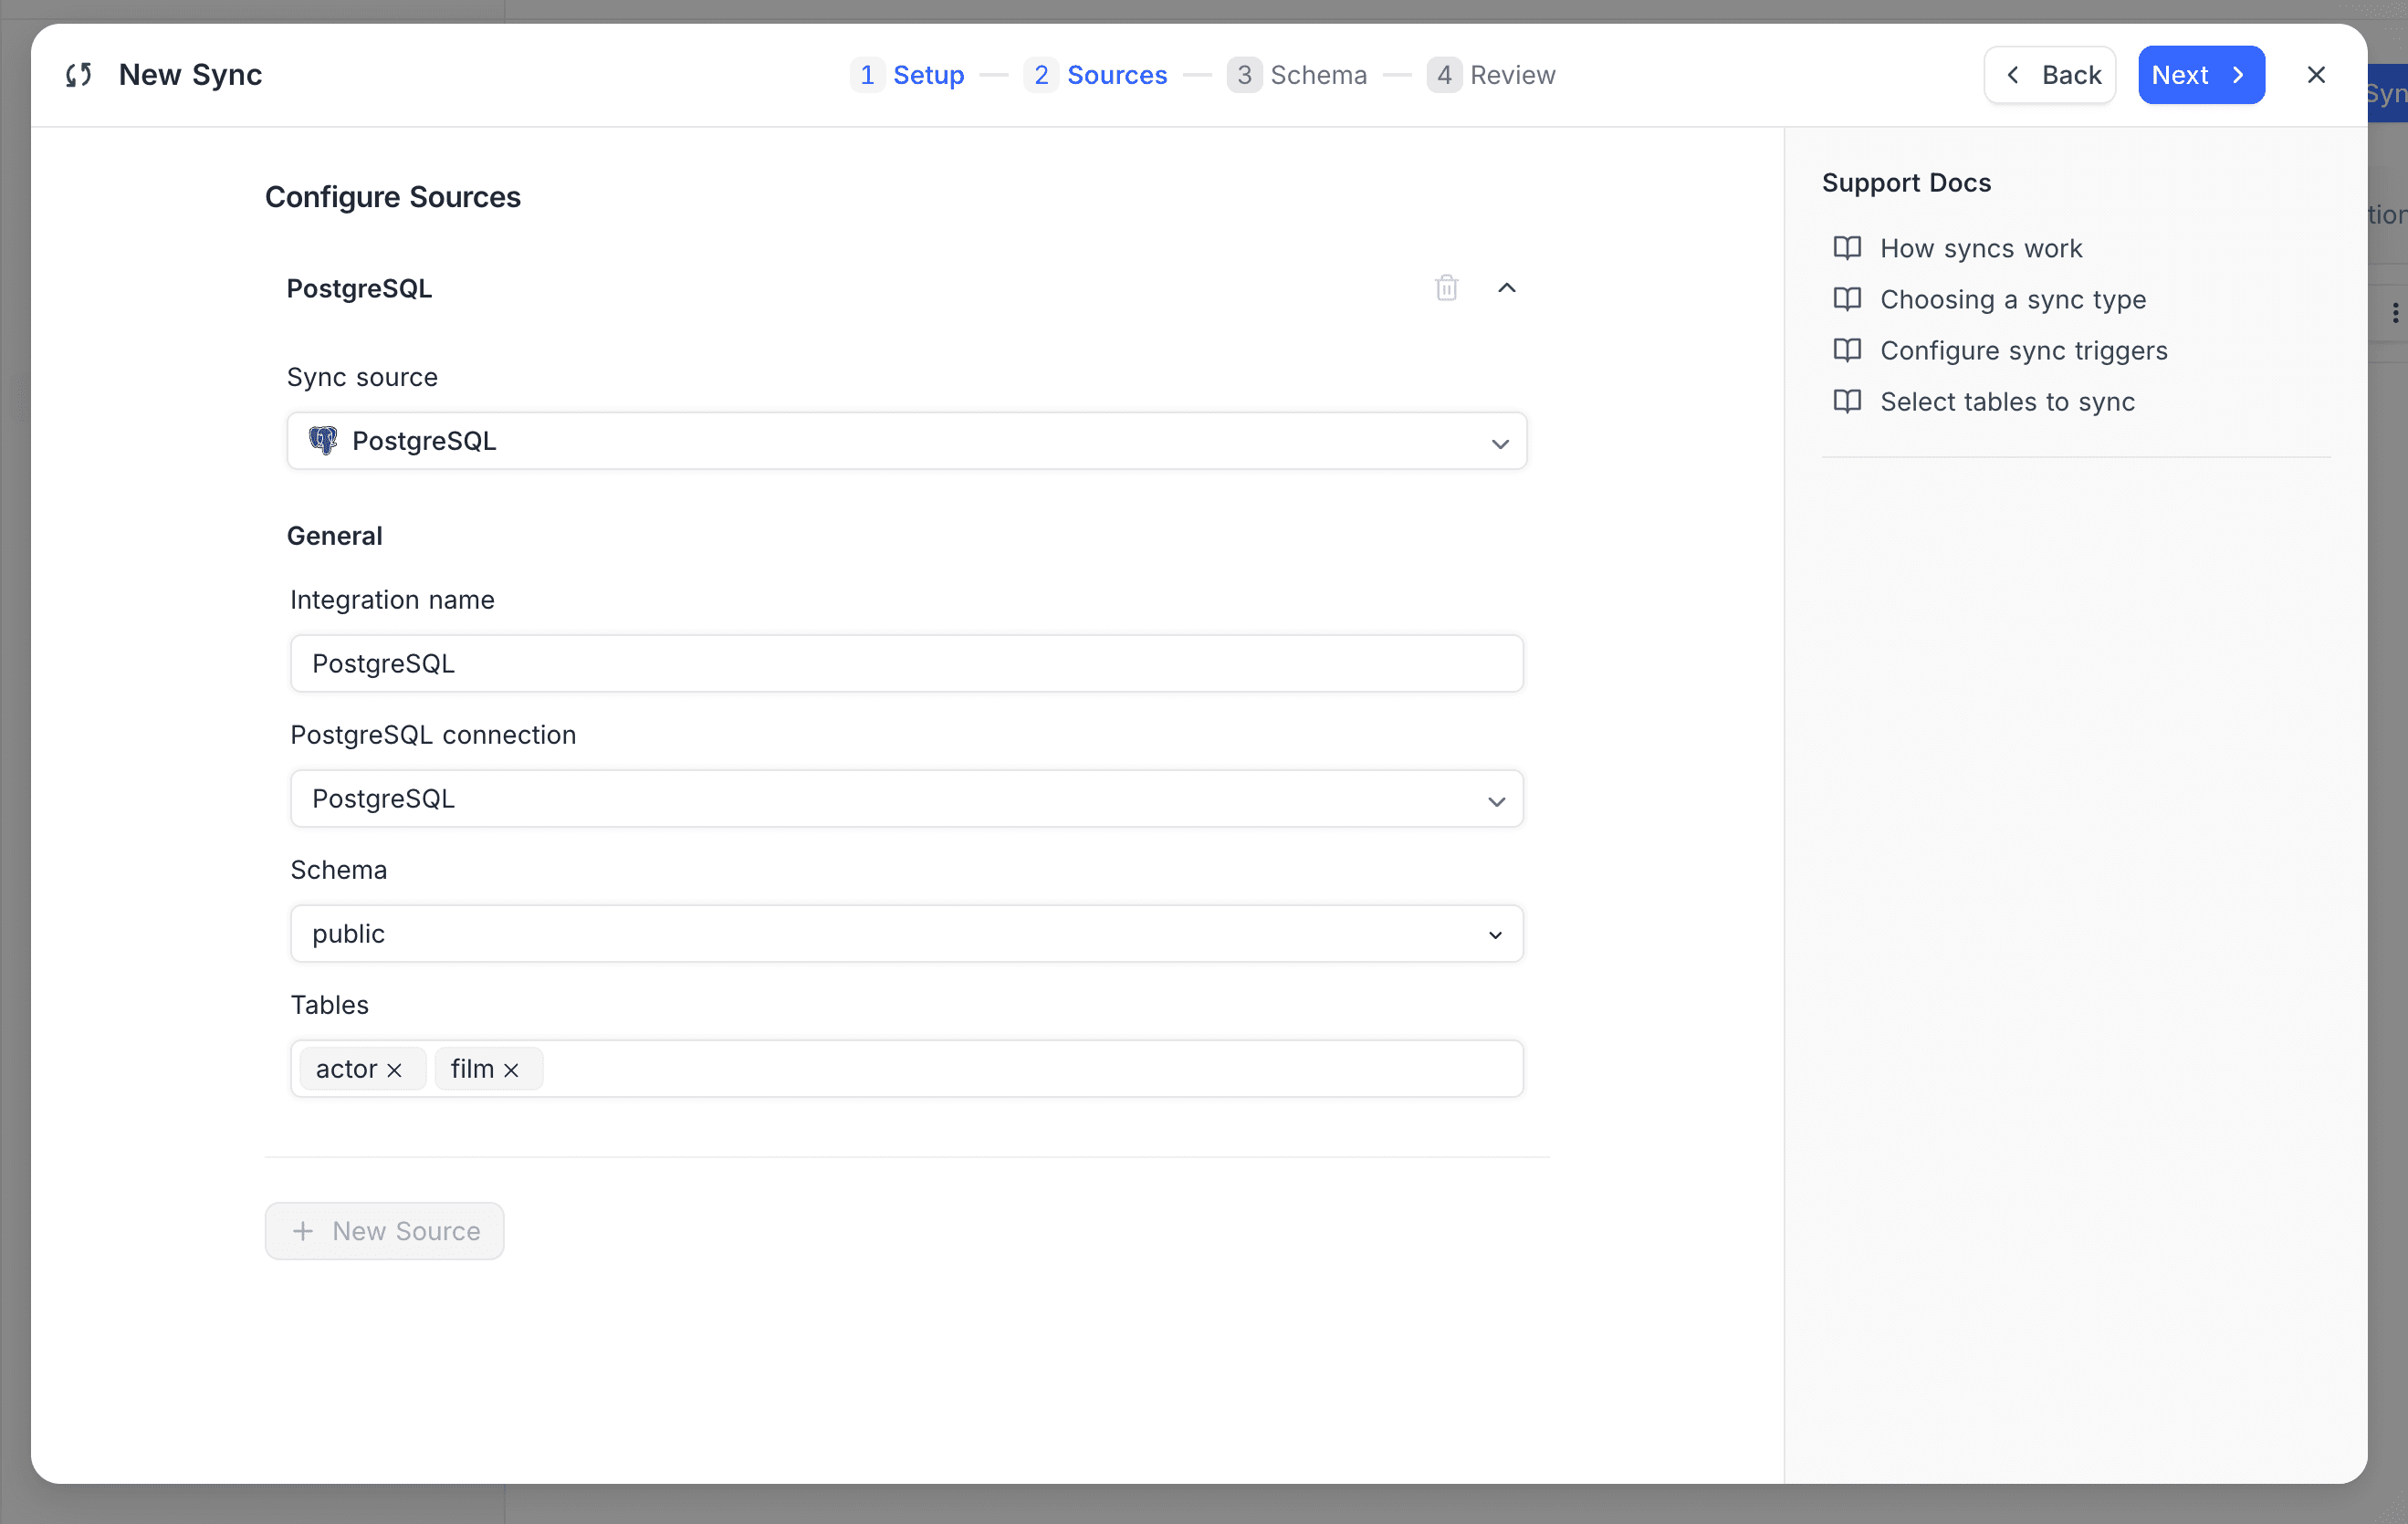
Select an existing database connection, or create a new one (host, port, username, password, database).
-
Select the Schema (PostgreSQL, SQL Server) or Database (MySQL).
-
Select the Tables to sync.
For PostgreSQL and MySQL, the SSL mode can be No SSL, Preferred, Allowed, Required, or Required (verify with CA). Preferred and Allowed encrypt the connection, but they do not verify the server certificate. Use them for servers with a self-signed certificate.
-
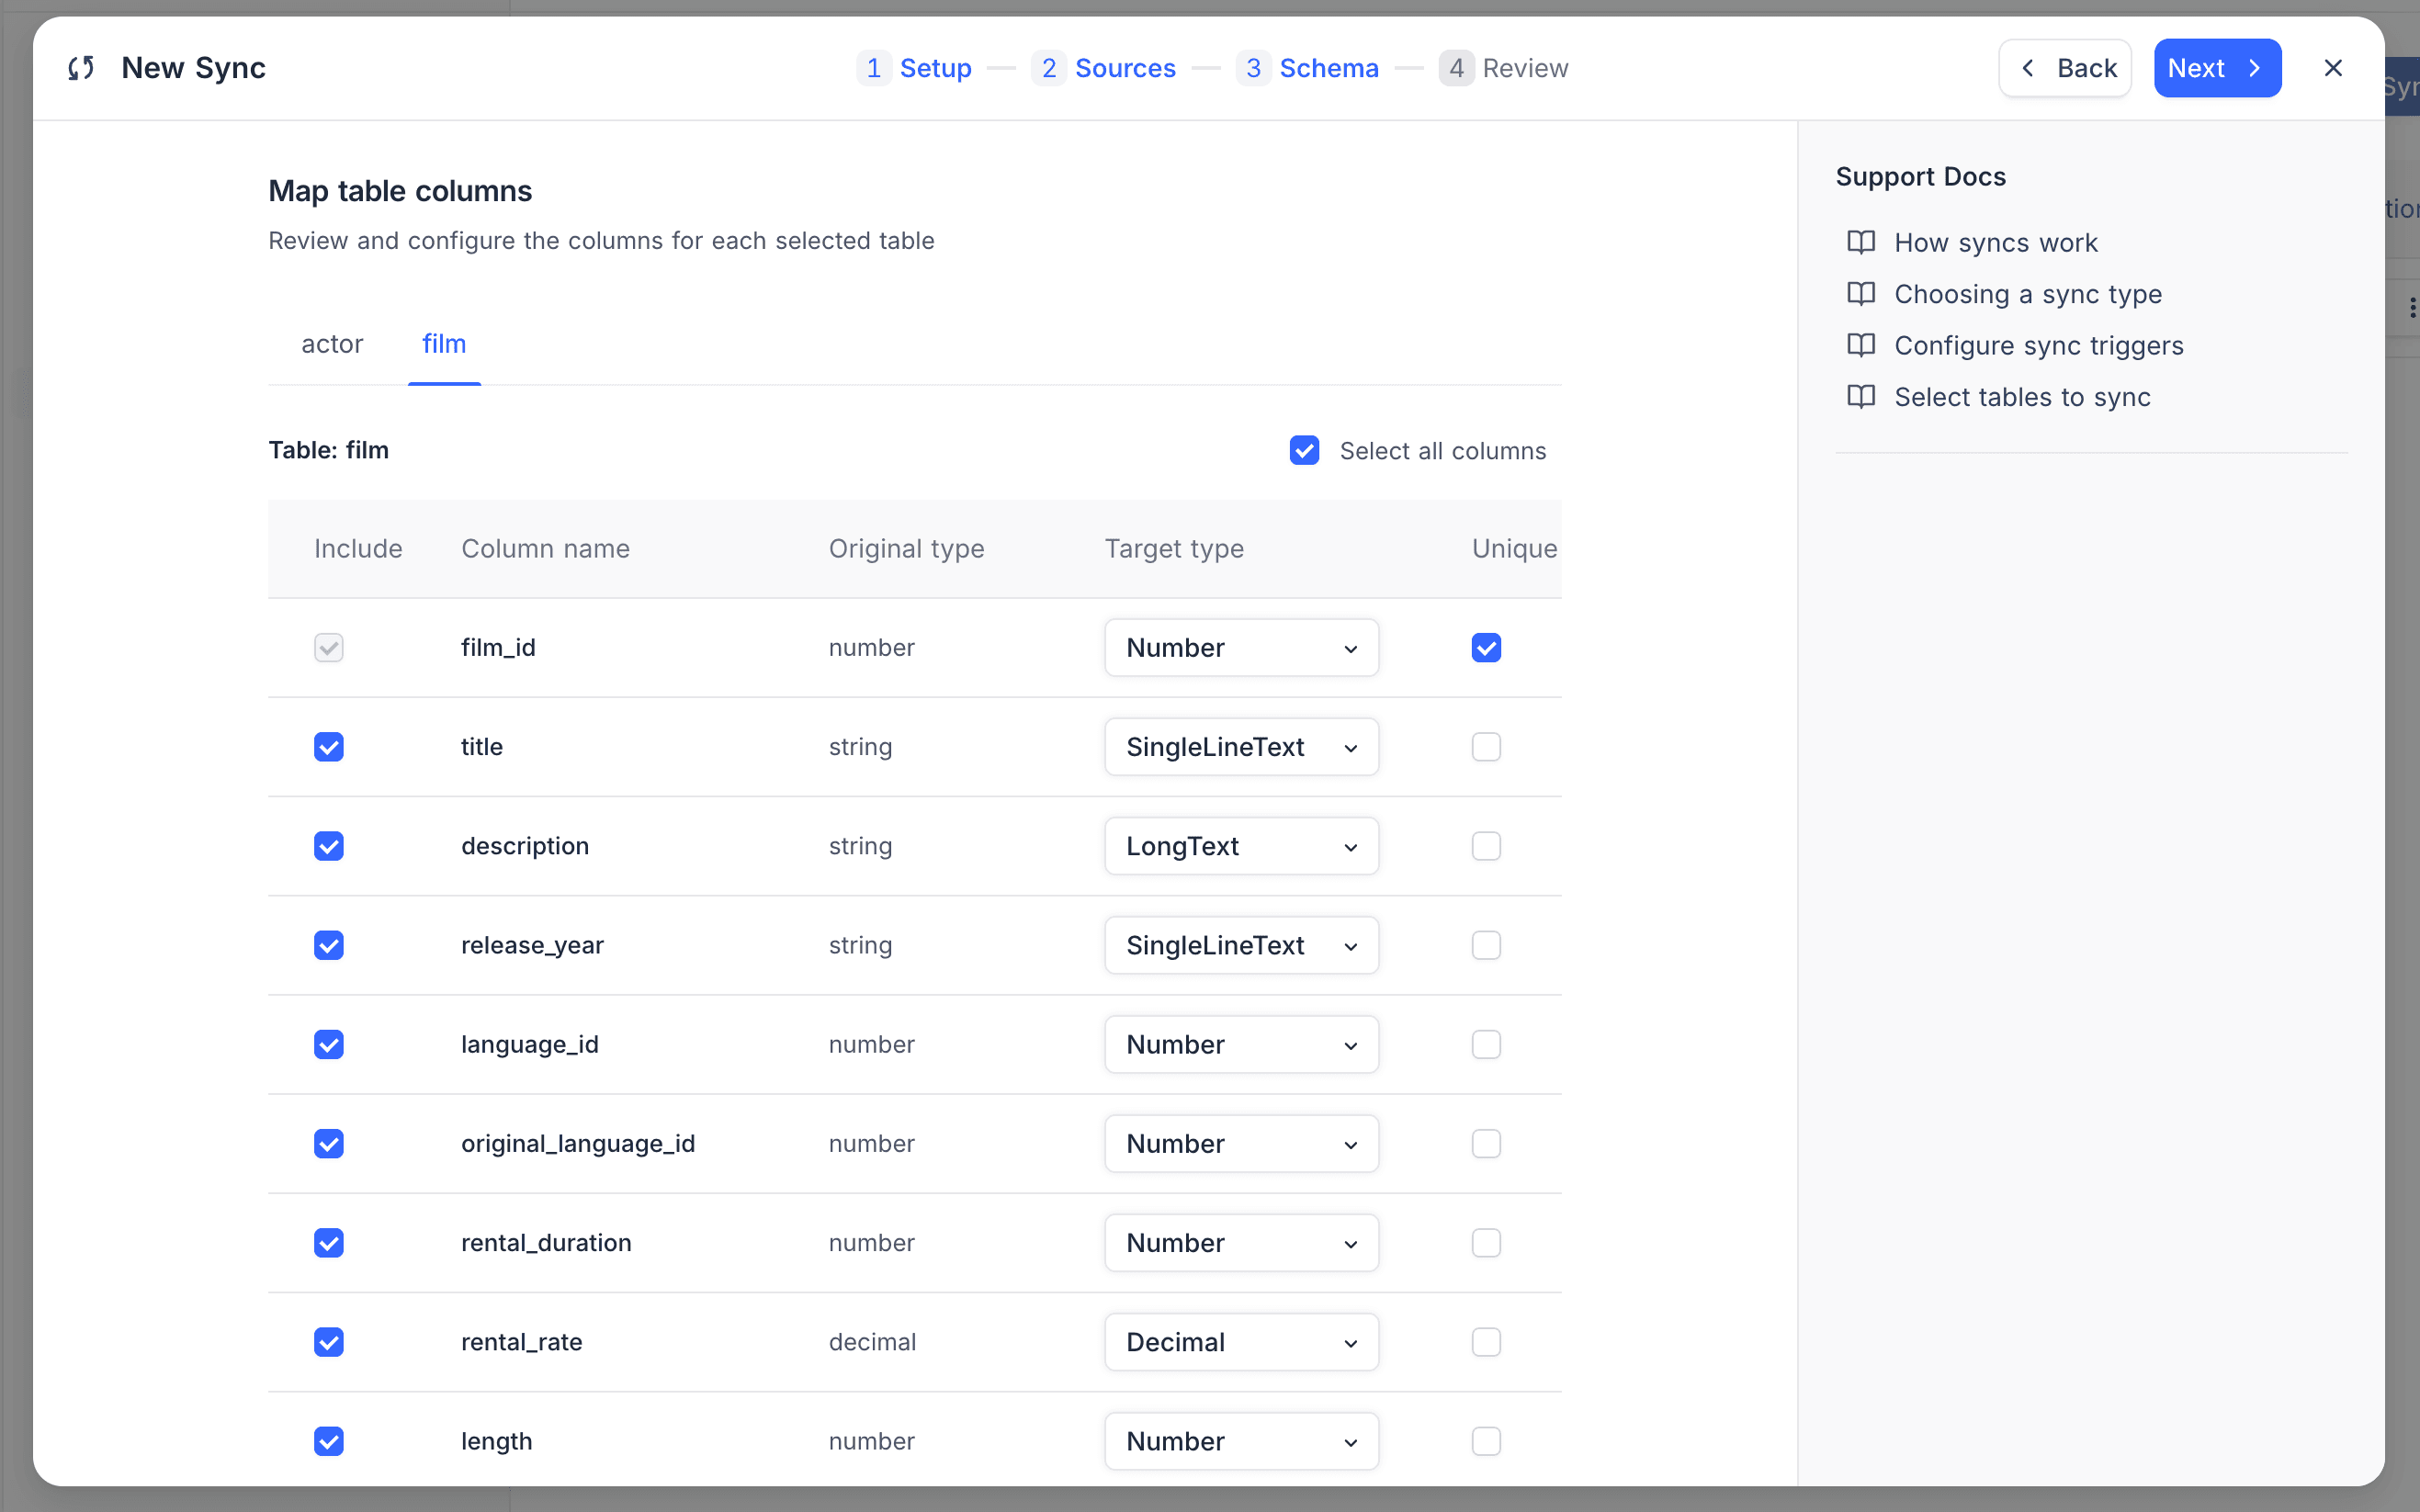
In the Schema step, adjust the column mapping for each selected table:
- Include or exclude columns.
- Review the original type of each column.
- Select one of the compatible NocoDB Target types.
- Confirm the Unique ID and the Created at and Updated at columns.
NocoDB detects sensible defaults automatically, including the primary key of the table.
-
Review the configuration.
-
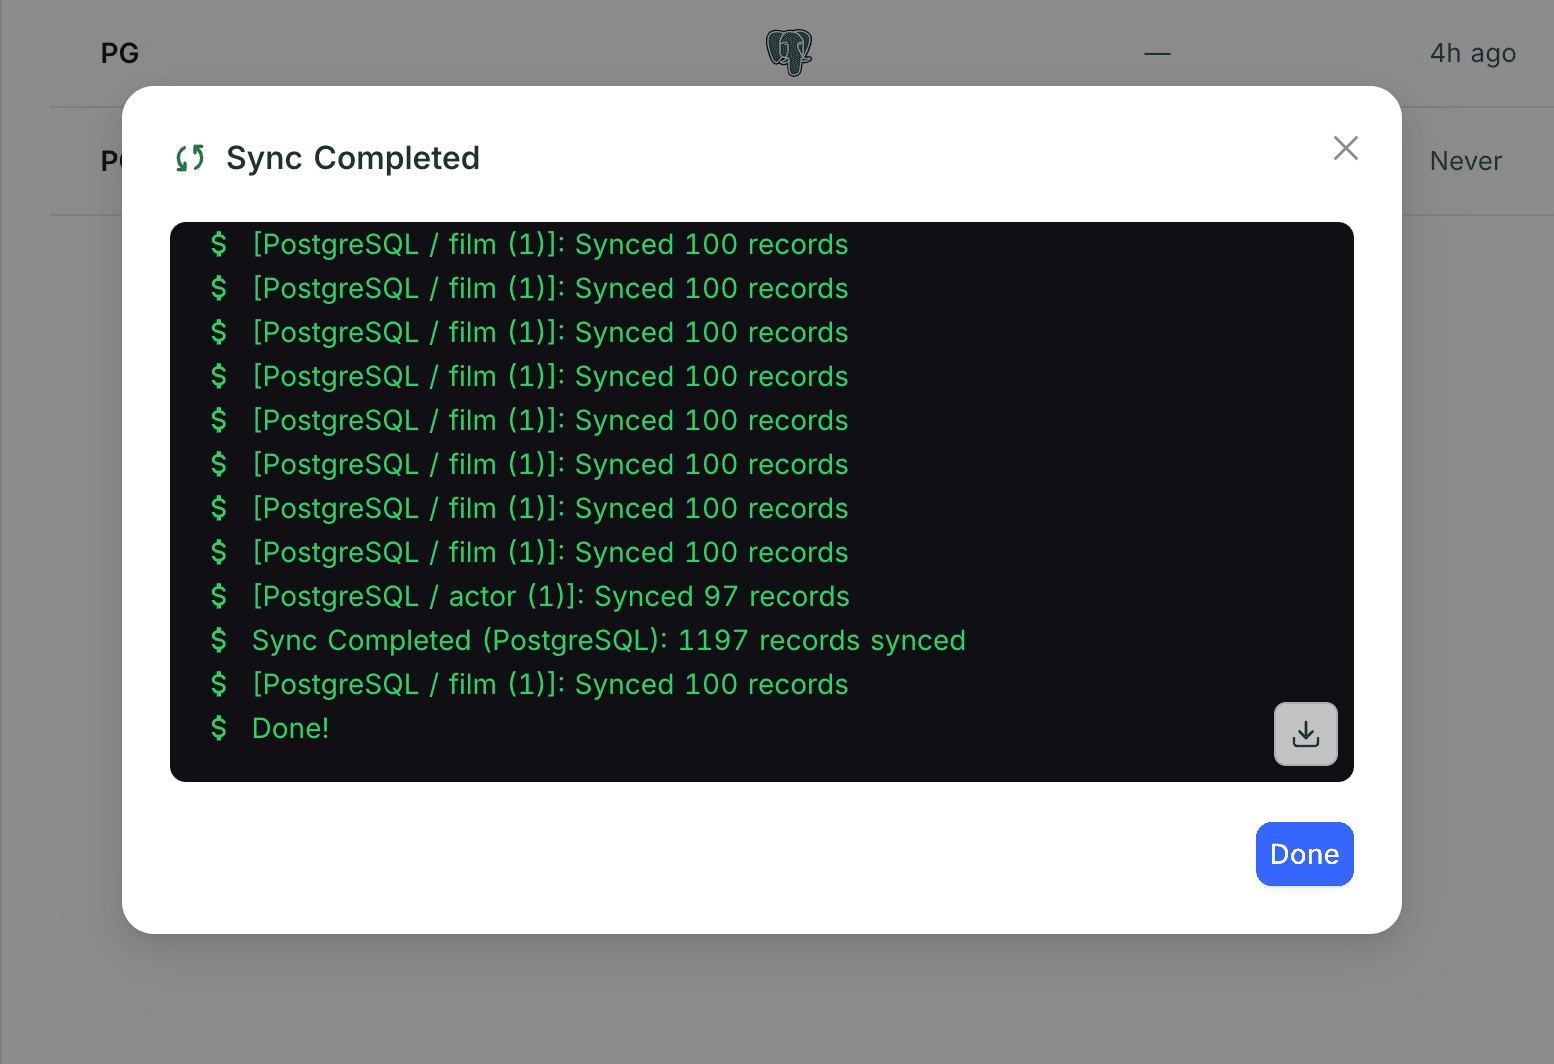
Click Create. A log window shows the progress of the initial sync. When the sync completes, the synced tables appear in your base.
Working with Synced Tables
Synced fields are read-only and have a flash icon (⚡). The sync owns them, and they update only from the source database.
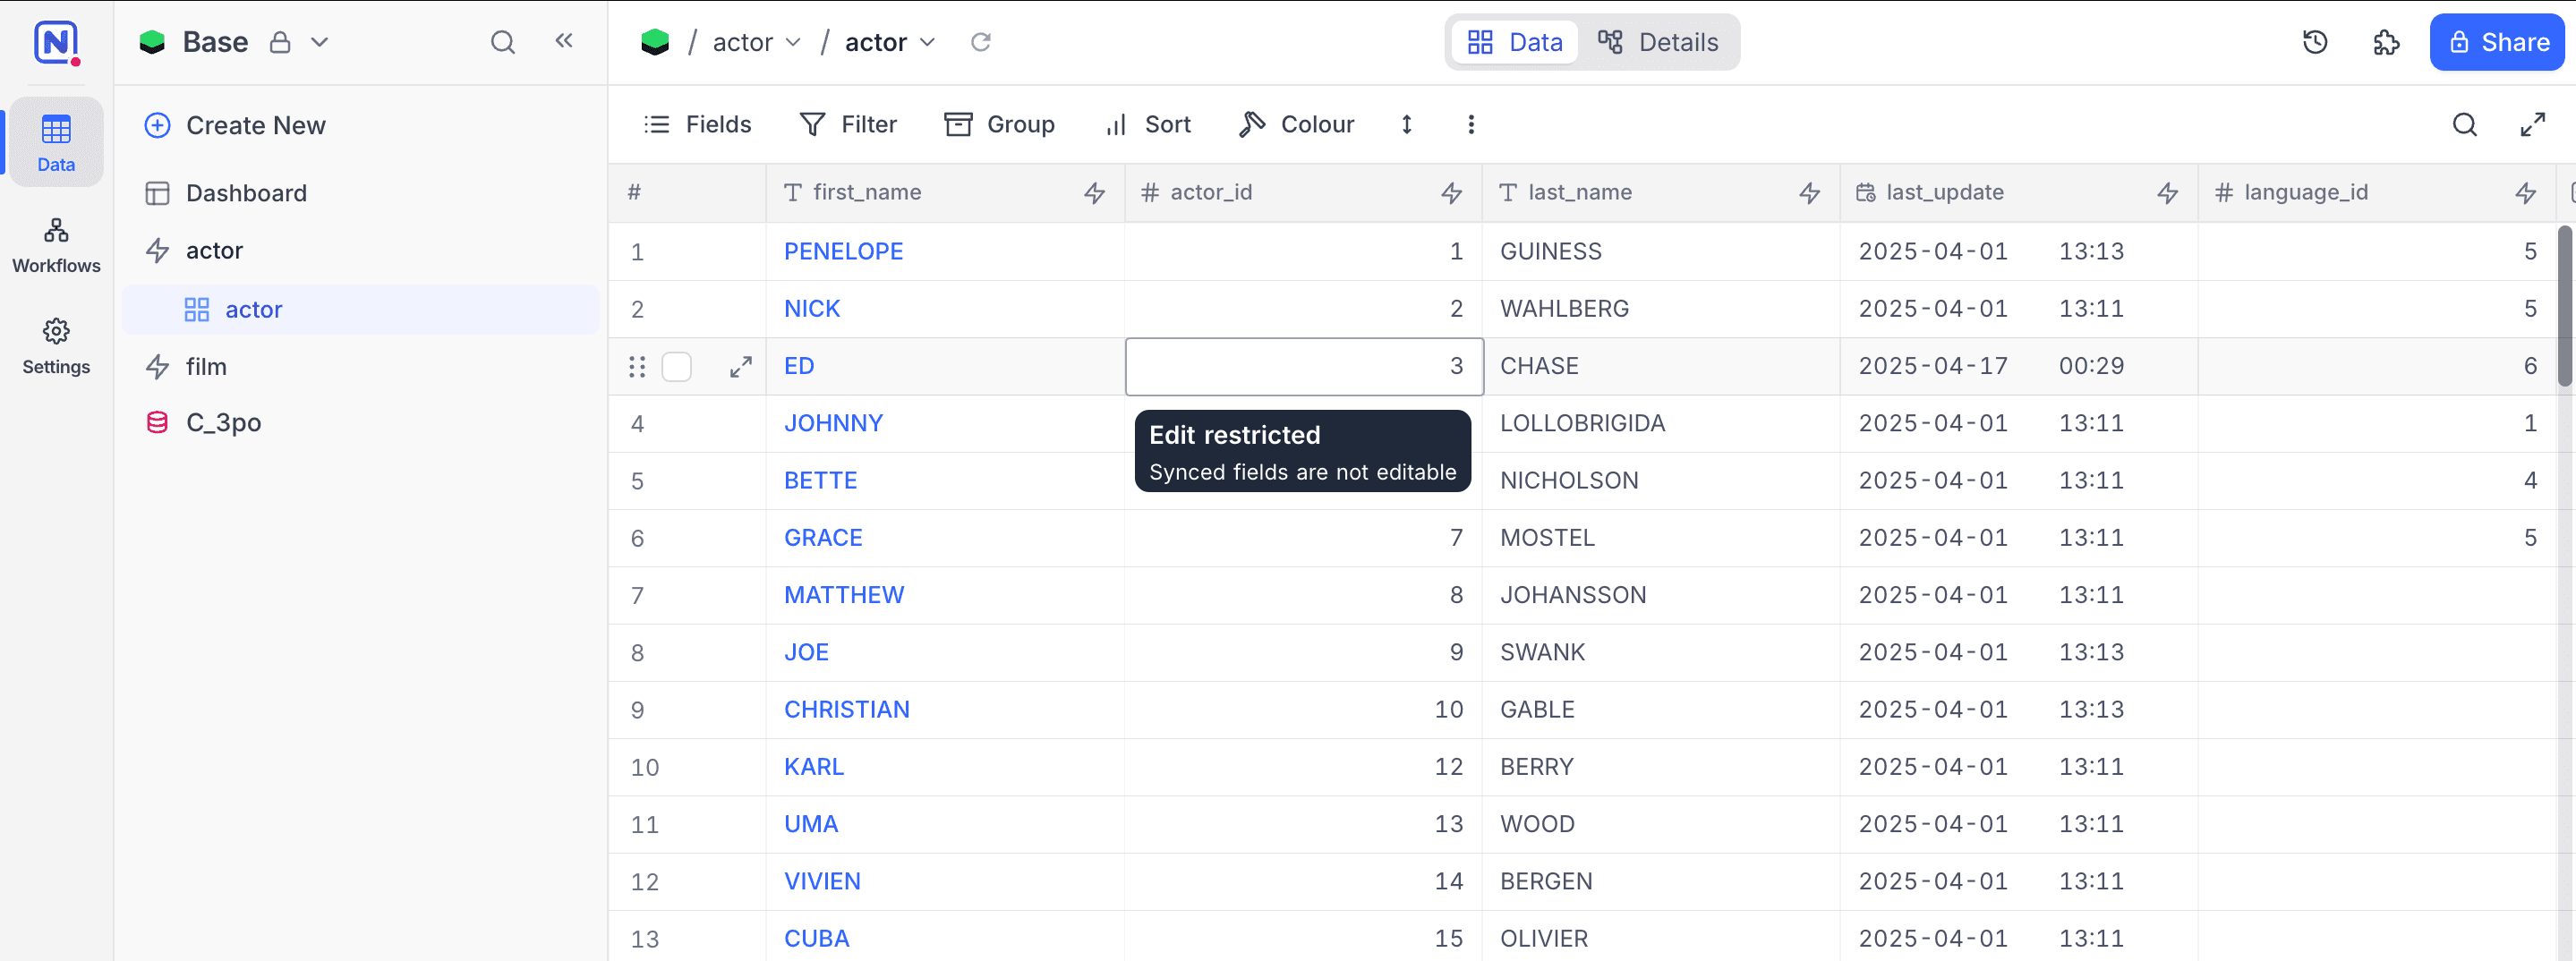
In all other ways, synced tables work like regular NocoDB tables. You can:
- Add your own custom fields next to the synced fields.
- Build views with filters, sorts, and groups.
- Link them to other tables.
- Use them in dashboards and automations.
Keeping Data in Sync
- On demand: in the Manage → Sync tab, click Trigger Sync next to the sync.
- On a schedule: select the Scheduled trigger with an Hourly or Daily interval.
With the Incremental sync type, each run gets only the records that changed since the last run. It uses the selected Updated at column to find them. Full imports everything again.
Edit a Custom Sync
Open the sync from the Manage → Sync tab. You can rename it, change the trigger settings, or add and remove tables. NocoDB keeps the existing field mappings.
Delete a Custom Sync
When you delete a sync, select what happens to the destination tables:
| Option | Result |
|---|---|
| Convert to plain tables | NocoDB keeps the synced data and unlocks the tables, so you can edit them. It removes only the sync configuration. |
| Delete synced tables | NocoDB deletes the mirrored tables and the sync configuration. |
Availability
- Custom Sync is available on the Business plan and above, on both NocoDB Cloud and licensed self-hosted deployments.
Related
- App Sync overview: sync types, triggers, and delete handling.
- NocoDB Sync: mirror a shared view from another NocoDB base.
Last updated on