Subscription & Billing
Manage your NocoDB subscription in the billing dashboard.
Billing dashboard
To open the billing dashboard:
- In the workspace sidebar, click Settings.
- Open the Billing tab.
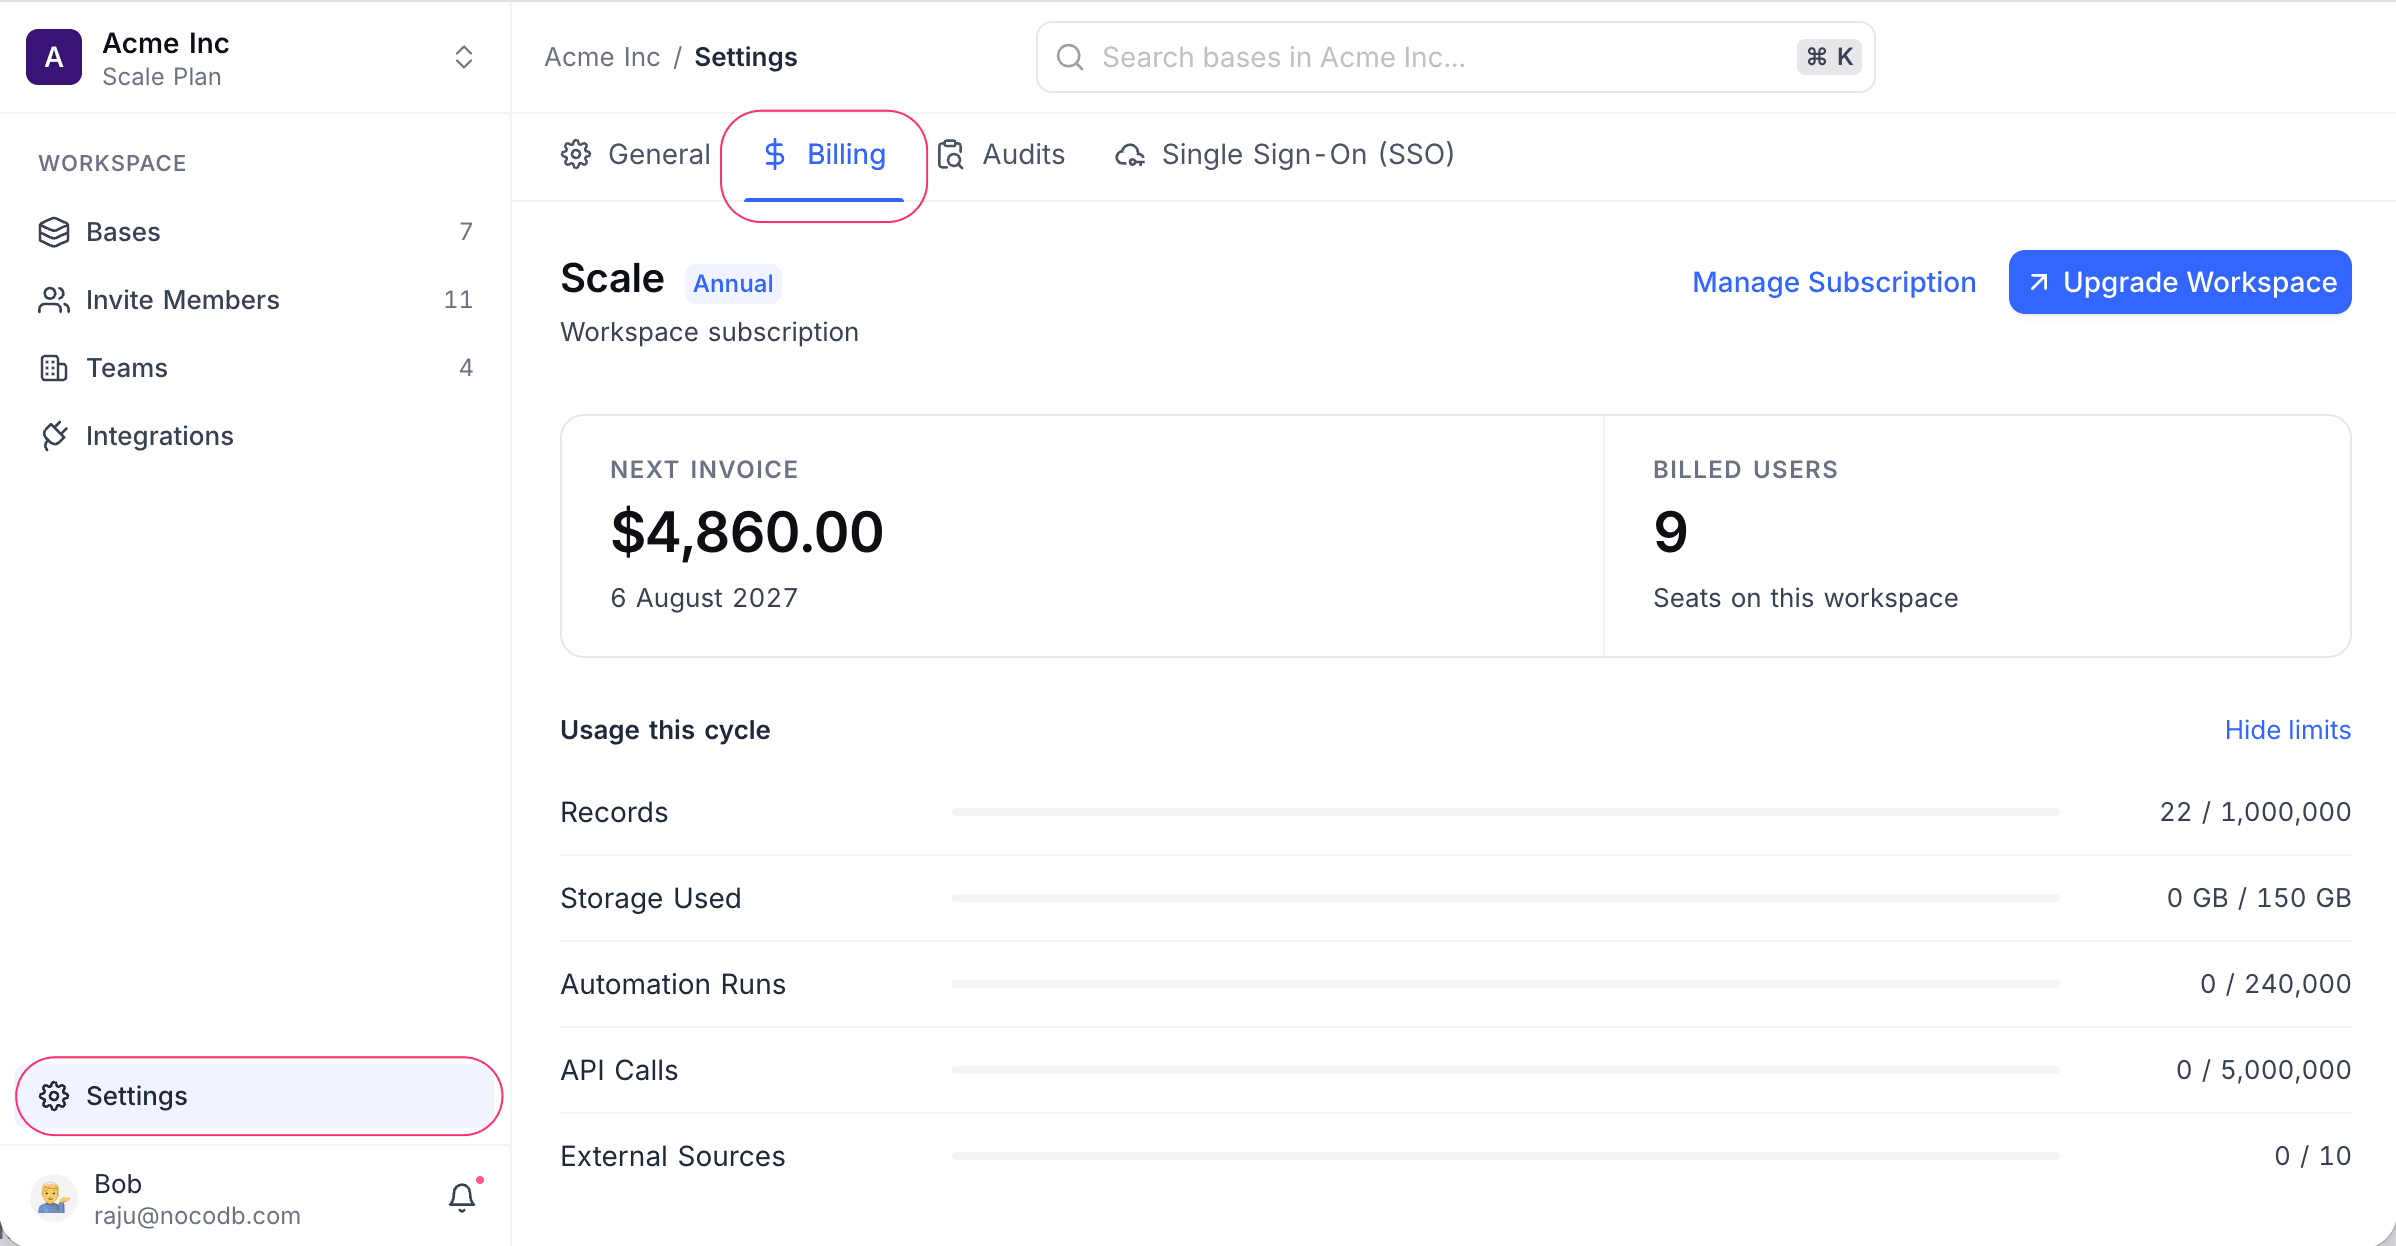
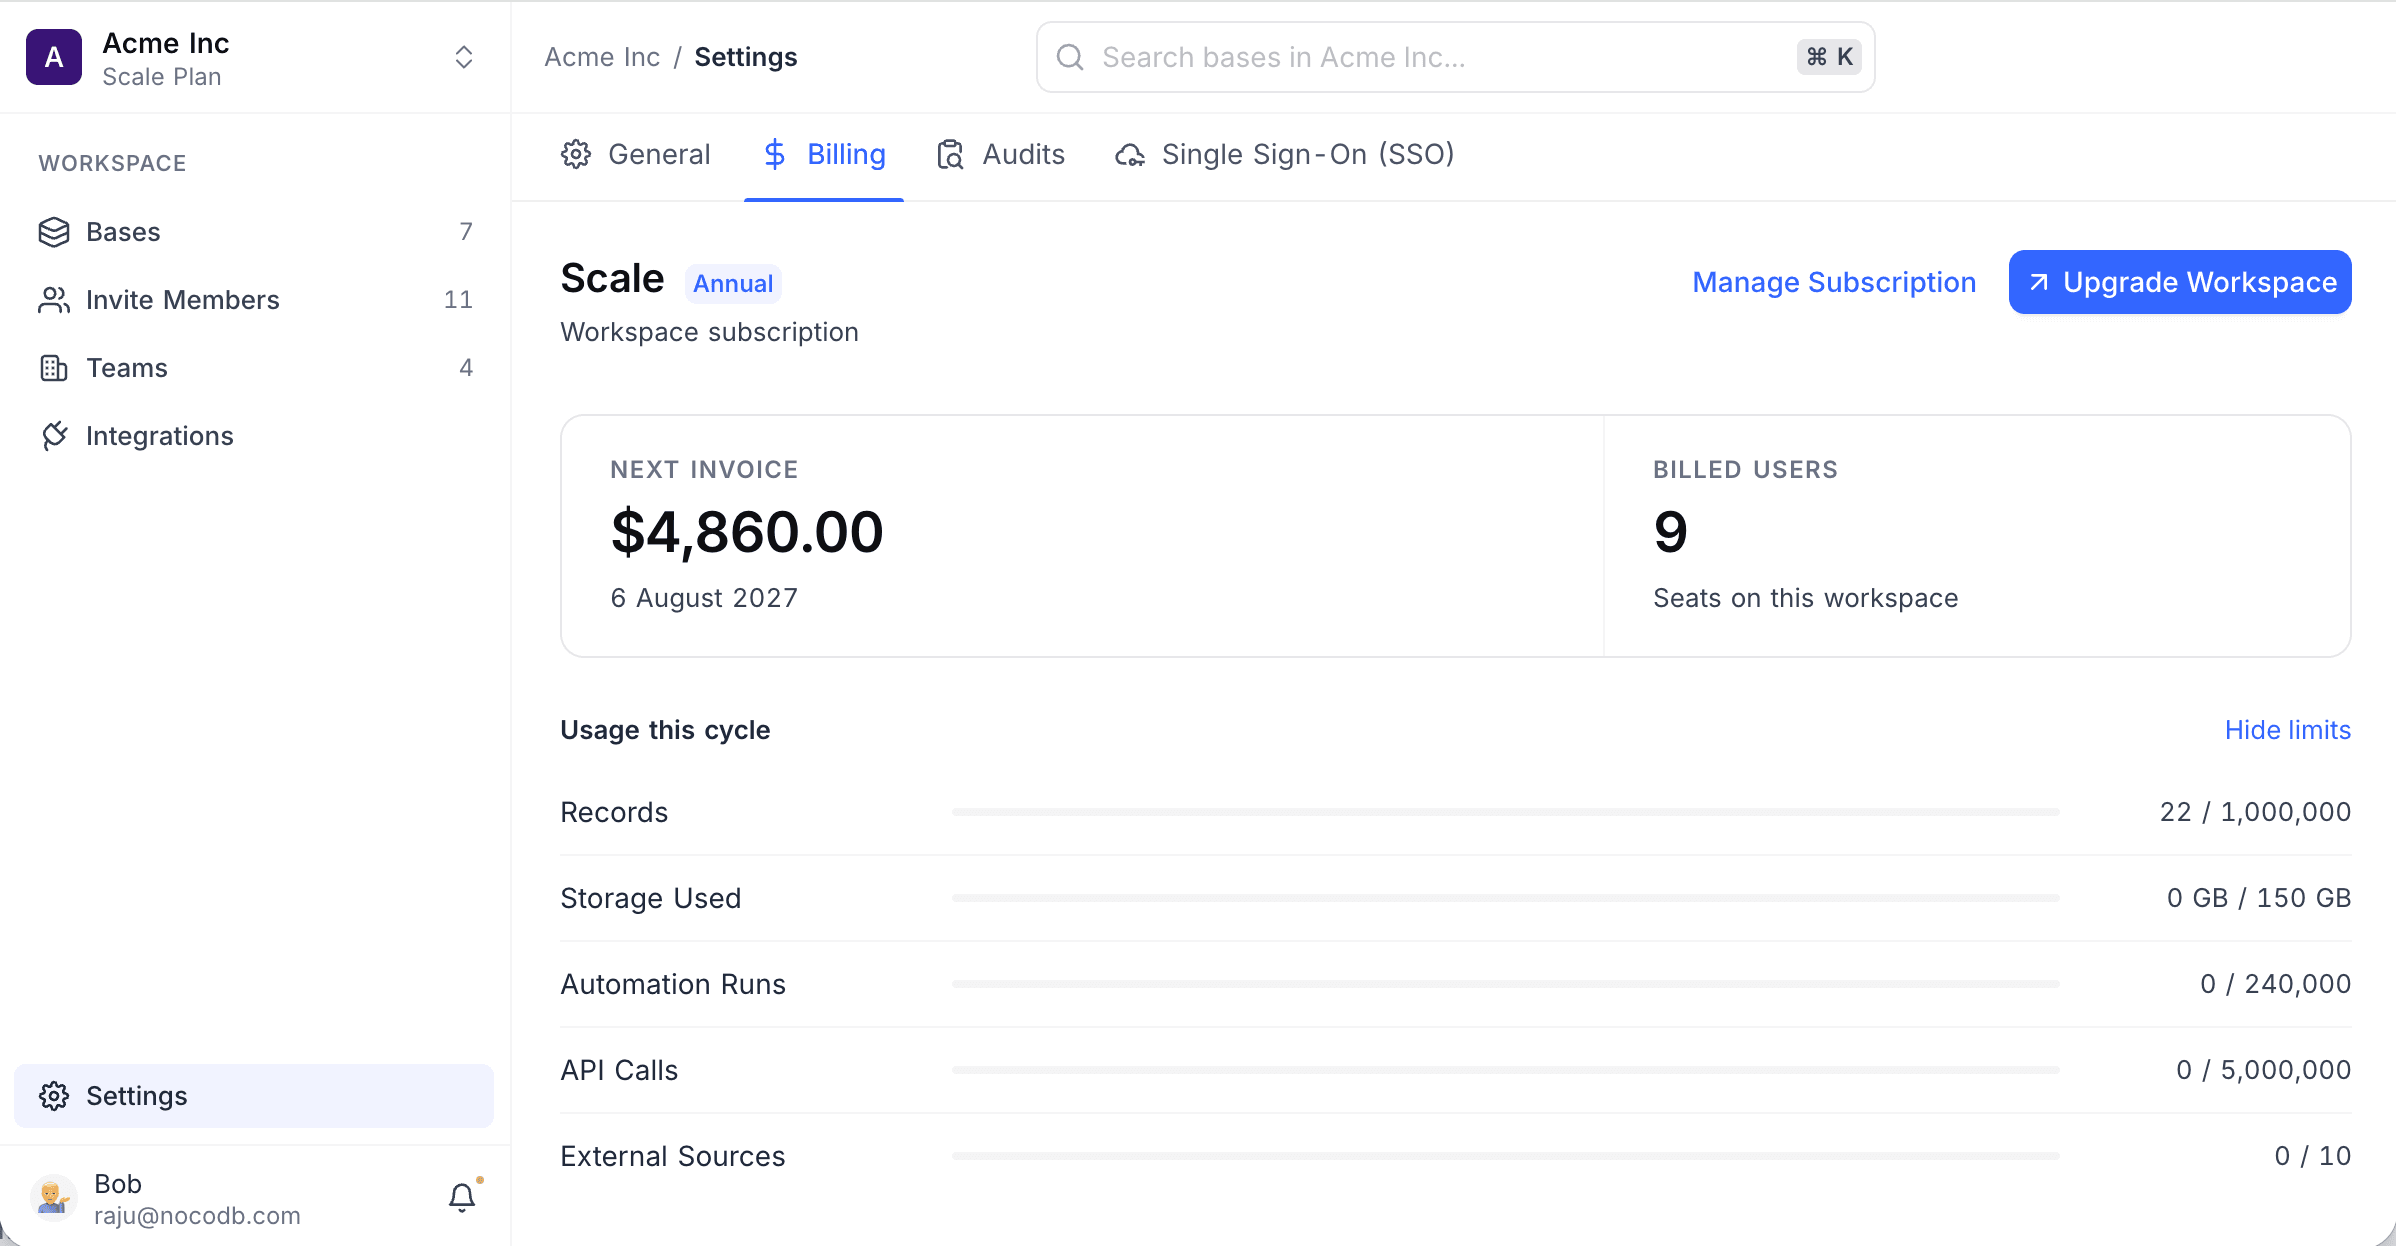
The dashboard shows:
- Your plan name, its billing period, and the Manage Subscription and Upgrade Workspace buttons
- Next Invoice amount and date
- Billed Users count: the number of seats on this workspace
- Usage this cycle compared to your plan limits: Records, Storage Used, Automation Runs, API Calls and External Sources. To collapse the bars, use Hide limits.
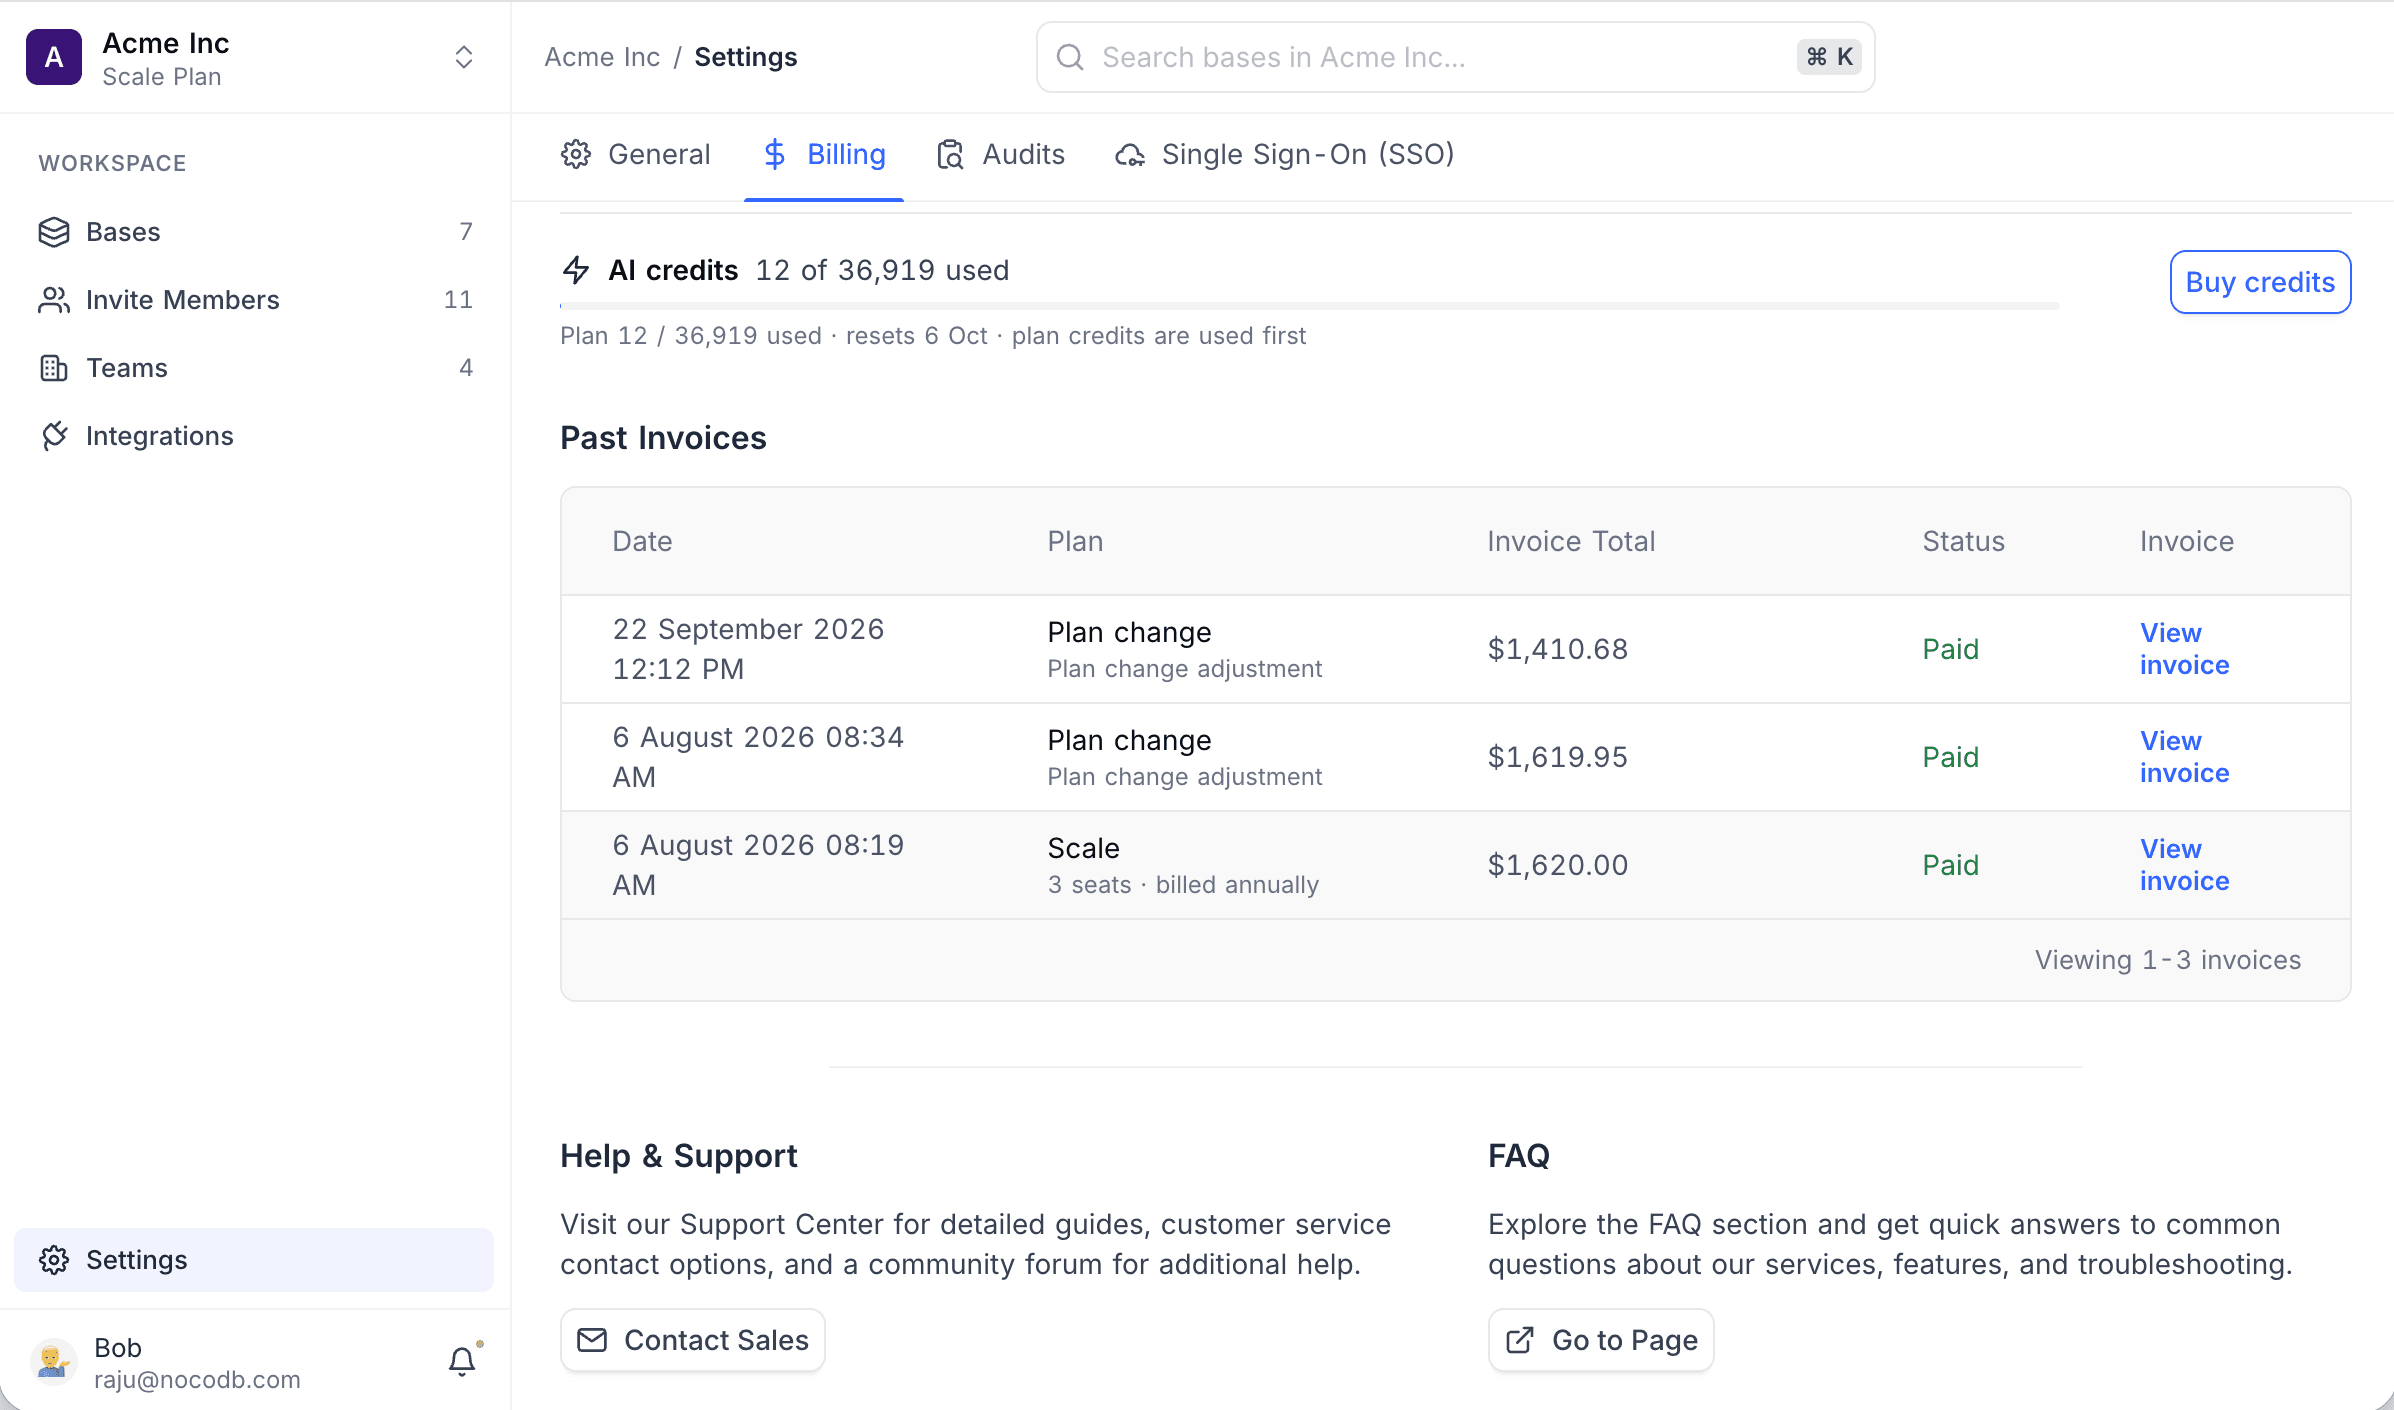
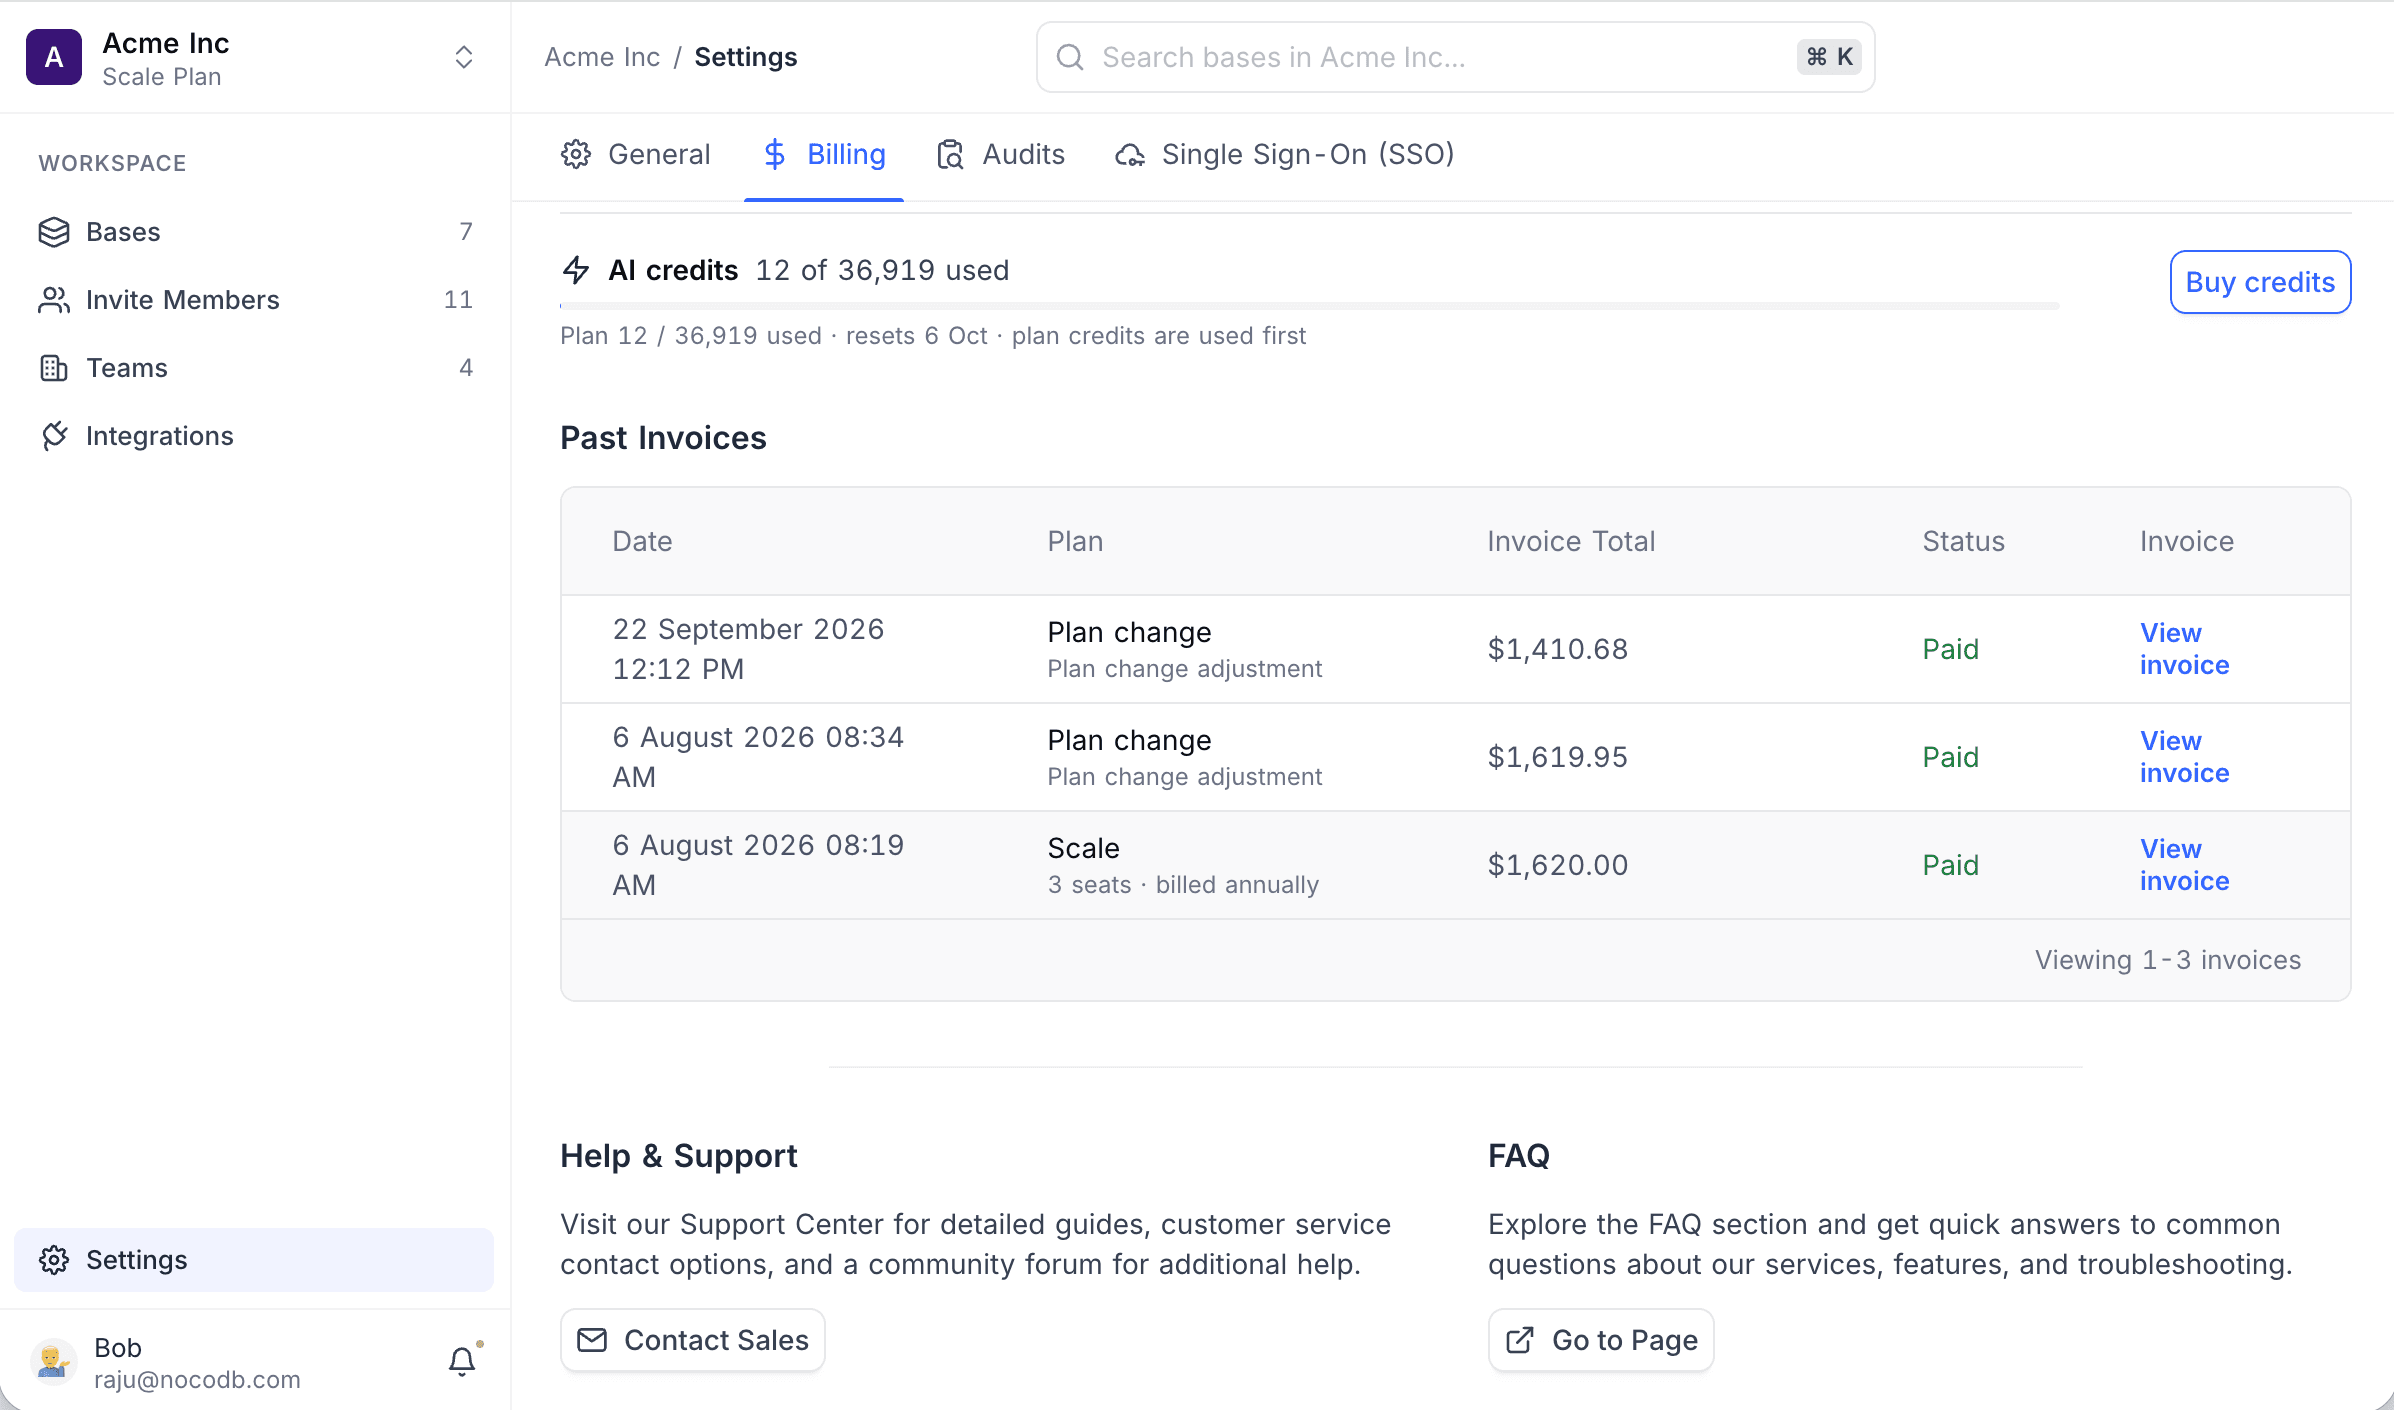
- AI credits used from your allowance, with the reset date and a Buy credits button
- Past Invoices with date, plan, invoice total, status, and a link to each invoice
- Help & Support and FAQ links at the bottom of the page
Credits
The AI credits row on the billing dashboard shows the credits for usage-based features: NocoDB AI, script execution, and AI web search. The row shows:
- How much of your allowance you used.
- When the allowance resets.
- That NocoDB uses plan credits before the credits that you bought.
Each plan includes a monthly allowance. Workspace owners can buy credit packs with Buy credits at any time.
Refer to Credits for allowances per plan, what consumes credits, and the purchase flow.
Change your plan
- In the workspace sidebar, click Settings.
- Open the Billing tab.
- Click Upgrade Workspace.
- Select the plan.
- Follow the prompts to confirm.
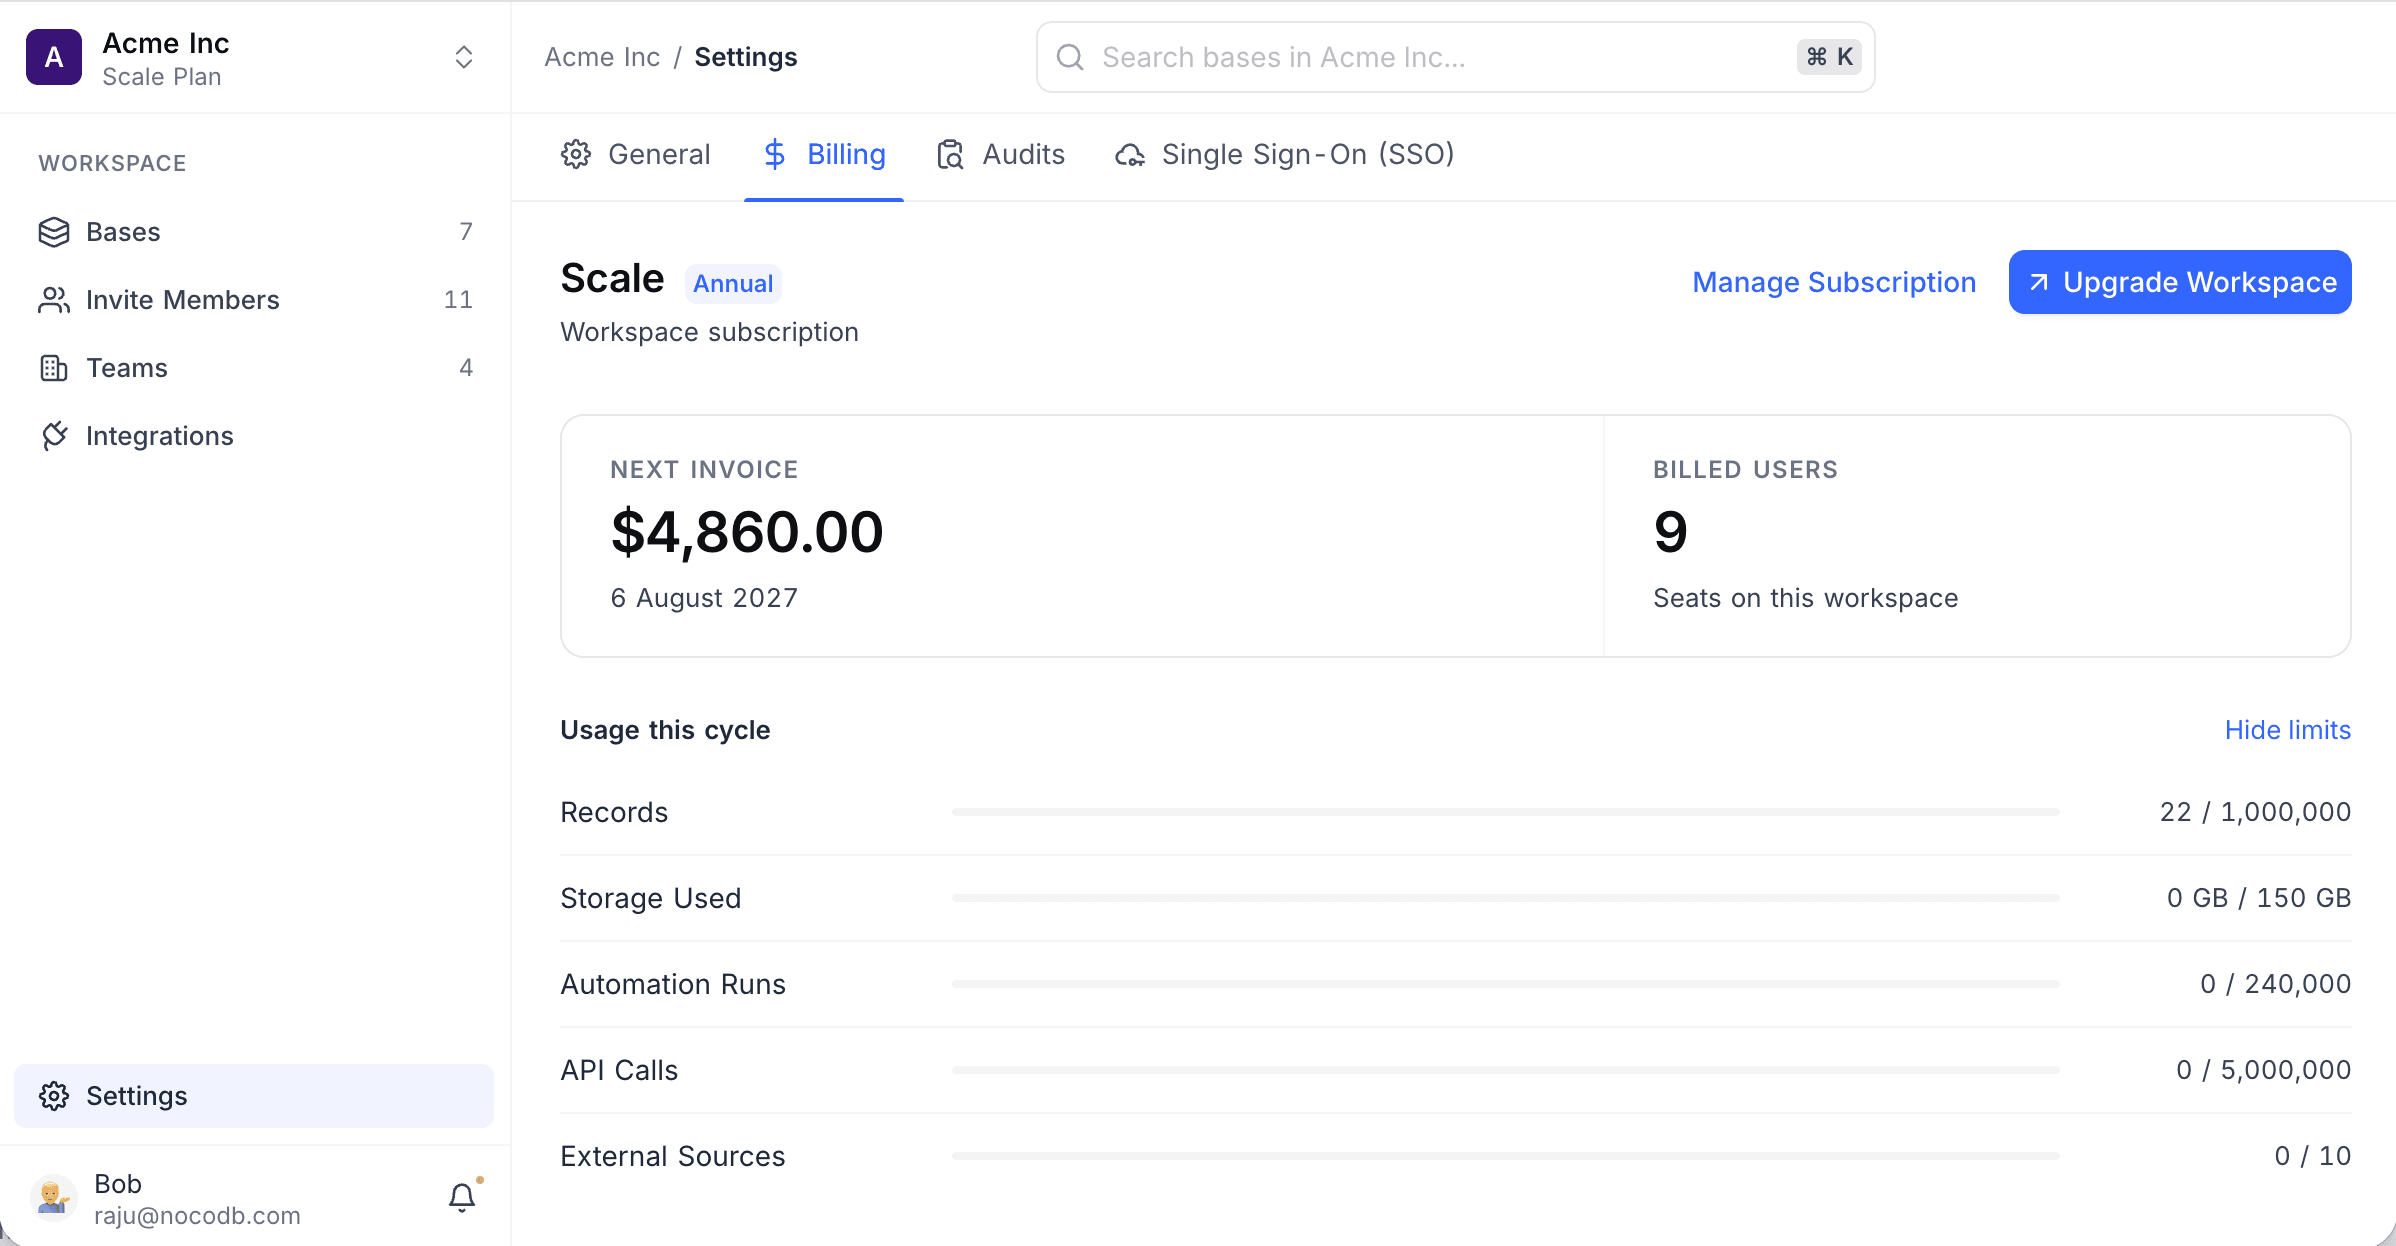
Upgrades take effect immediately. Downgrades apply at the end of your billing cycle.
Manage subscription
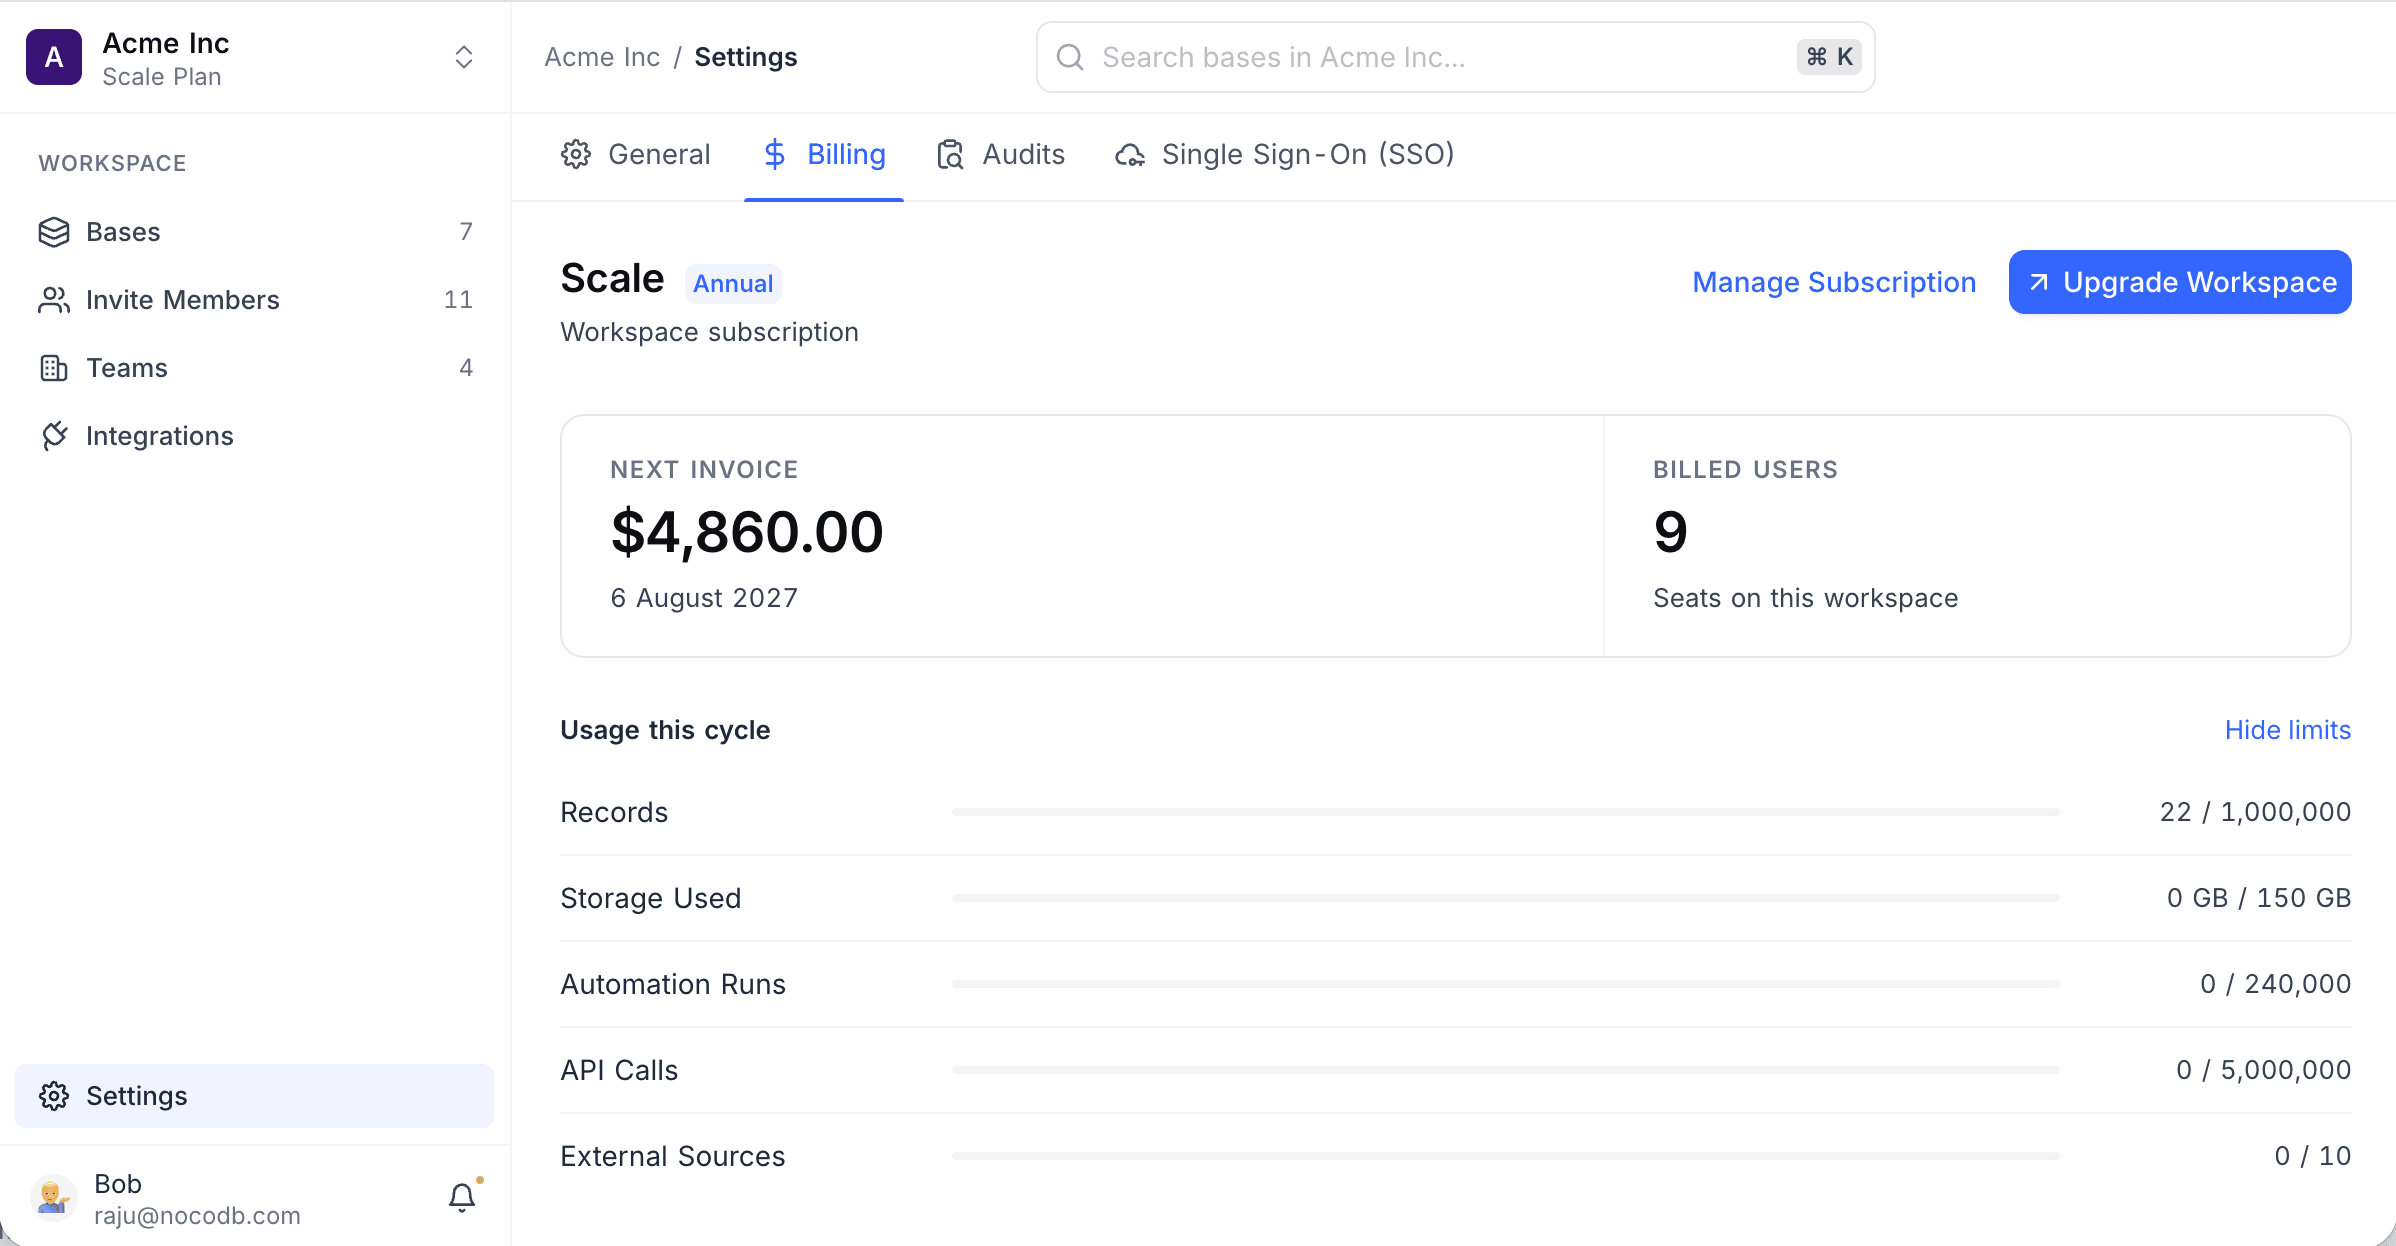
On the billing dashboard, click Manage Subscription. The Stripe billing portal opens. In the portal, you can:
- Update your card details
- See upcoming payments
- Add or change your payment method
- Cancel your subscription
Download invoices
- On the billing dashboard, scroll to the Past Invoices section.
- Next to the invoice, click View invoice. A PDF copy opens in a new tab.
Cancel plan
- In the workspace sidebar, click Settings.
- Open the Billing tab.
- Click Manage Subscription. The Stripe billing portal opens.
- Click Cancel subscription.
- When the portal asks, confirm.
Your workspace remains on the current plan until the end of the billing period. After cancellation, it switches to the Free plan automatically.
You can also downgrade directly:
- In the Billing tab, click Upgrade Workspace.
- Select Choose Free.
- Click Proceed.
- Follow the prompts.
For help, contact the Support team.
Last updated on
Latest product updates?See Changelog