Actions on Field
Copy a prompt, paste it into NocoAI in any base, and replace the words in [brackets] with your own.
- Rename [old field name] to [new field name]
- Change [field name] to a [date] field
- Delete the [field name] field
- Change [Amount] to a currency field in [euros]
Fields context menu
To open the fields context menu, click the dropdown icon (🔽) next to the field name.
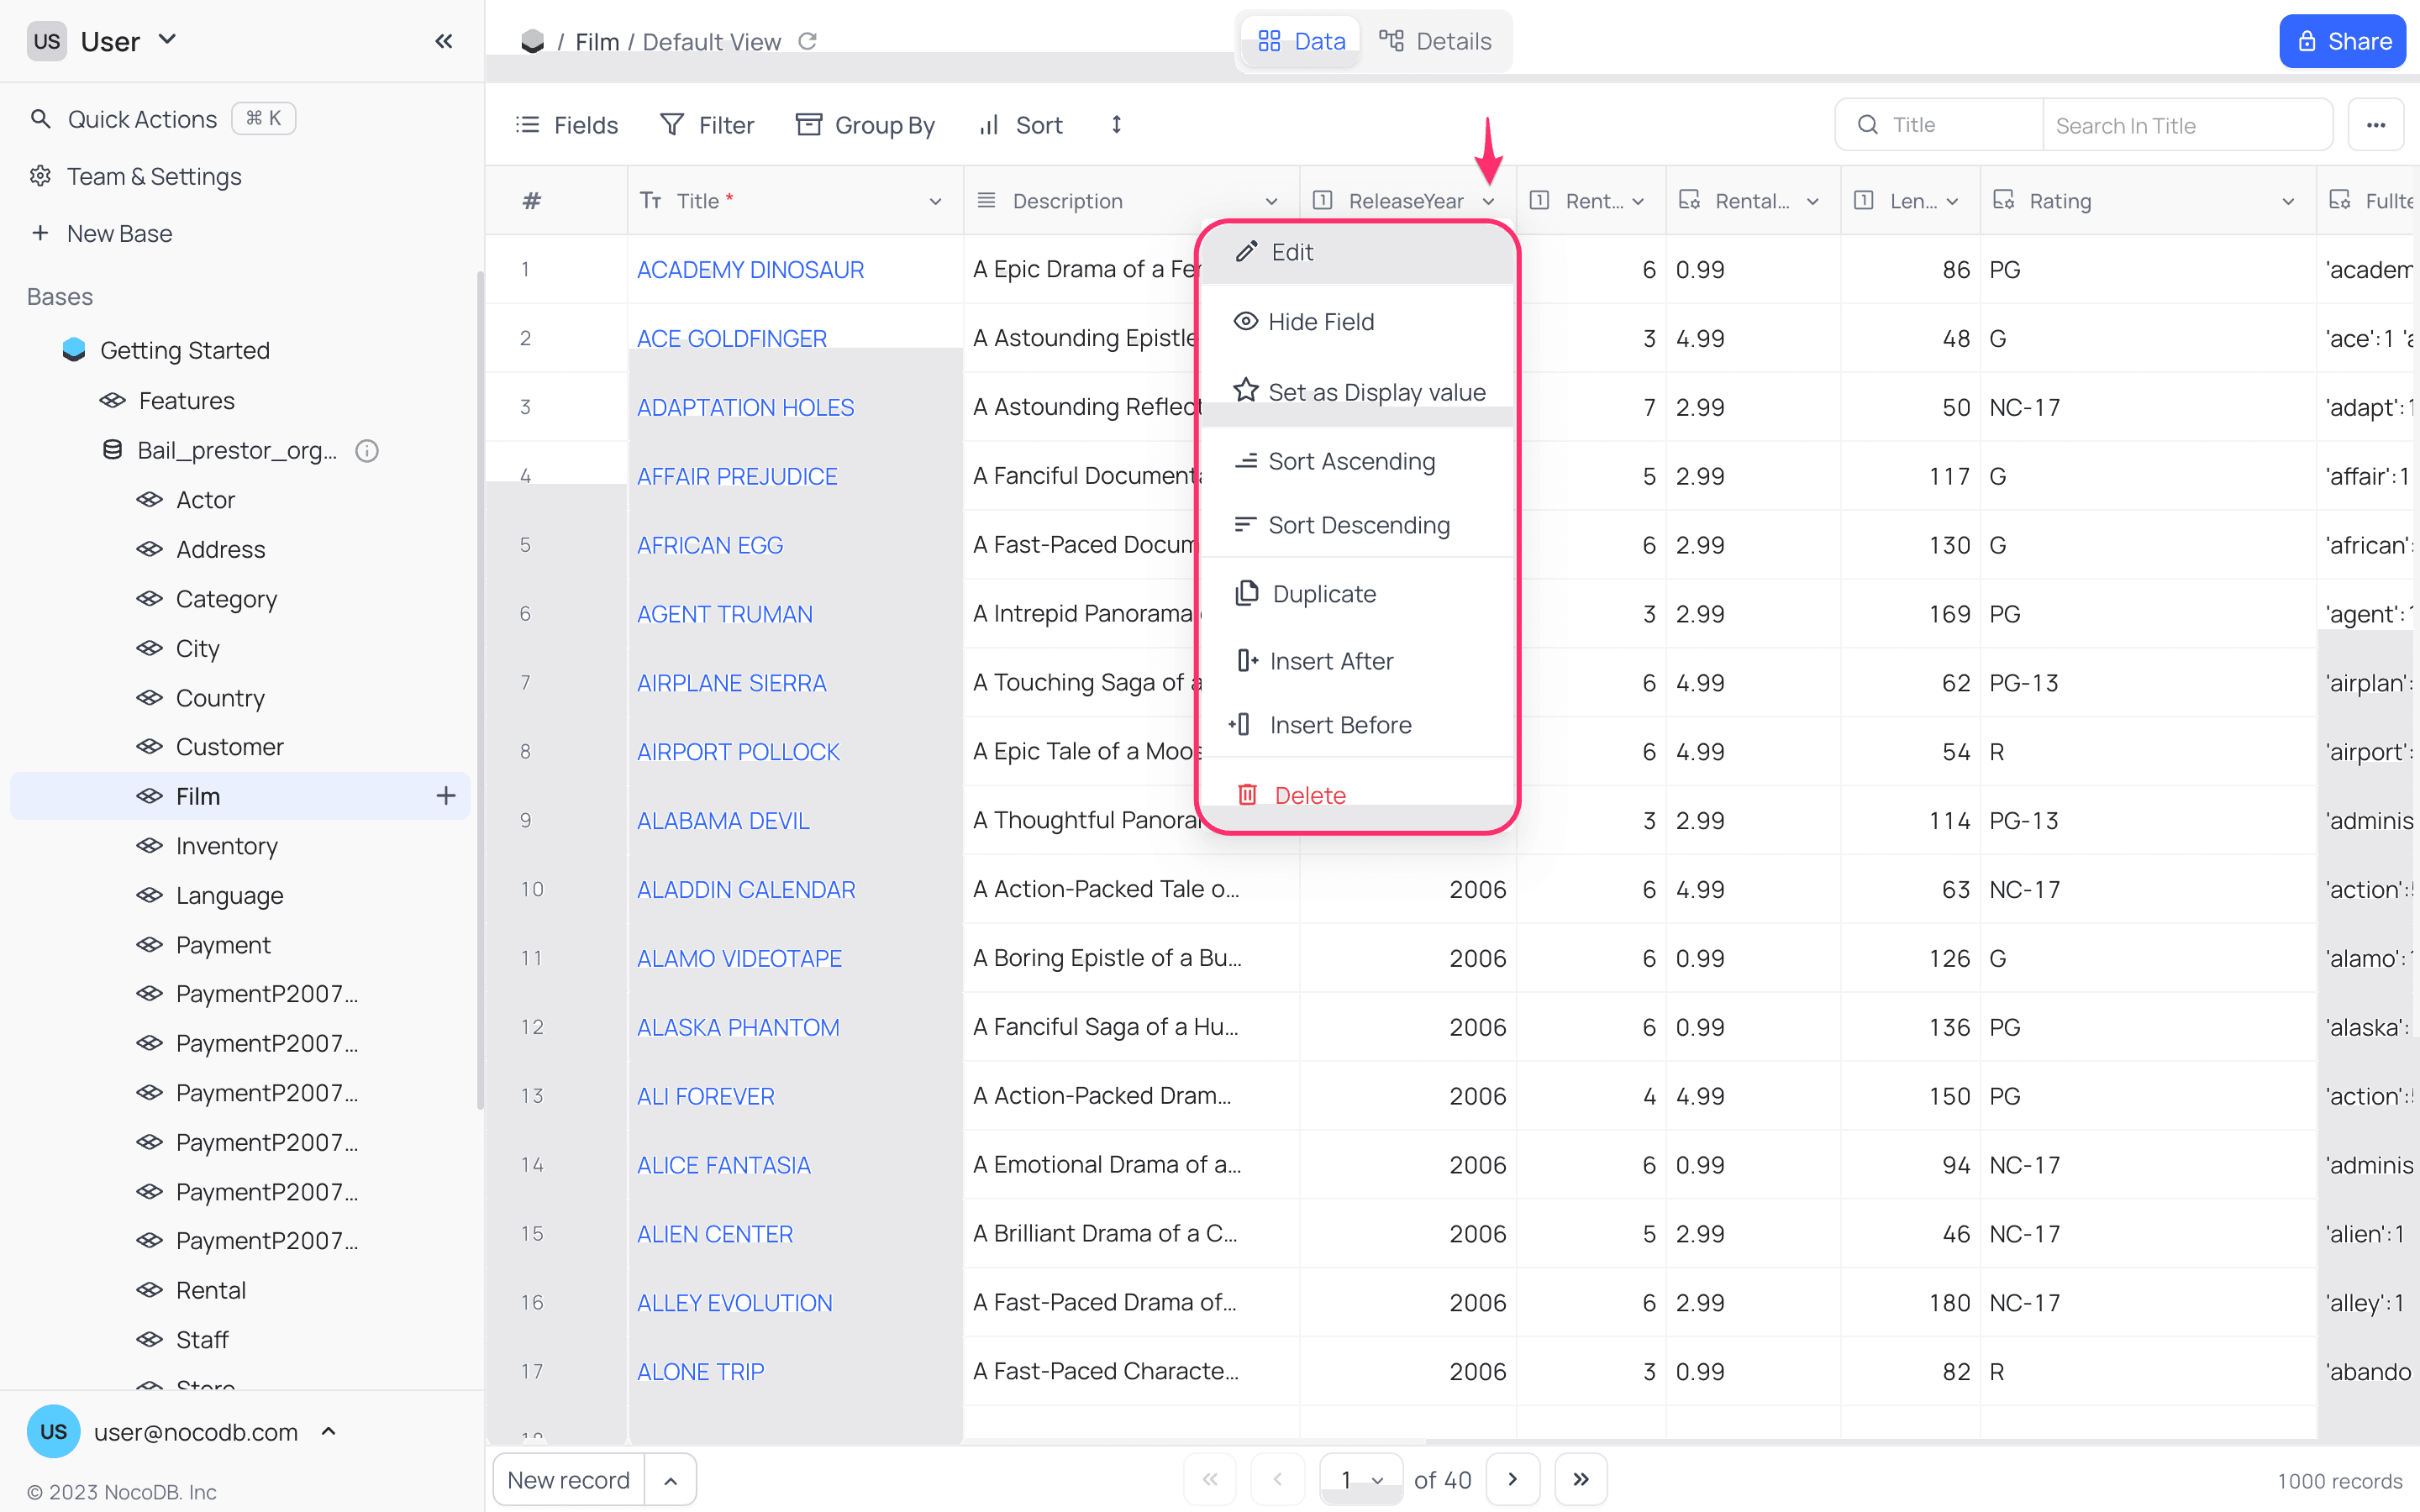
Edit
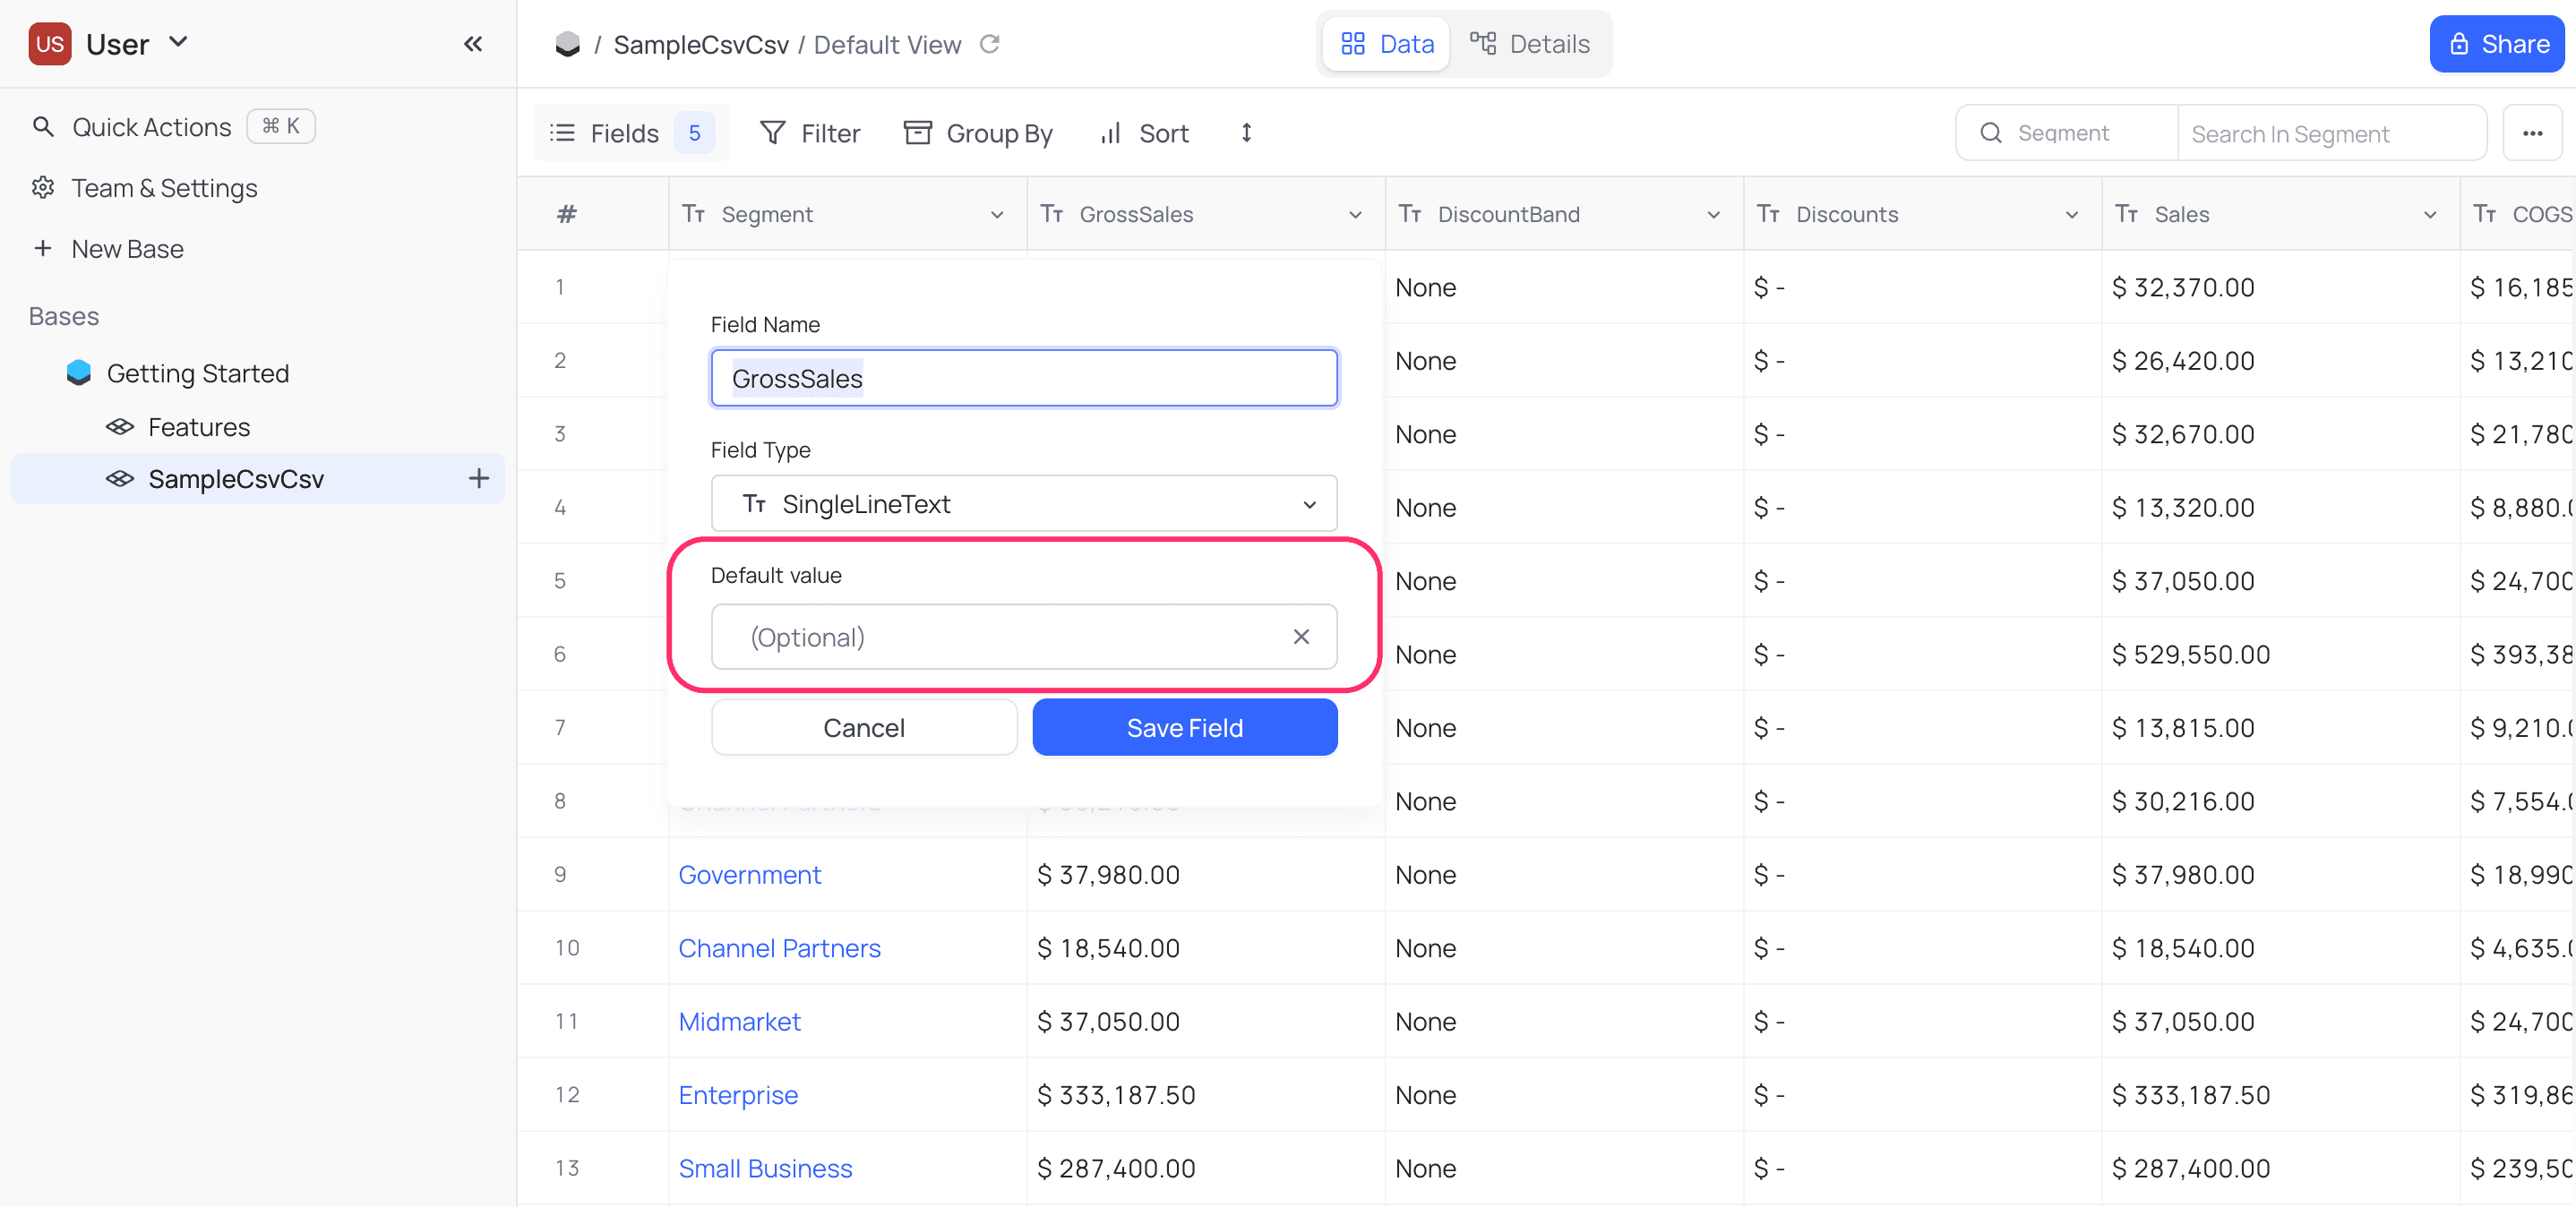
Rename field
- Open the field context menu.
- Click
Edit. - In the
Field Namefield, enter the new field name. - Click
Save Field.
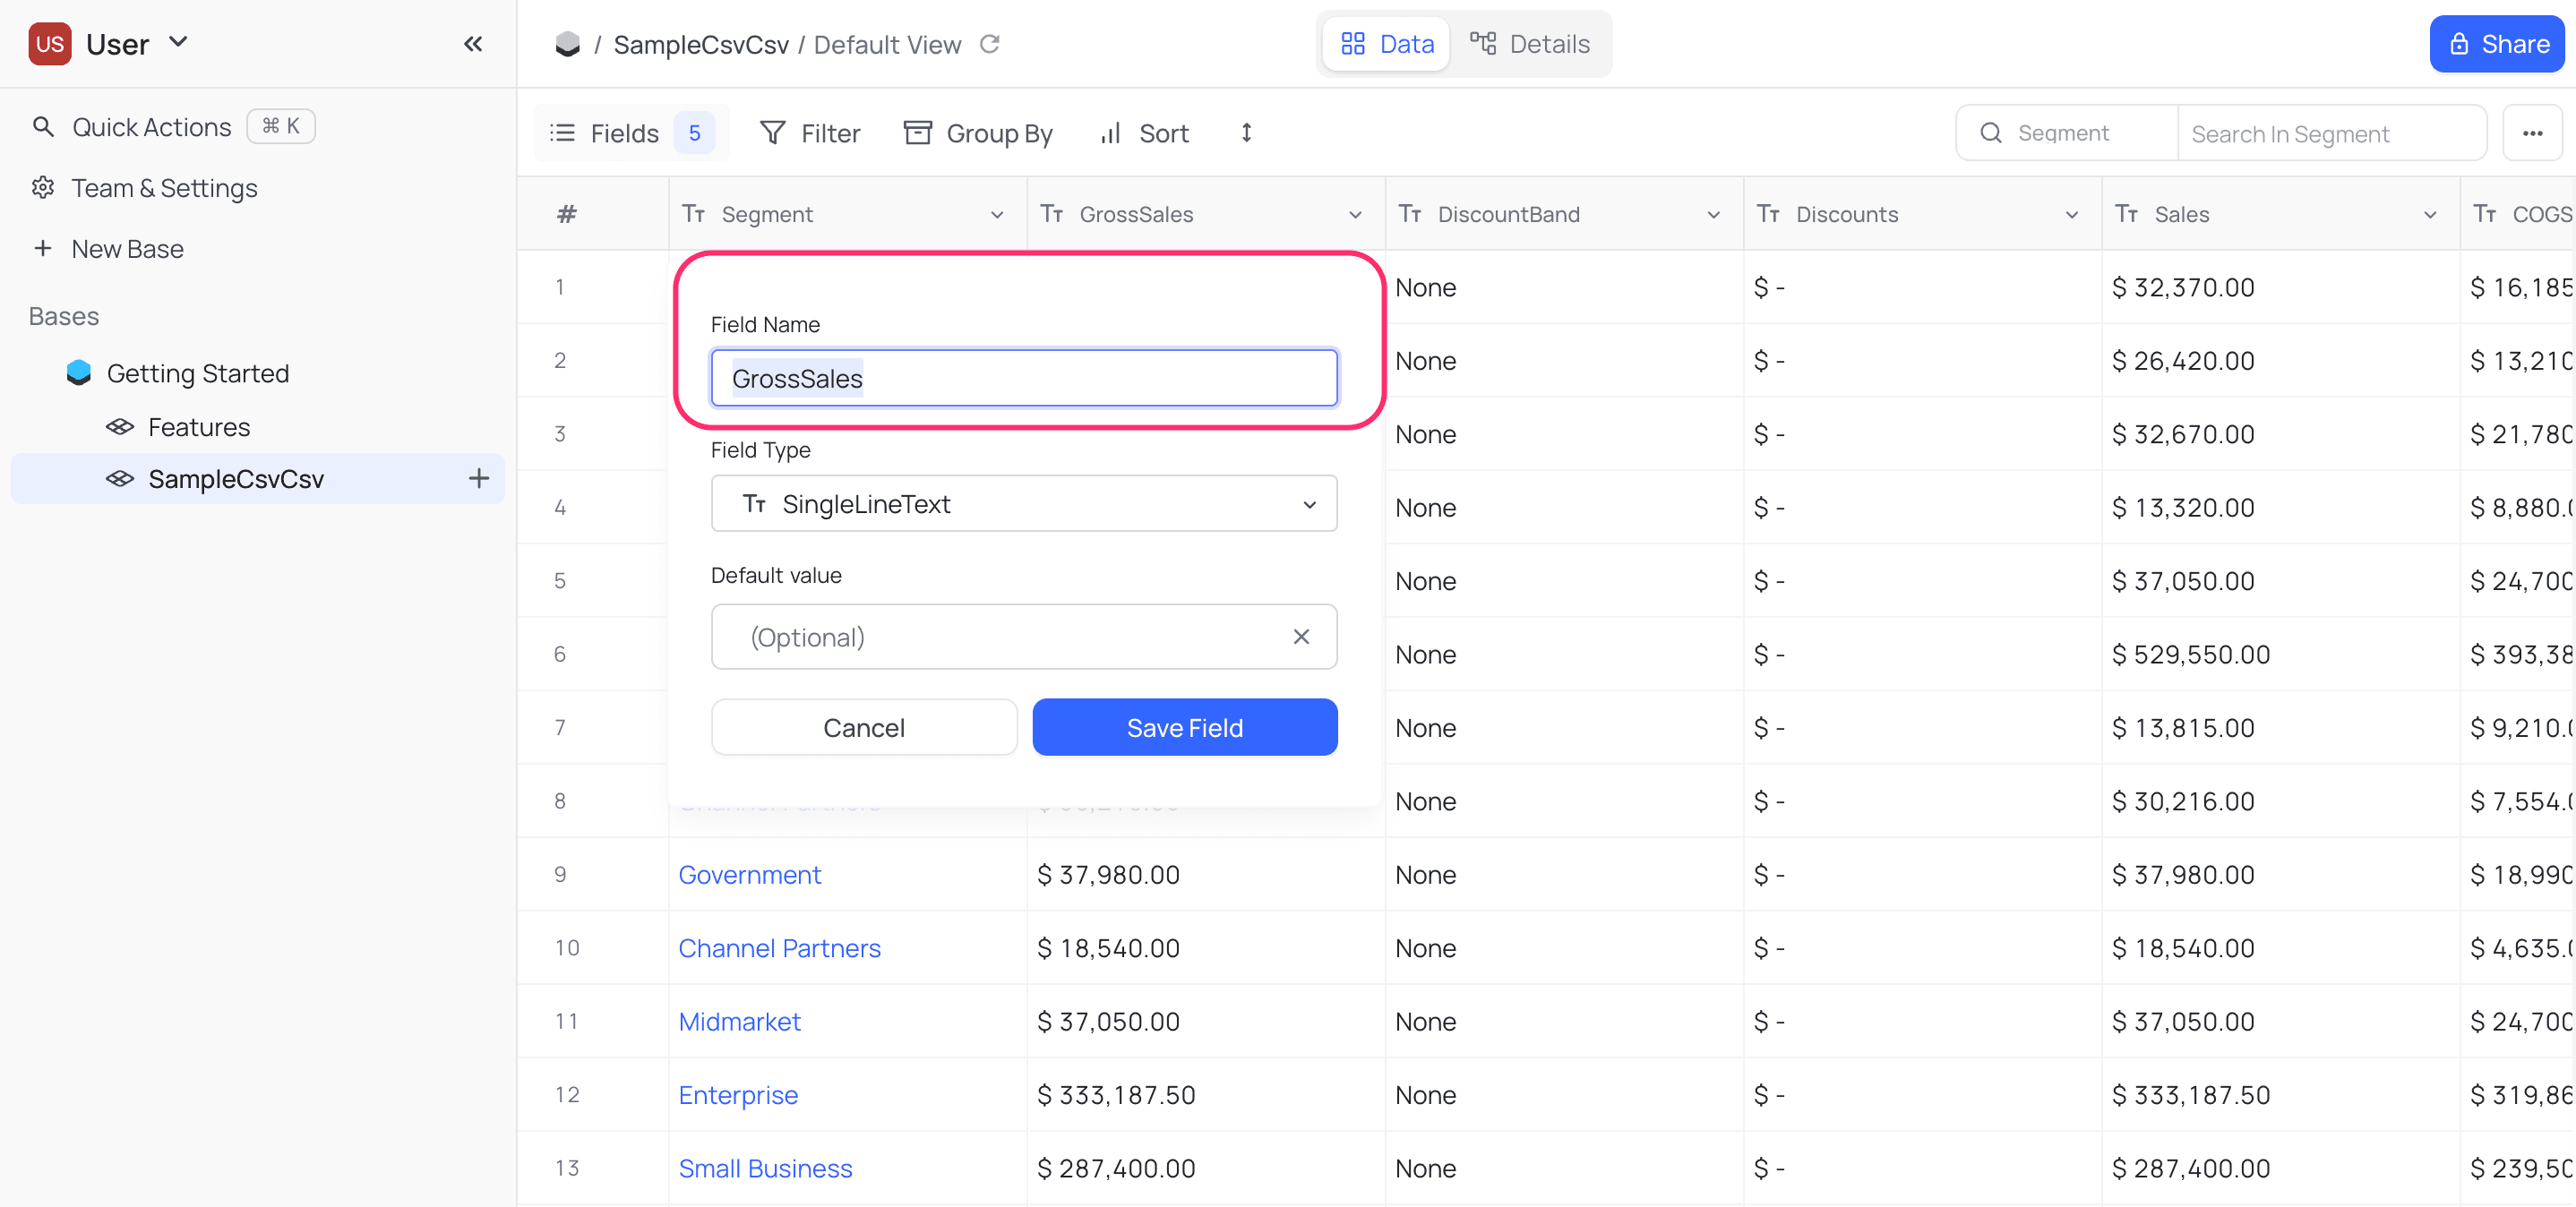
Change field type
- Open the field context menu.
- Click
Edit. - In the
Field Typedropdown, select the new field type. - Click
Save Field.
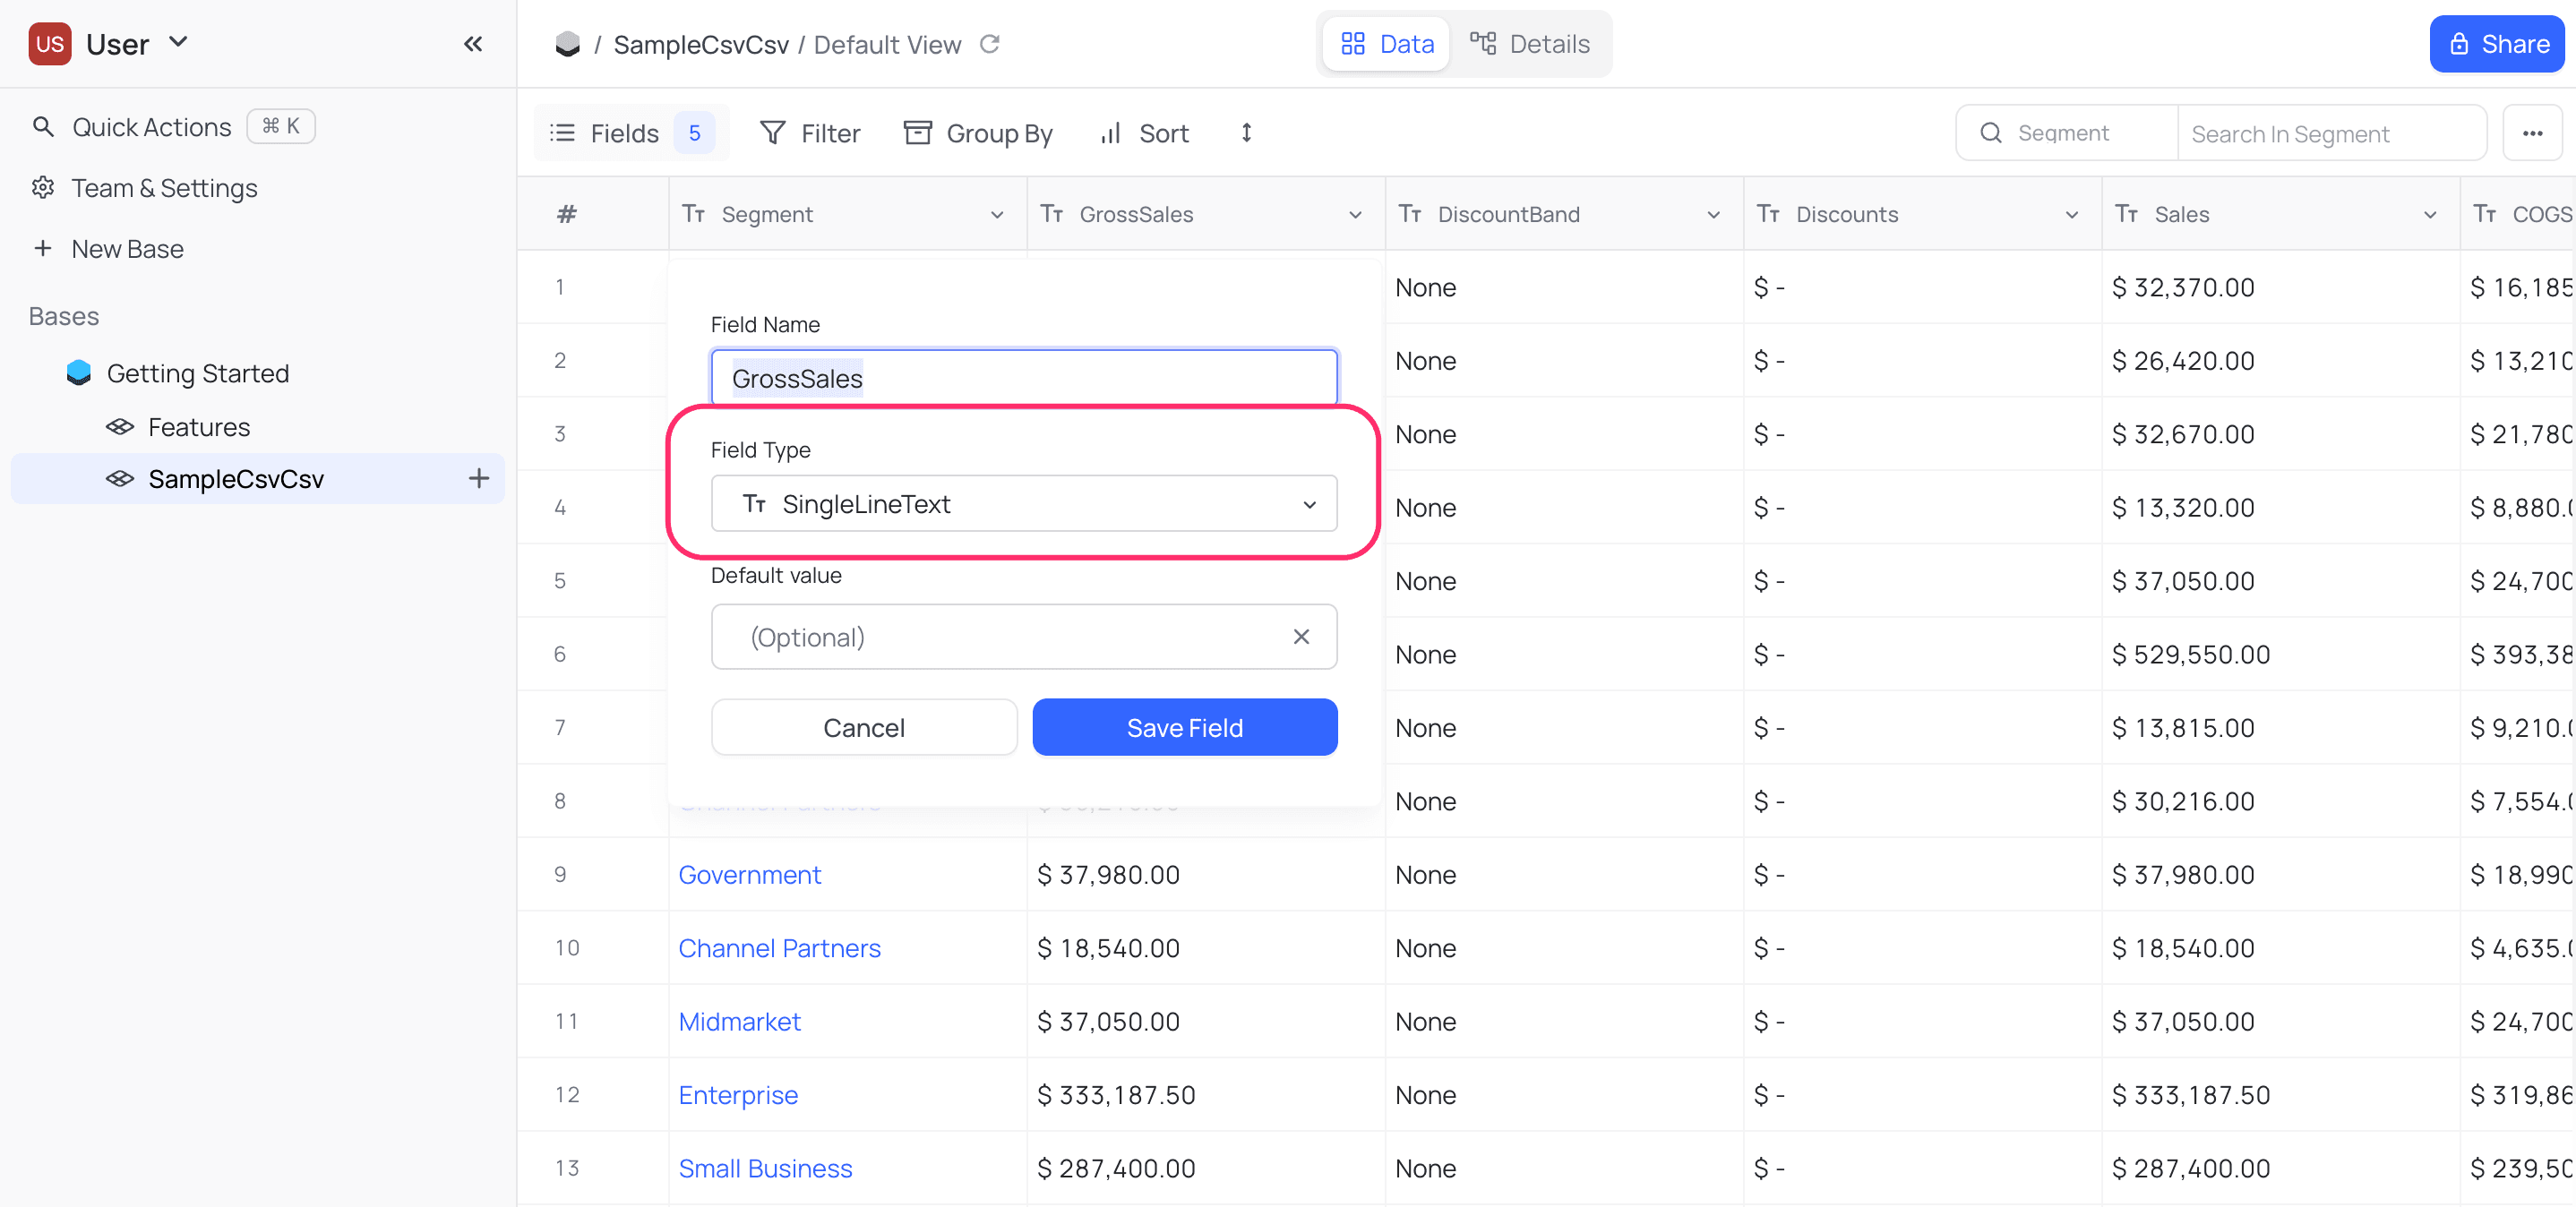
Change default value
- Open the field context menu.
- Click
Edit. - In the
Default Valuefield, enter the new default value. To remove the default value, click thexicon. - Click
Save Field.
Change field width
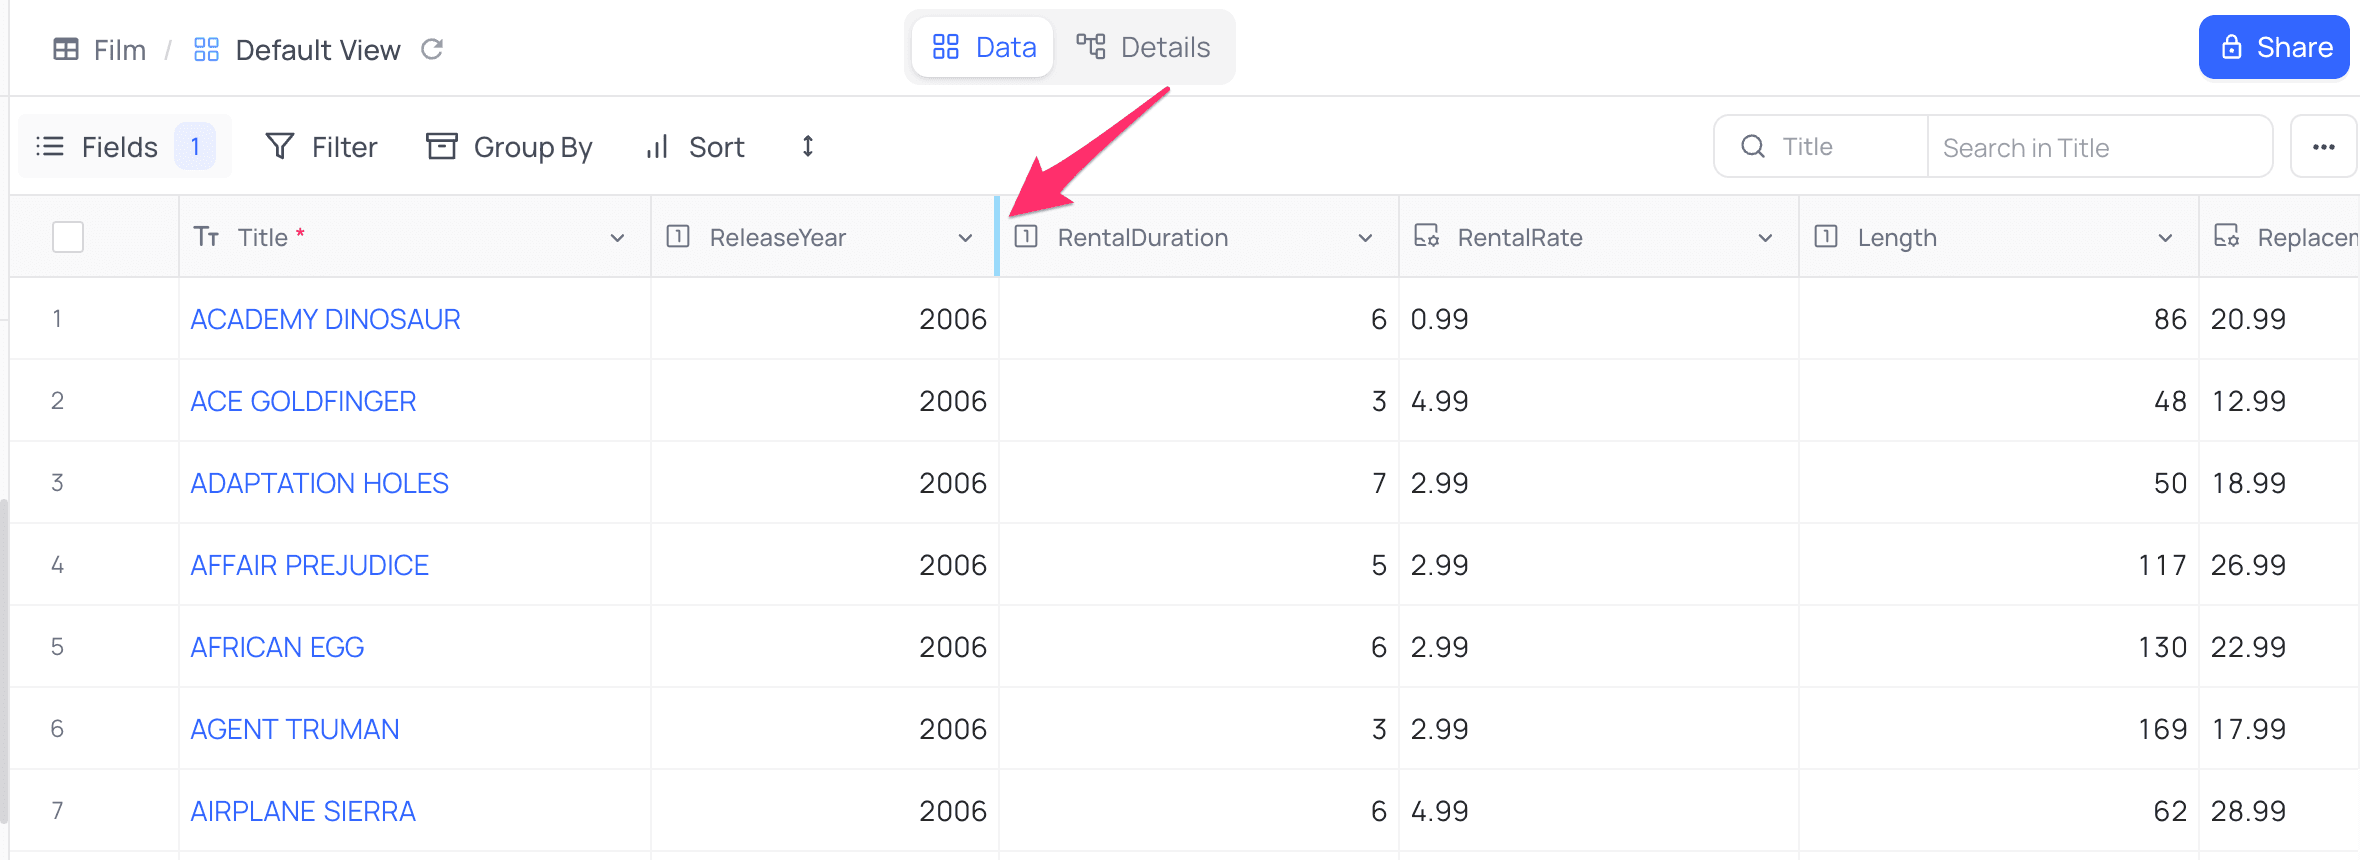
To change the width of the field, hover over the edge of the field. Then drag the edge.
Hide field
- Open the field context menu.
- Click
Hide Field.
- Hidden fields are not visible in the table view, but will still be accessible for Formulas, Sort, Filter, etc.
- To un hide a field, use
Toolbar > Fieldsmenu - Fields can also be marked as hidden from
Toolbar > Fieldsmenu
Set as Display value
- Open the field context menu.
- Click
Set as Display Value.
Refer to Display Value for more details.
Sort Ascending
- Open the field context menu.
- Click
Sort Ascending.
Sort Descending
- Open the field context menu.
- Click
Sort Descending.
Duplicate field
- Open the field context menu.
- Click
Duplicate.
NocoDB creates a copy of the field without the data. The name of the copy has the suffix _copy. The copy shows to the right of the original field.
Insert after a field
- Open the field context menu.
- Click
Insert after.
NocoDB creates the new field to the right of the original field.
Insert before a field
- Open the field context menu.
- Click
Insert before.
NocoDB creates the new field to the left of the original field.
Delete field
To delete a field:
- Click the dropdown icon (🔽). The field context menu opens.
- Click Delete.
- In the confirmation modal, click Delete Field.
Add / edit field description
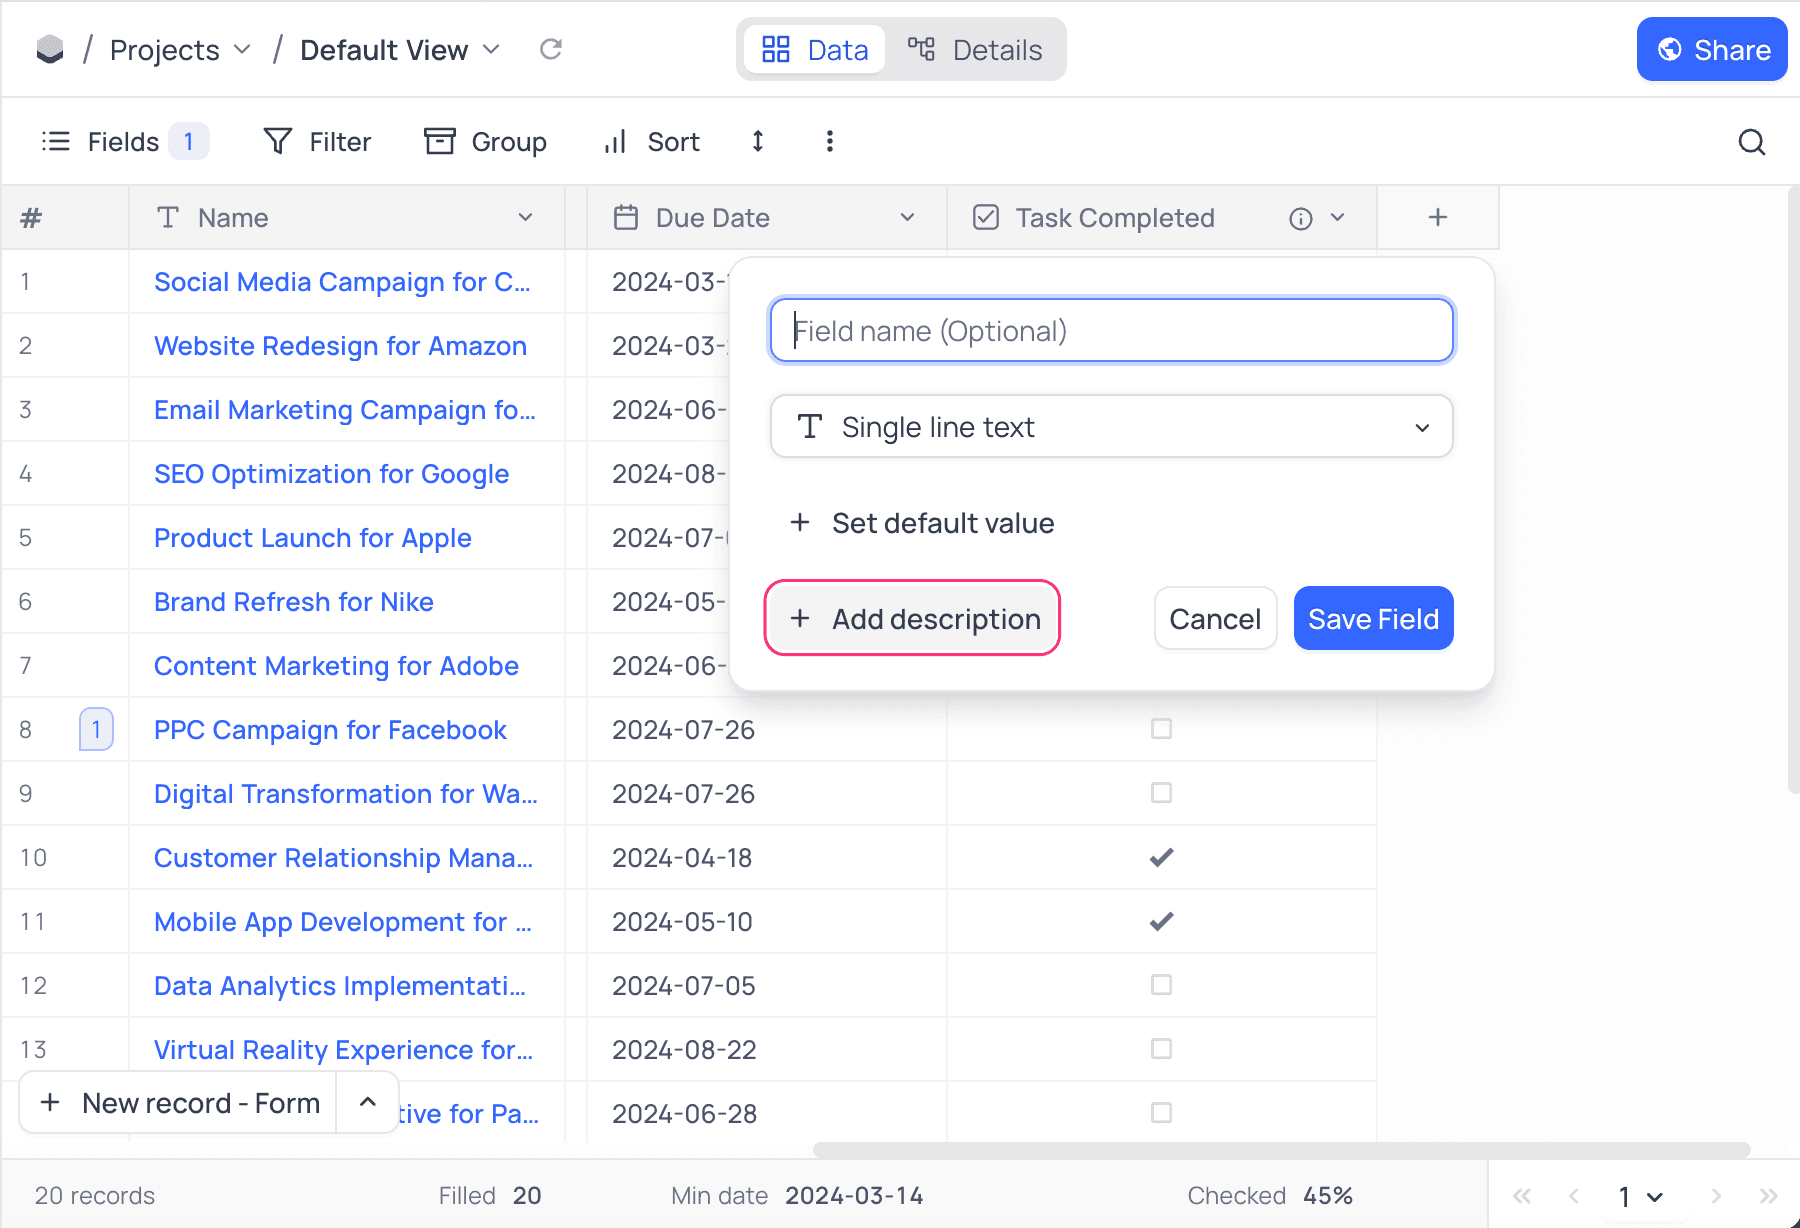
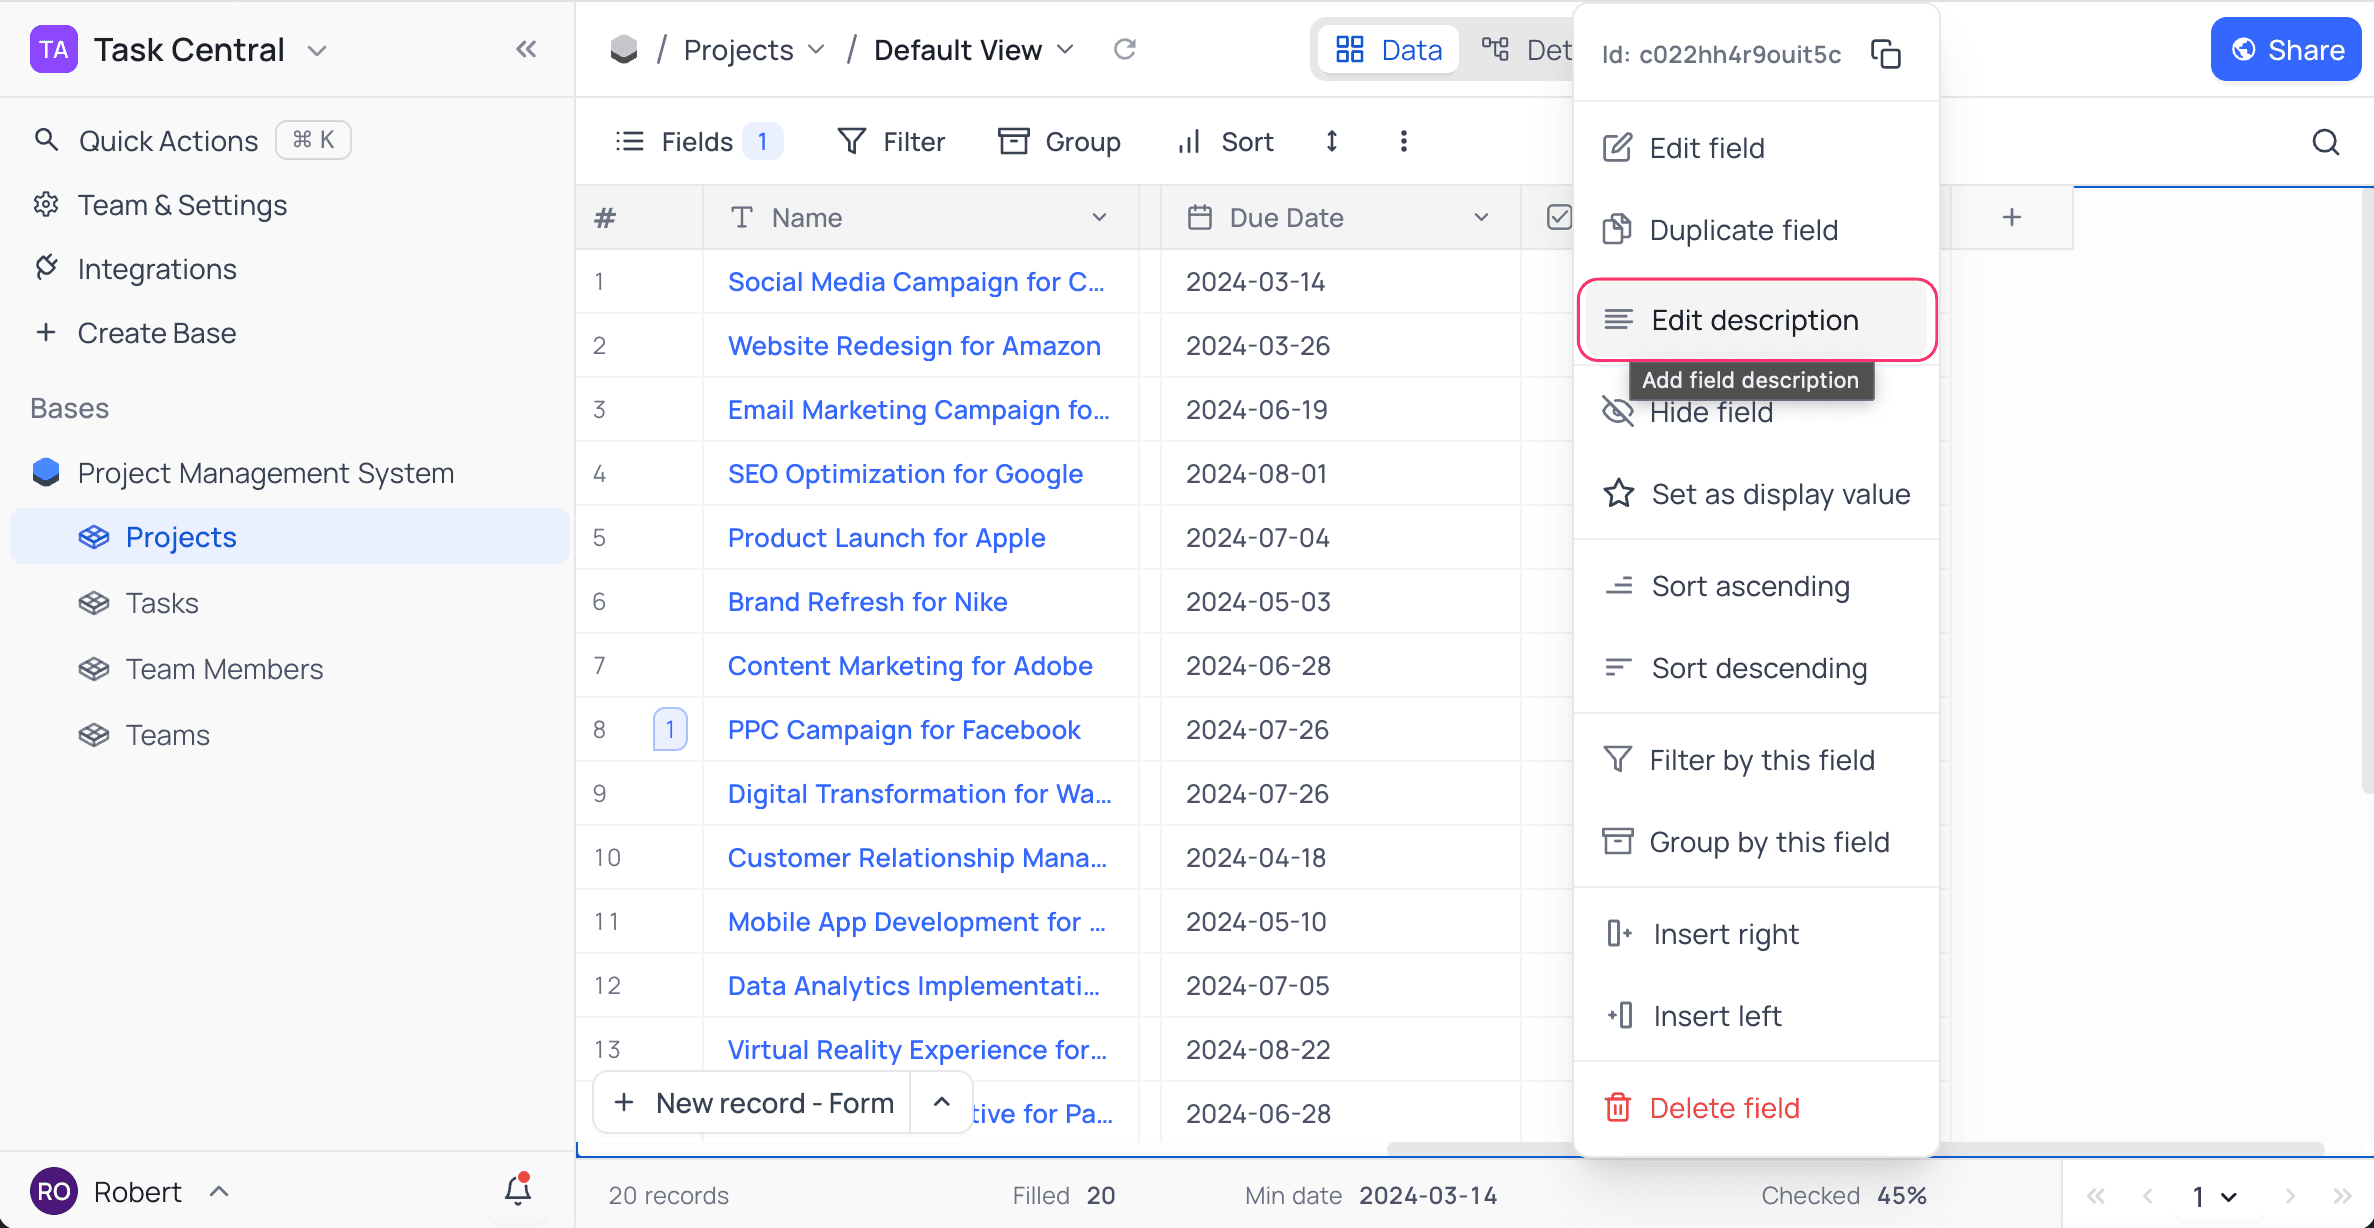
To add a field description, use one of these buttons:
Add Descriptionin the field creation modalEdit Descriptionin the field context menu
To see the description of a field, hover over the info icon next to the field name. The description shows as a tooltip.

The same info icon also shows next to the field name in the expanded record and in the New record form. Hover over it to read the field description. Viewers can also see the description, and it shows on public and shared views. Use it to give more context about a field to people who fill in a record.
Set field as unique
To set a field as unique:
- Click the dropdown icon (🔽). The field context menu opens.
- Click Edit field.
- Turn on Unique values only.
- Click Save Field.
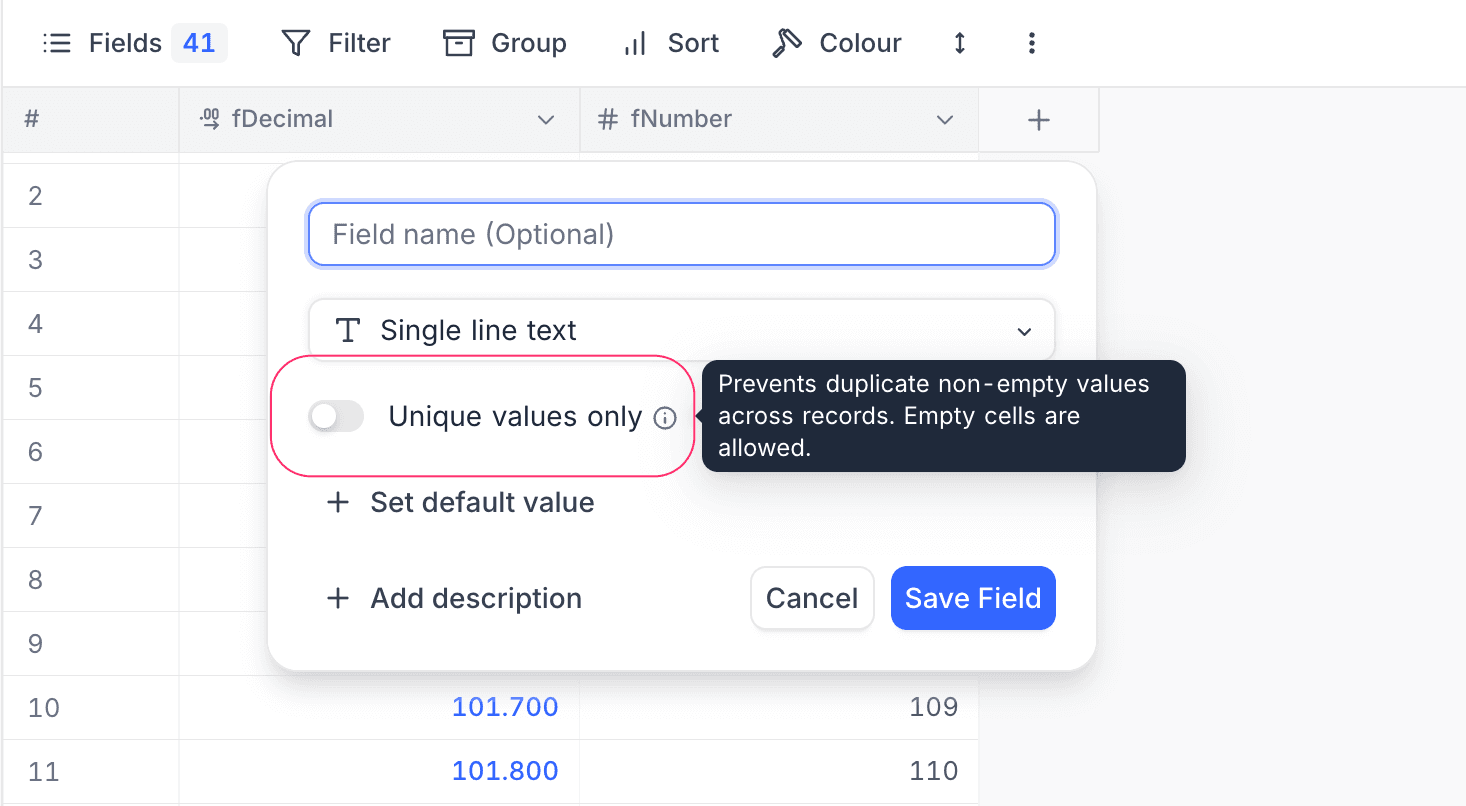
This feature is available only for some field types, for example Single line text, Email and Number. For more details, refer to Unique Fields.
Last updated on