Keycloak
This article gives the steps to configure Keycloak as the identity provider for NocoDB.
NocoDB, Retrieve SAML SSO Configuration details
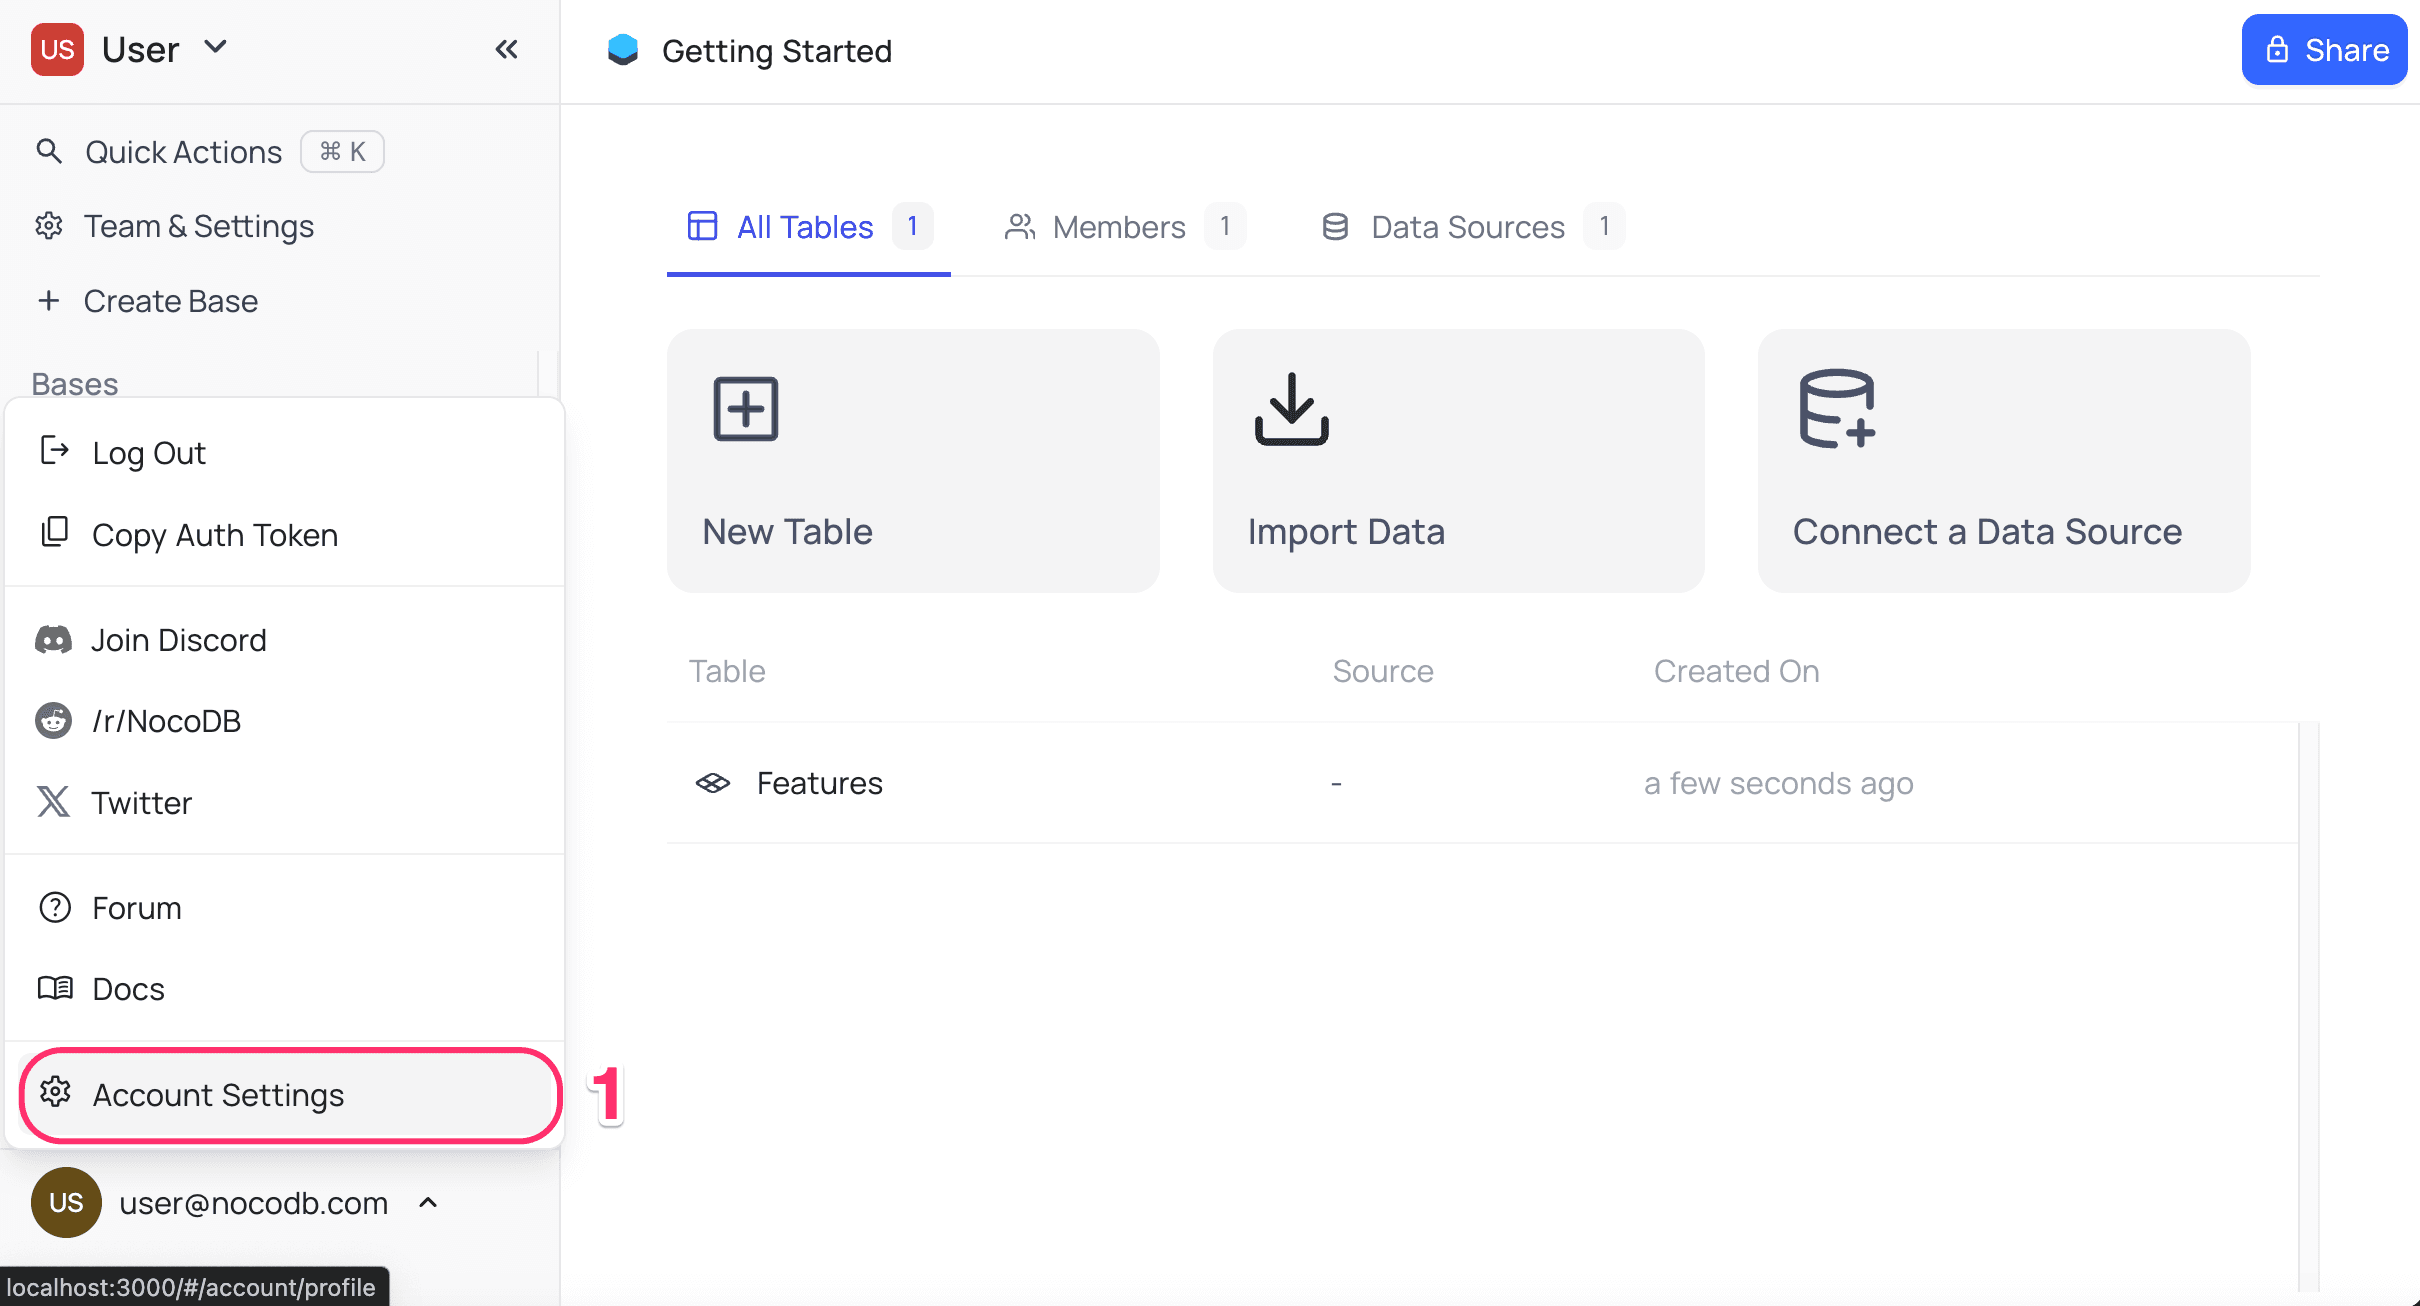
- Go to
Account Settings. - Select
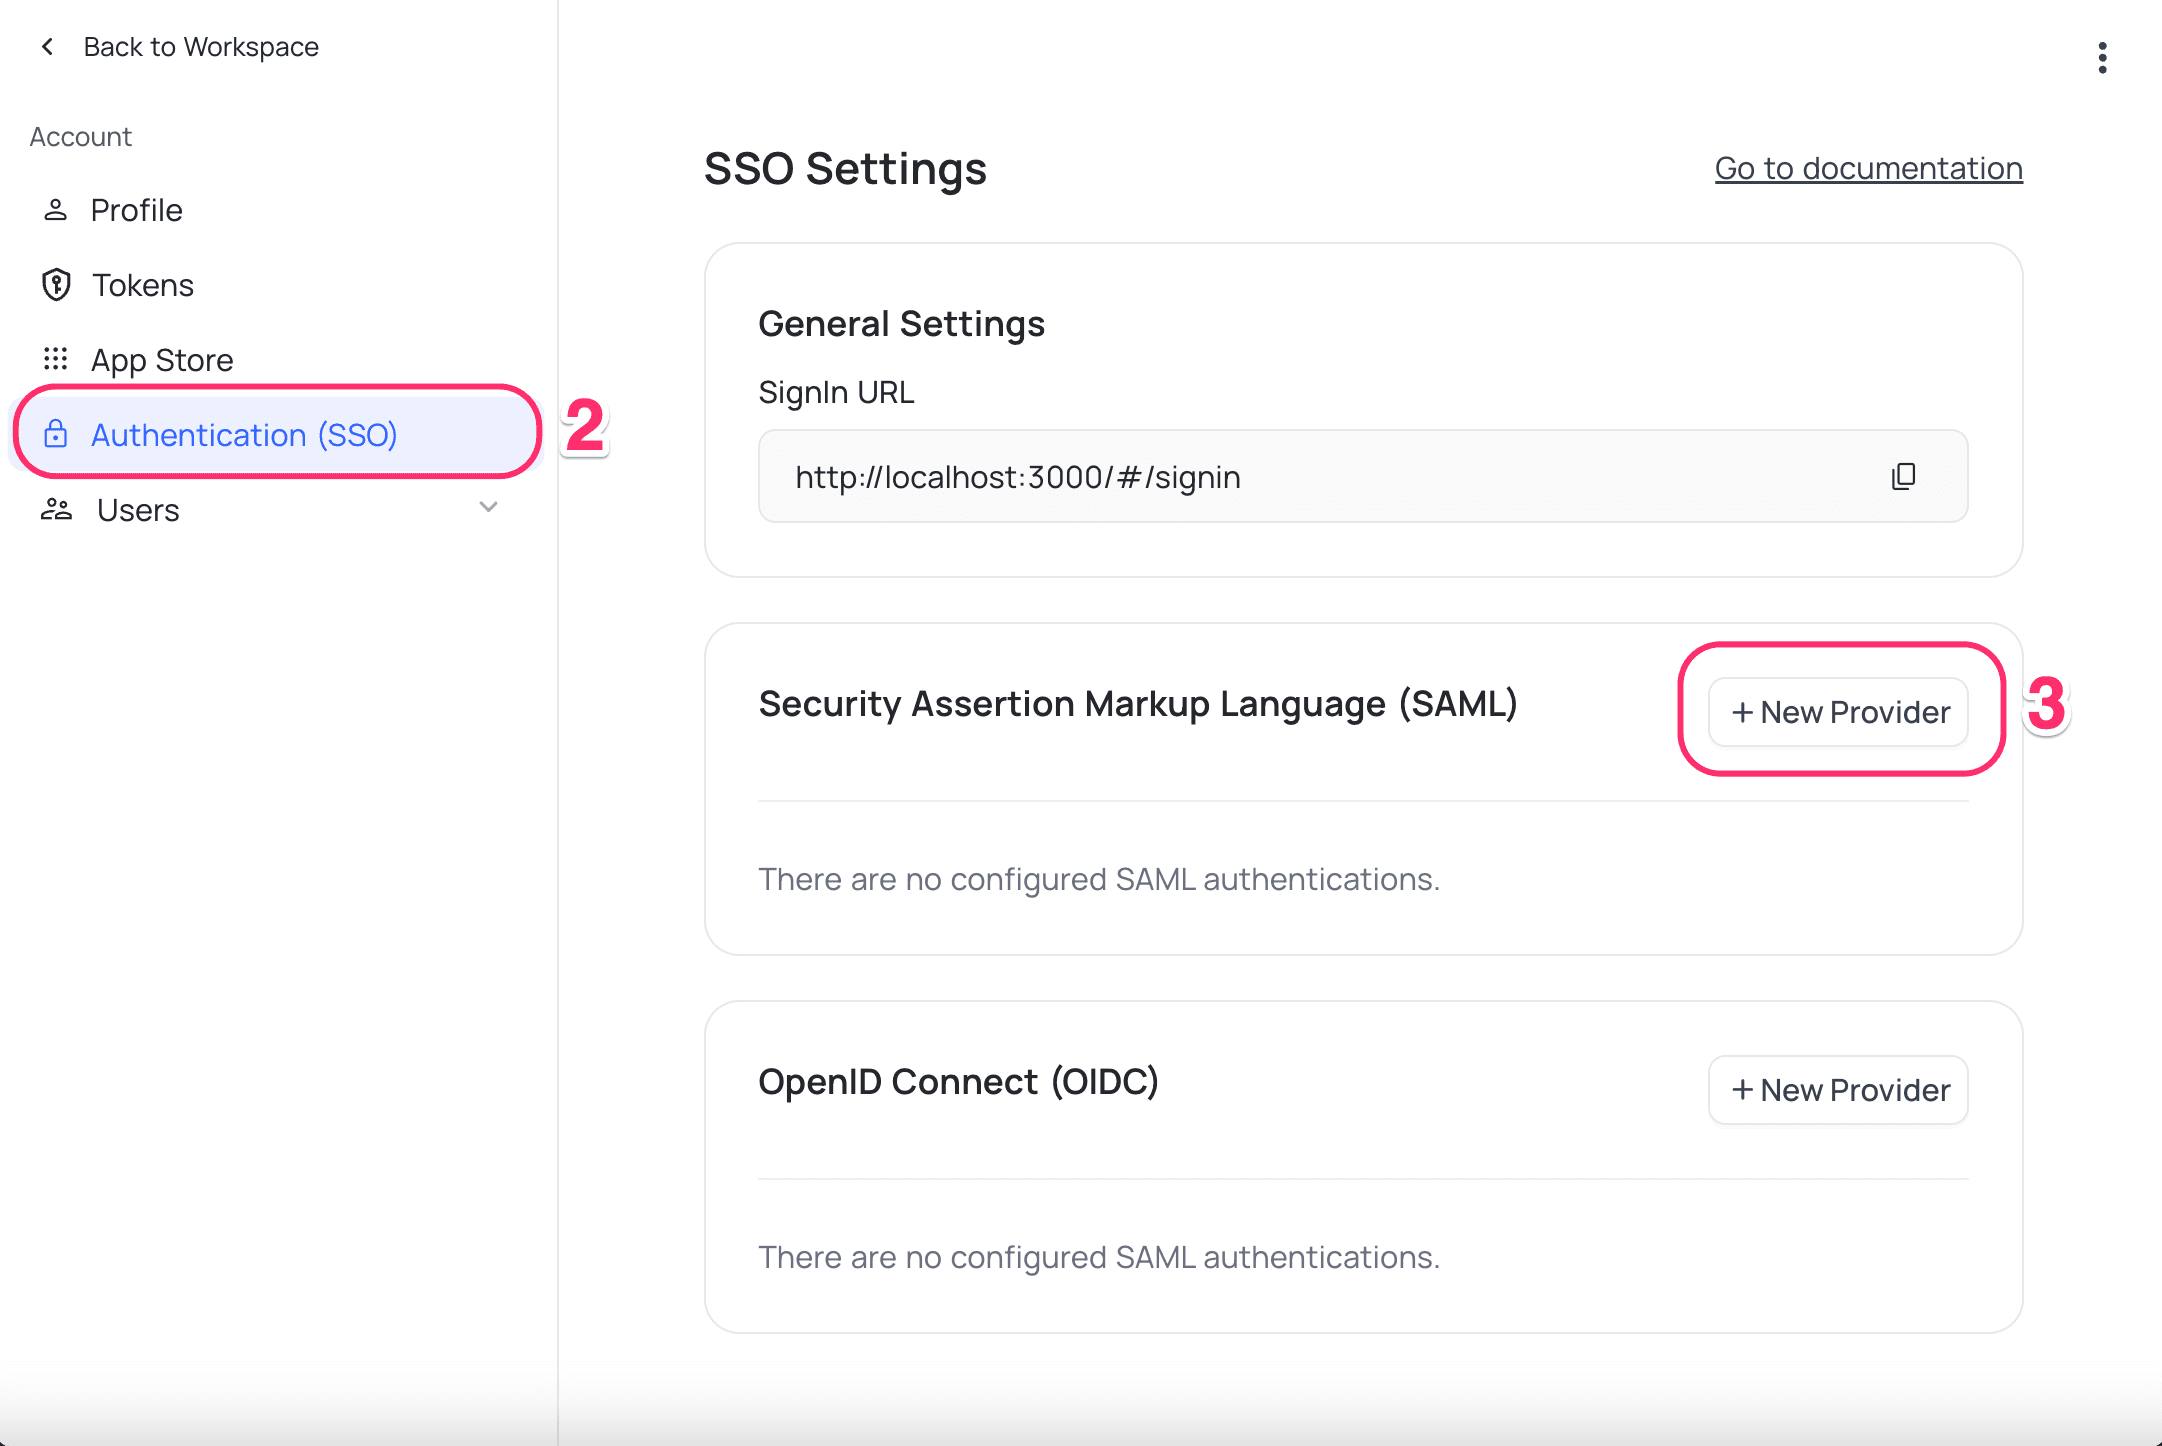
Authentication (SSO). - Click the
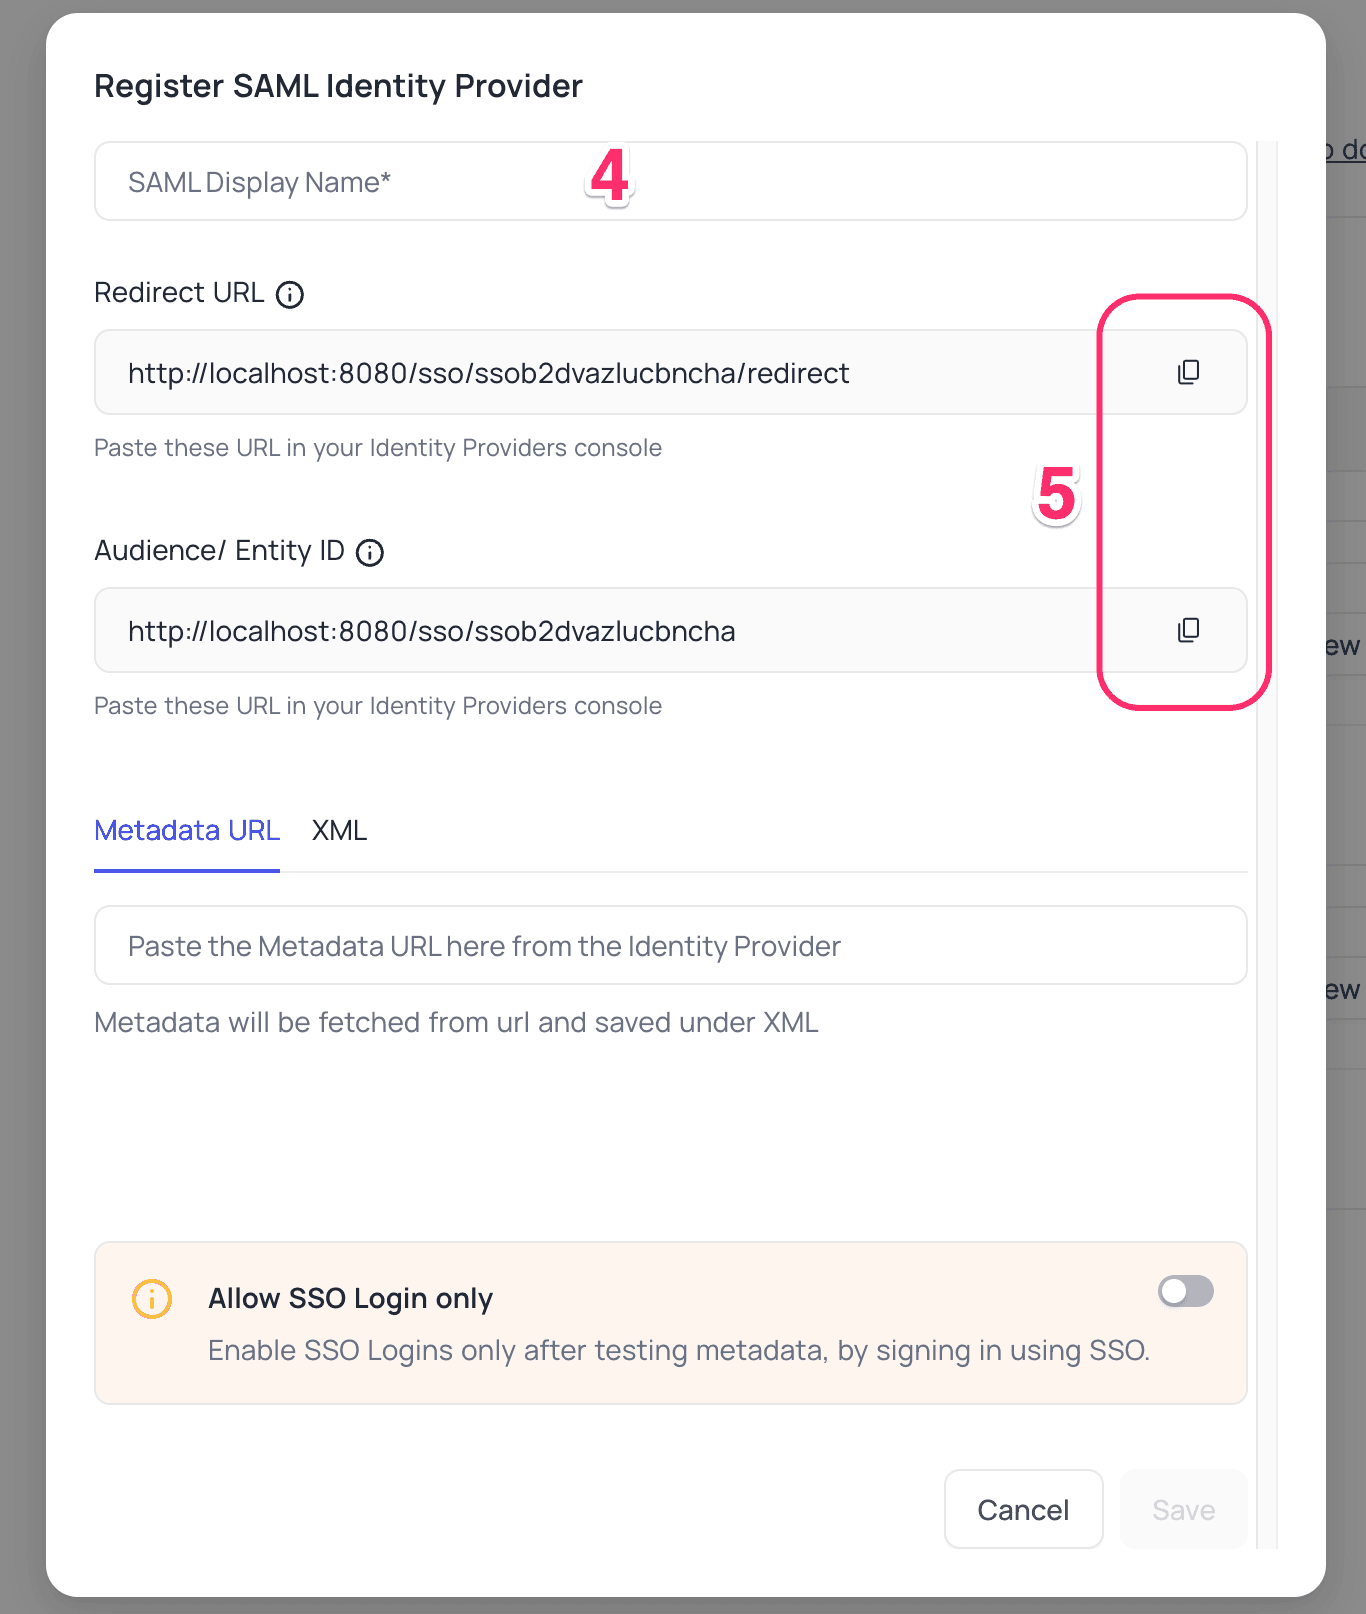
New Providerbutton. - In the dialog, type a
Display namefor the provider. The login page shows the provider with this name. - Copy the
Redirect URL&Audience / Entity ID. You need these values later to configure the identity provider.
Keycloak, Configure NocoDB as an Application
- Sign in to your Keycloak account.
- Go to the
Clientsmenu. - Select the
Clients listtab. Click theCreate clientbutton.
- Go to the
- In the
Create Clientdialog, on theGeneral Settingstab:- For the
Client type, selectSAML. - For the
Client ID, enter theAudience/Entity IDfrom NocoDB. - Click
Next.
- For the
- In the
Create Clientdialog, on theLogin Settingstab:- For the
Valid Redirect URIs, enter theRedirect URLfrom NocoDB. - For the
Valid post logout redirect URIs, enter theRedirect URLfrom NocoDB. - Click
Save.
- For the
- On the
Client detailspage, on theSettingstab:- Go to the
SAML Capabilitiessection. - Set
Name ID formattoemail. - Enable
Force Name ID FormatandForce POST Binding. - Go to the
Signature and Encryptionsection. - Enable
Sign Assertions. - Click
Save.
- Go to the
- On the
Client detailspage, on theKeystab:- Disable
Signing keys config>Client Signature Required.
- Disable
- Go to
Realm Settings>Endpoints.- Copy the
SAML 2.0 Identity Provider MetadataURL.
- Copy the
NocoDB, Configure Azure AD as an Identity Provider
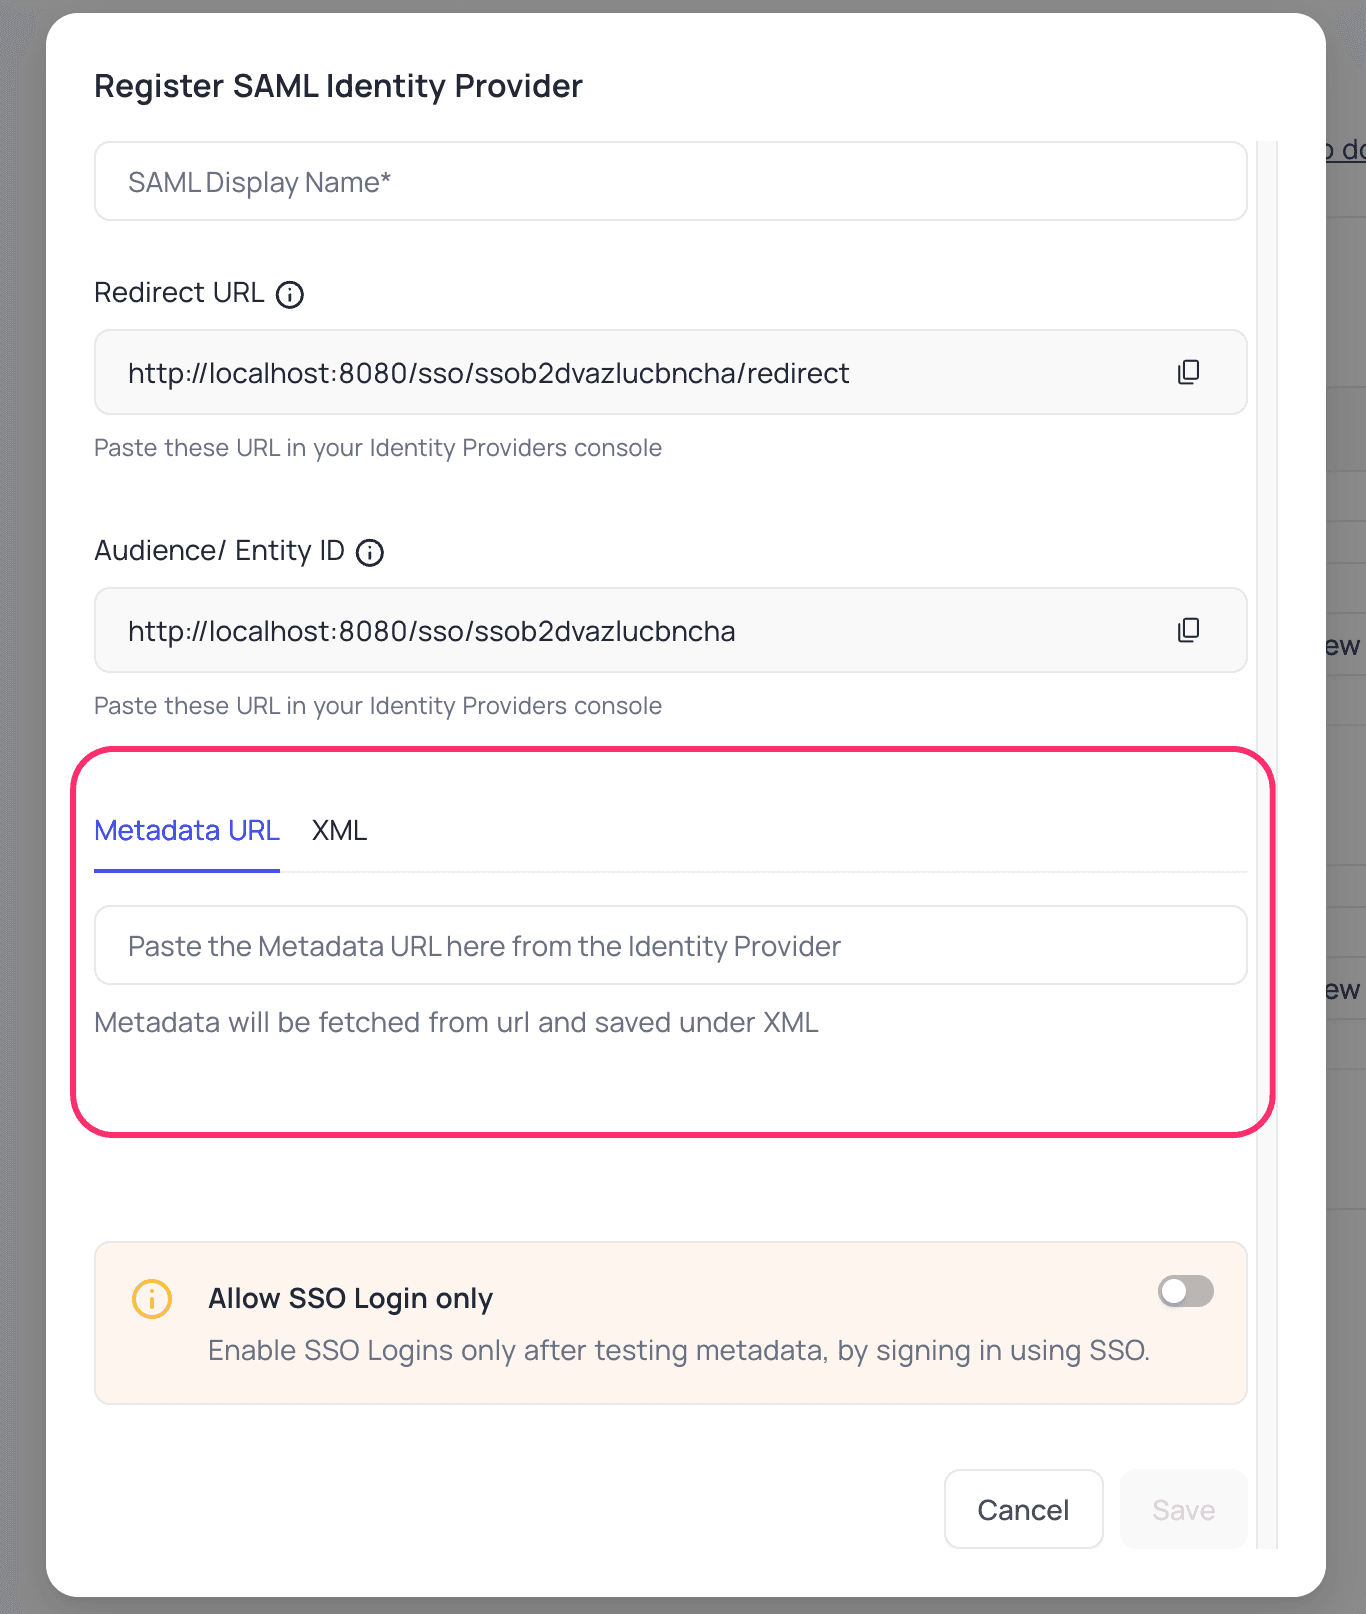
- Go to
Account Settings>Authentication>SAMLKey - Enter the
Metadata URLfrom the step above. You can also configure the XML directly. - Click
Save.
Users now see the Sign in with <SSO> option on the sign-in page.
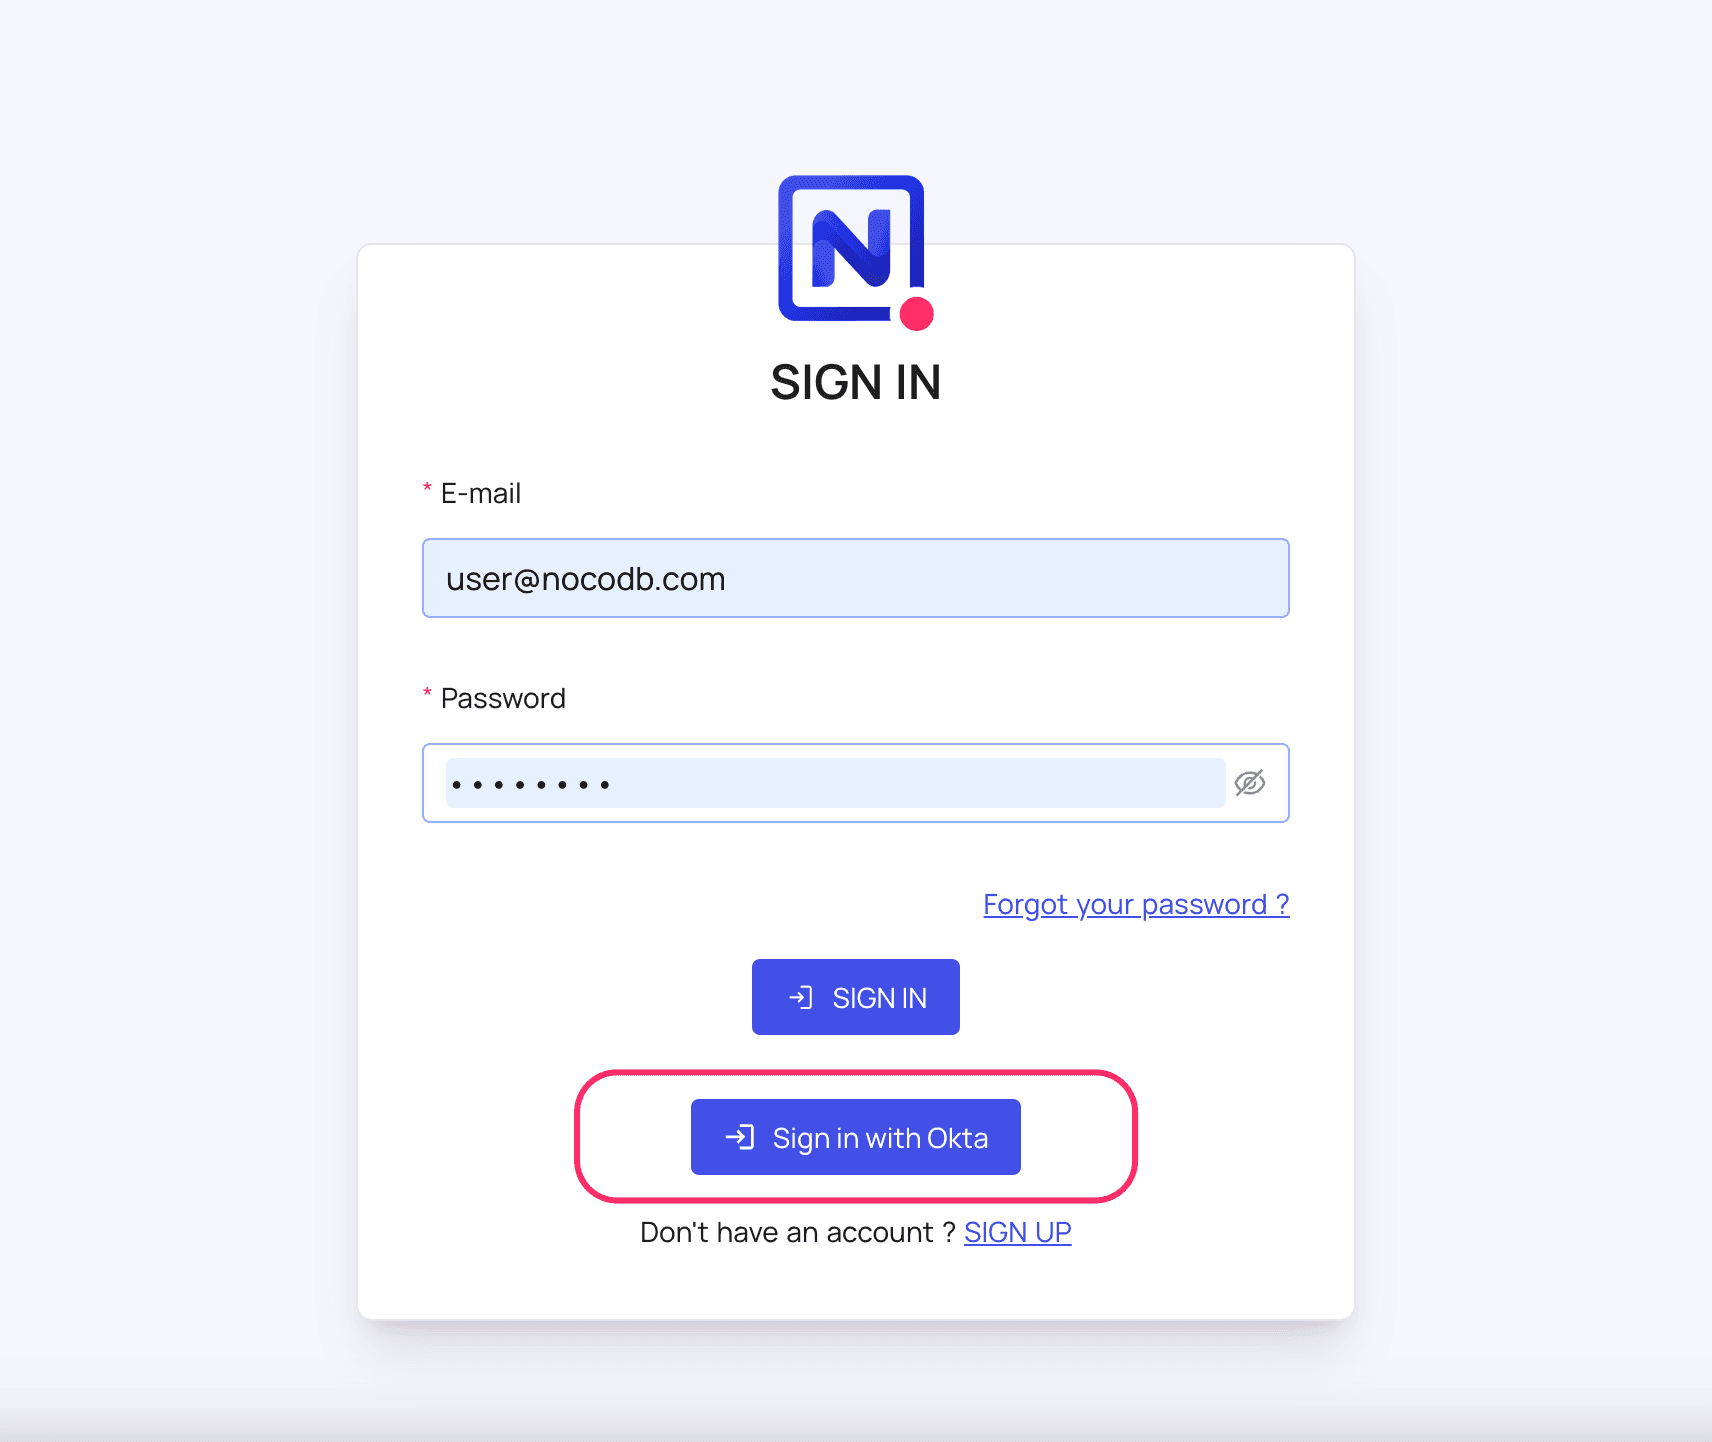
Post sign-out, refresh page (for the first time) if you do not see Sign in with <SSO> option
For more common questions and troubleshooting, see our SSO FAQ.
Availability
- SAML SSO is available on NocoDB Cloud (Business plan and above) and on licensed self-hosted deployments (Business plan and above). For access, reach out to sales team.
- On the Business plan, the SSO configuration menu is in the workspace sidebar, at Settings > Single Sign-On (SSO). For more details, refer here.
- Domain Verification Required for Cloud Plans: Verify your domain in NocoDB before you configure SAML SSO. Cloud Business and Enterprise plans both need this. Only users with email addresses from verified domains can sign in with SSO. For details, see Domain Verification.
Last updated on
Latest product updates?See Changelog