Actions on base
Understand the structure, actions, and developer tools available in a base.
Base card
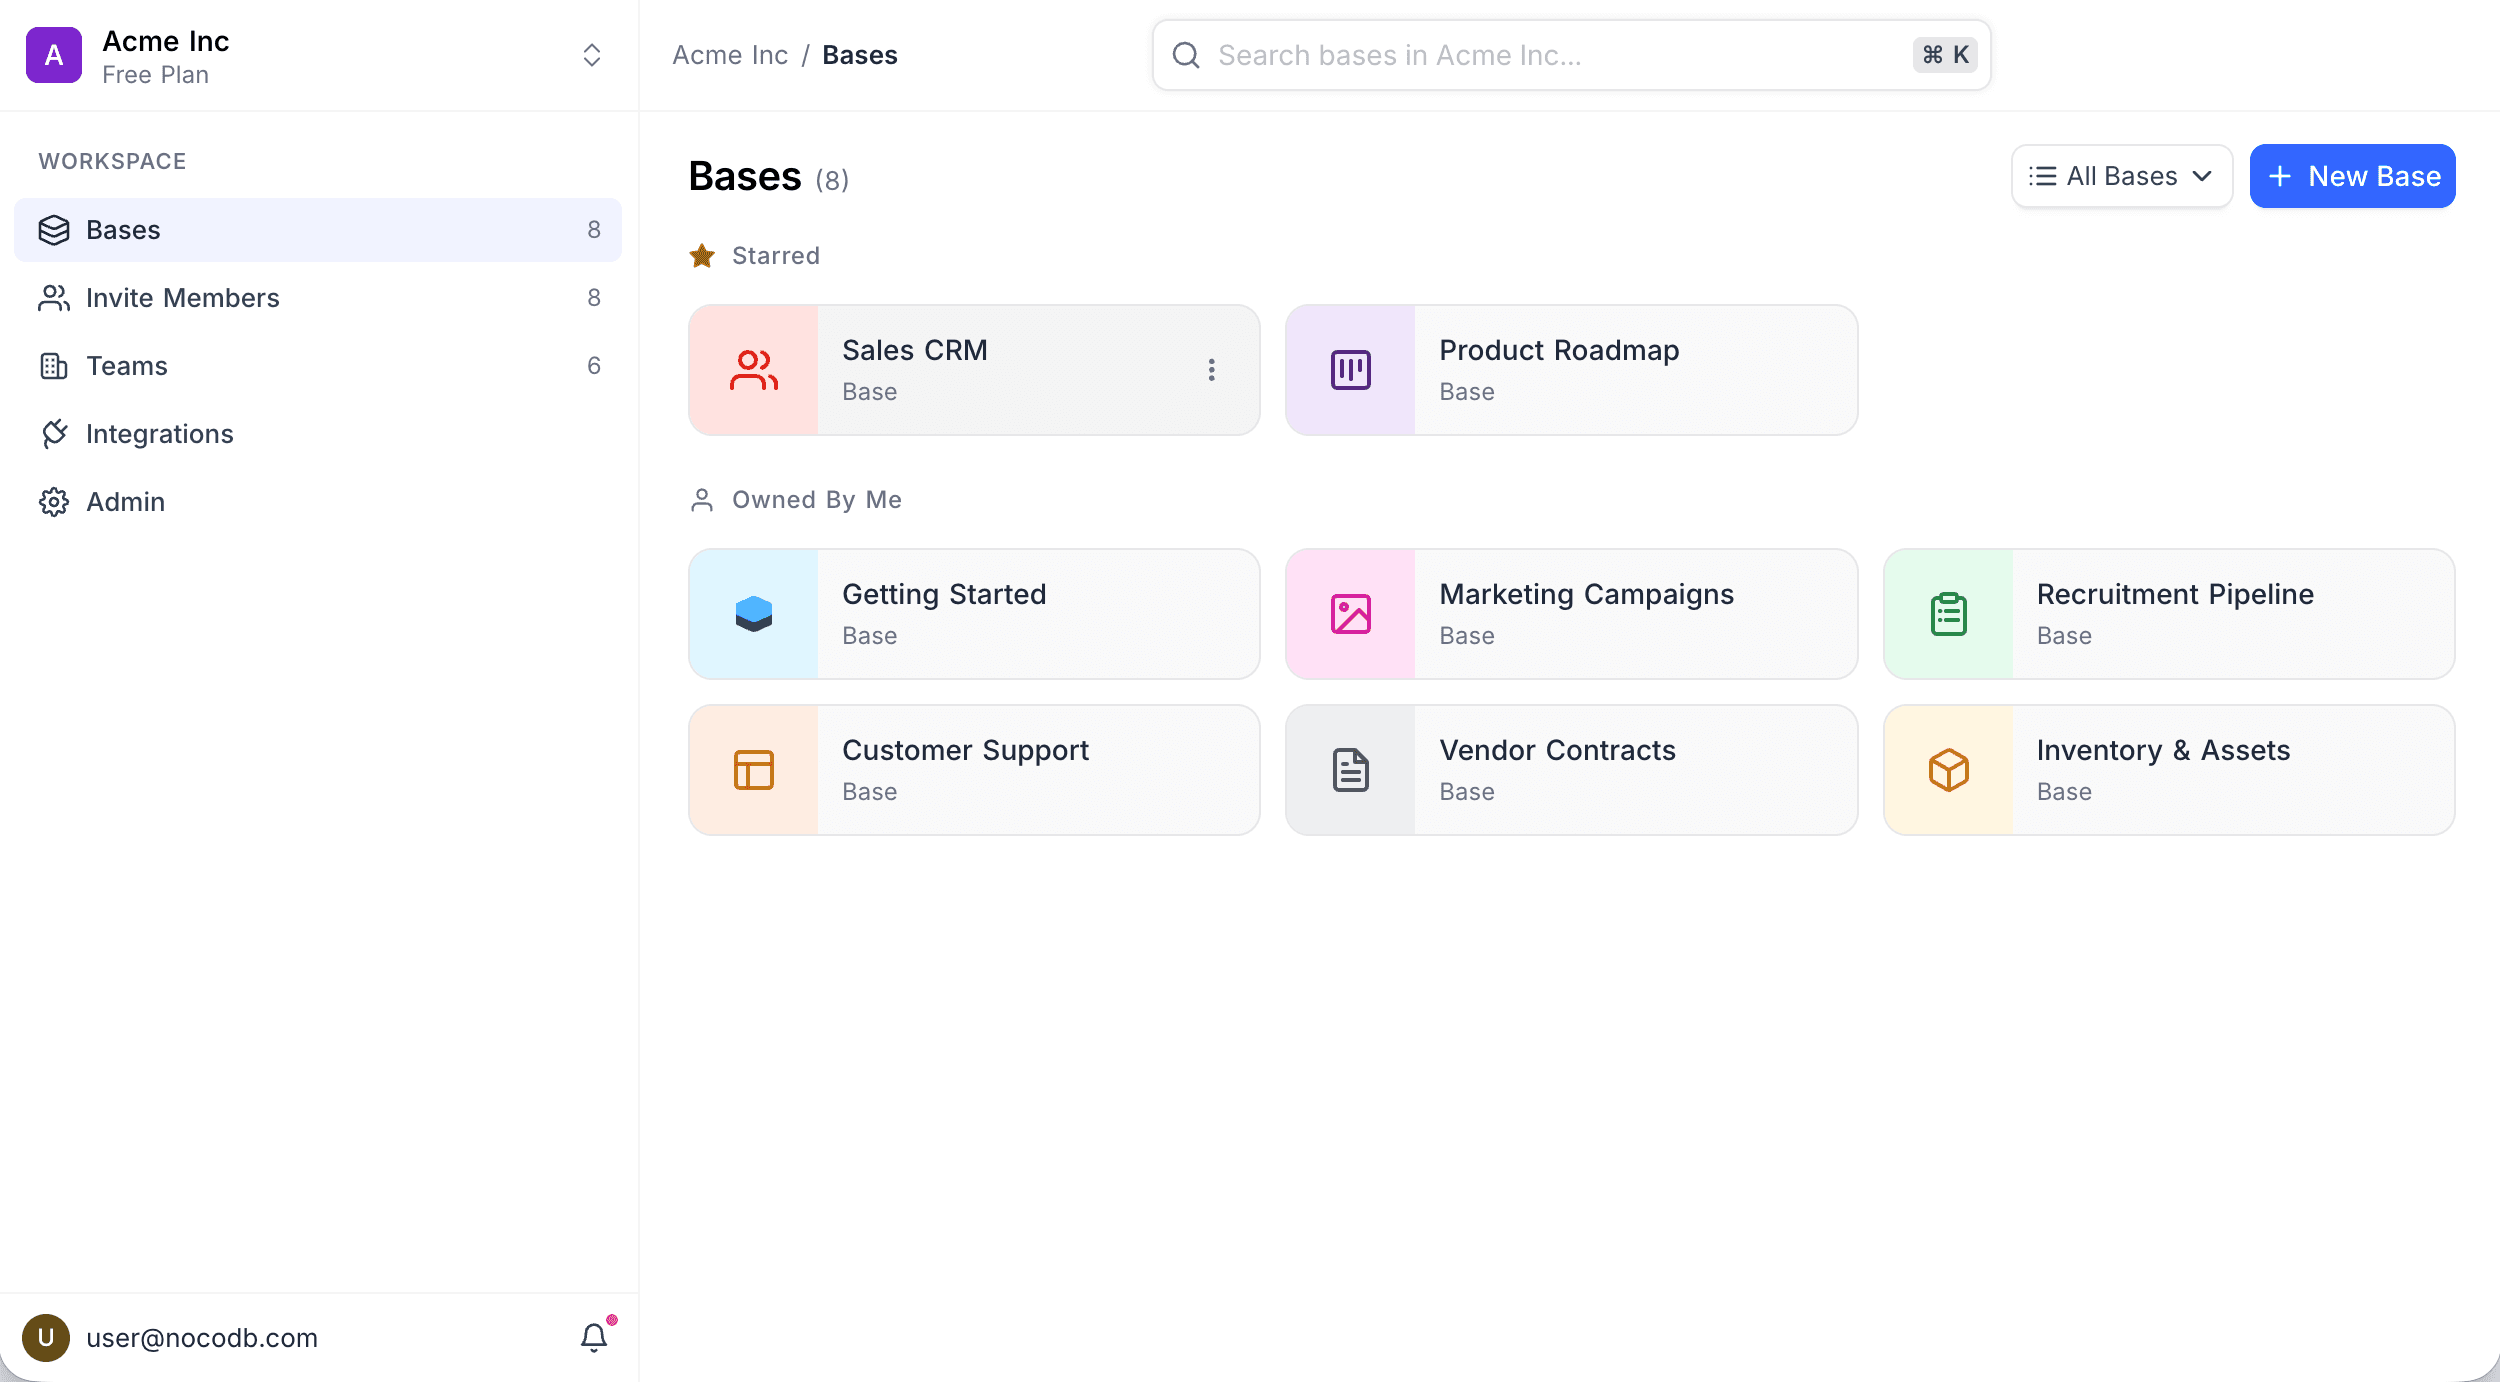
Each base on the workspace Bases page is listed as a card. The card shows:
- A coloured tile with the base icon on the left. Click it to change the icon or colour.
- The base name, with a subtitle naming what opens when you click the card — Interface when the base has a published interface, or Base otherwise.
- A ⋮ menu on hover, which opens the base context menu.
When a card opens an interface, hovering over it also reveals a Go to data button that takes you to the base's tables instead.
Use the filter dropdown above the list to narrow the cards down to All Bases, Starred, Private, or Owned by me. To find a base by name, type into the search box in the top bar.
Base context menu
The base context menu can be accessed in two ways:
- From the workspace Bases page — click the ⋮ icon on a base card.
- From within a base — click the base name dropdown in the top-left of the sidebar. This menu includes additional options like MCP Server, Rest APIs (API v2 / API v3), and Import data.
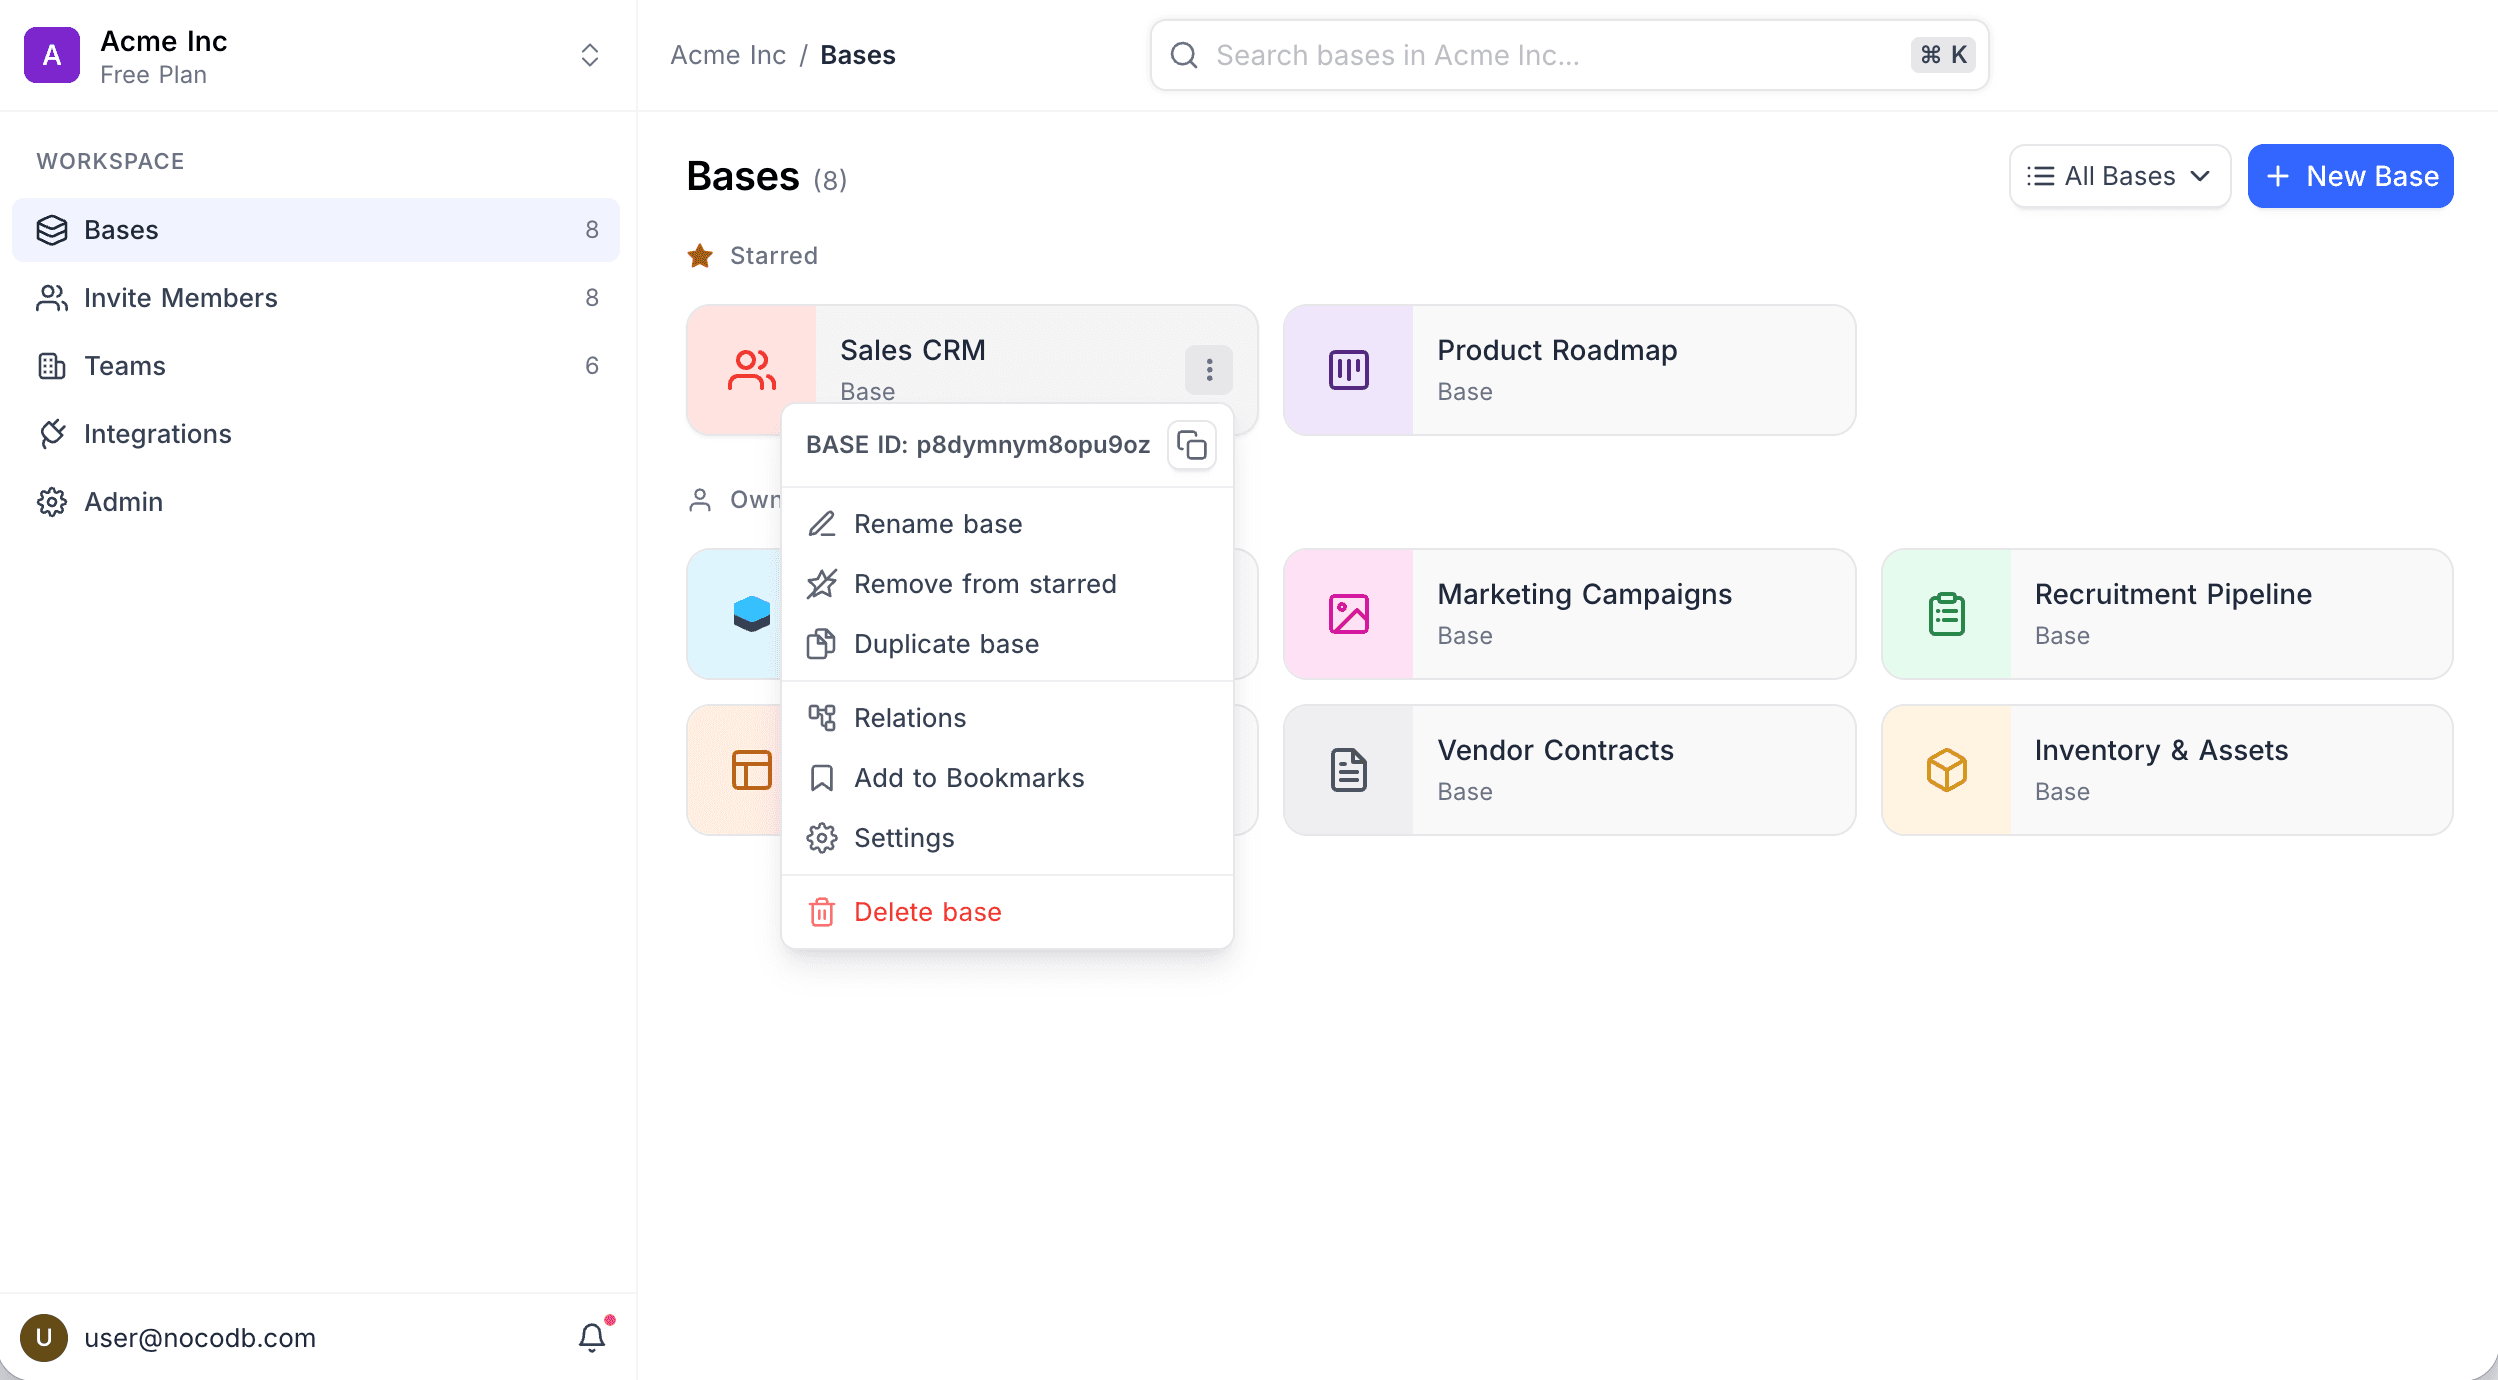
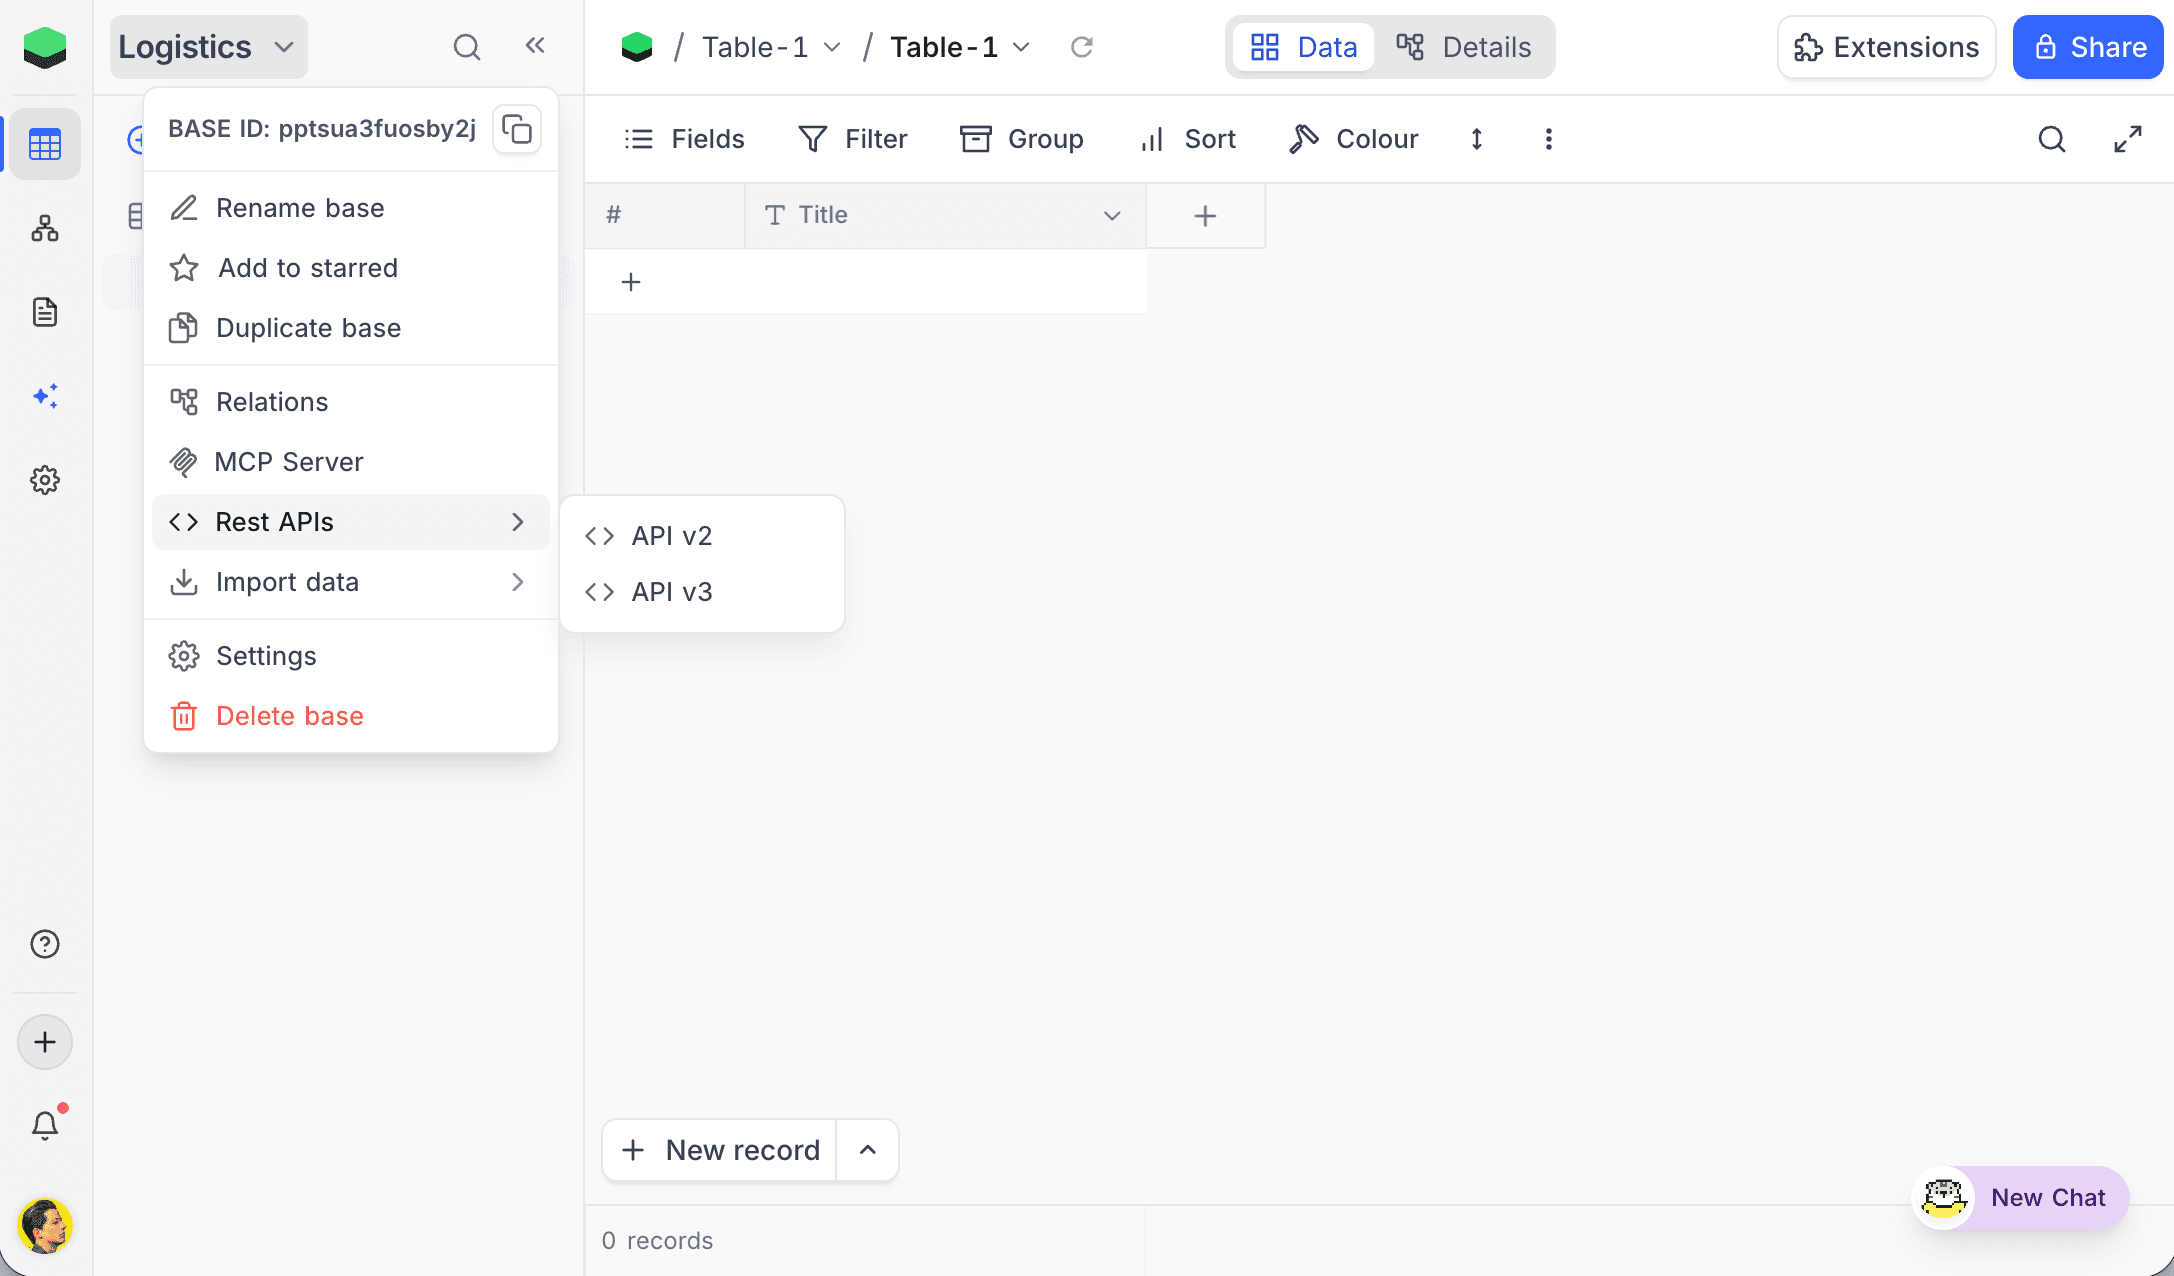
Rename base
- Open the base context menu.
- Select Rename base.
- Edit the name and press Enter to save.
Change base icon and colour
- On the workspace Bases page, click the coloured icon tile on the left of the base card.
- Under Icon, pick an icon from the grid, or use Search all icons to find one by name.
- Under Colour, pick one of the preset swatches. The tile tint follows the colour you choose and adapts to light and dark mode. Click + at the end of the row for More Colors to set a custom colour.
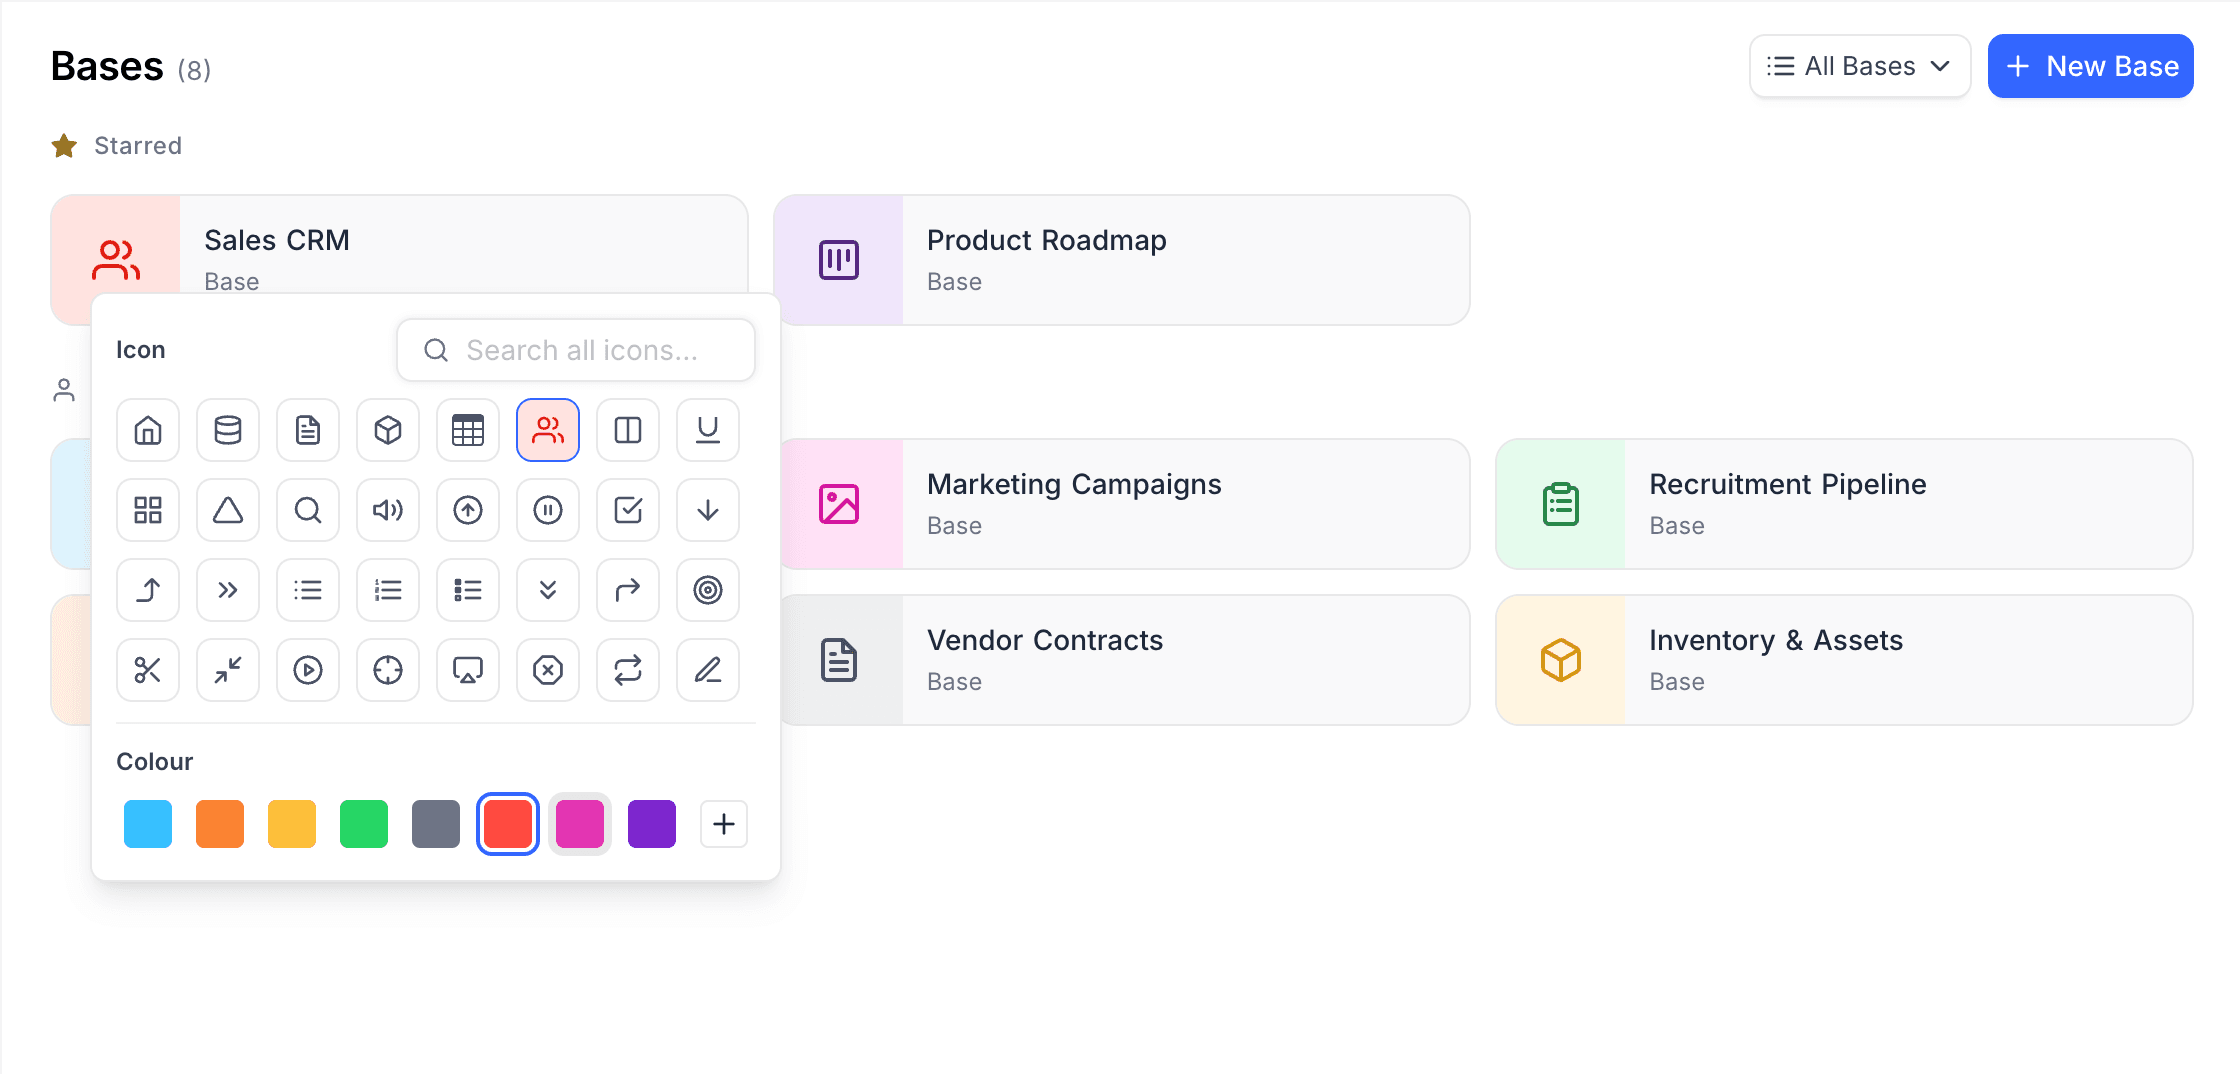
Changes are saved as you select them. The picker stays open so you can set both the icon and the colour in one pass.
Star base
- Open the base context menu.
- Select Add to starred.
Starred bases are grouped under a Starred heading at the top of the Bases page, above Owned By Me, so your most-used bases stay within reach. You can also isolate them with the Starred option in the base filter dropdown.
Remove a base from starred list
- Open the base context menu.
- Select Remove from starred.
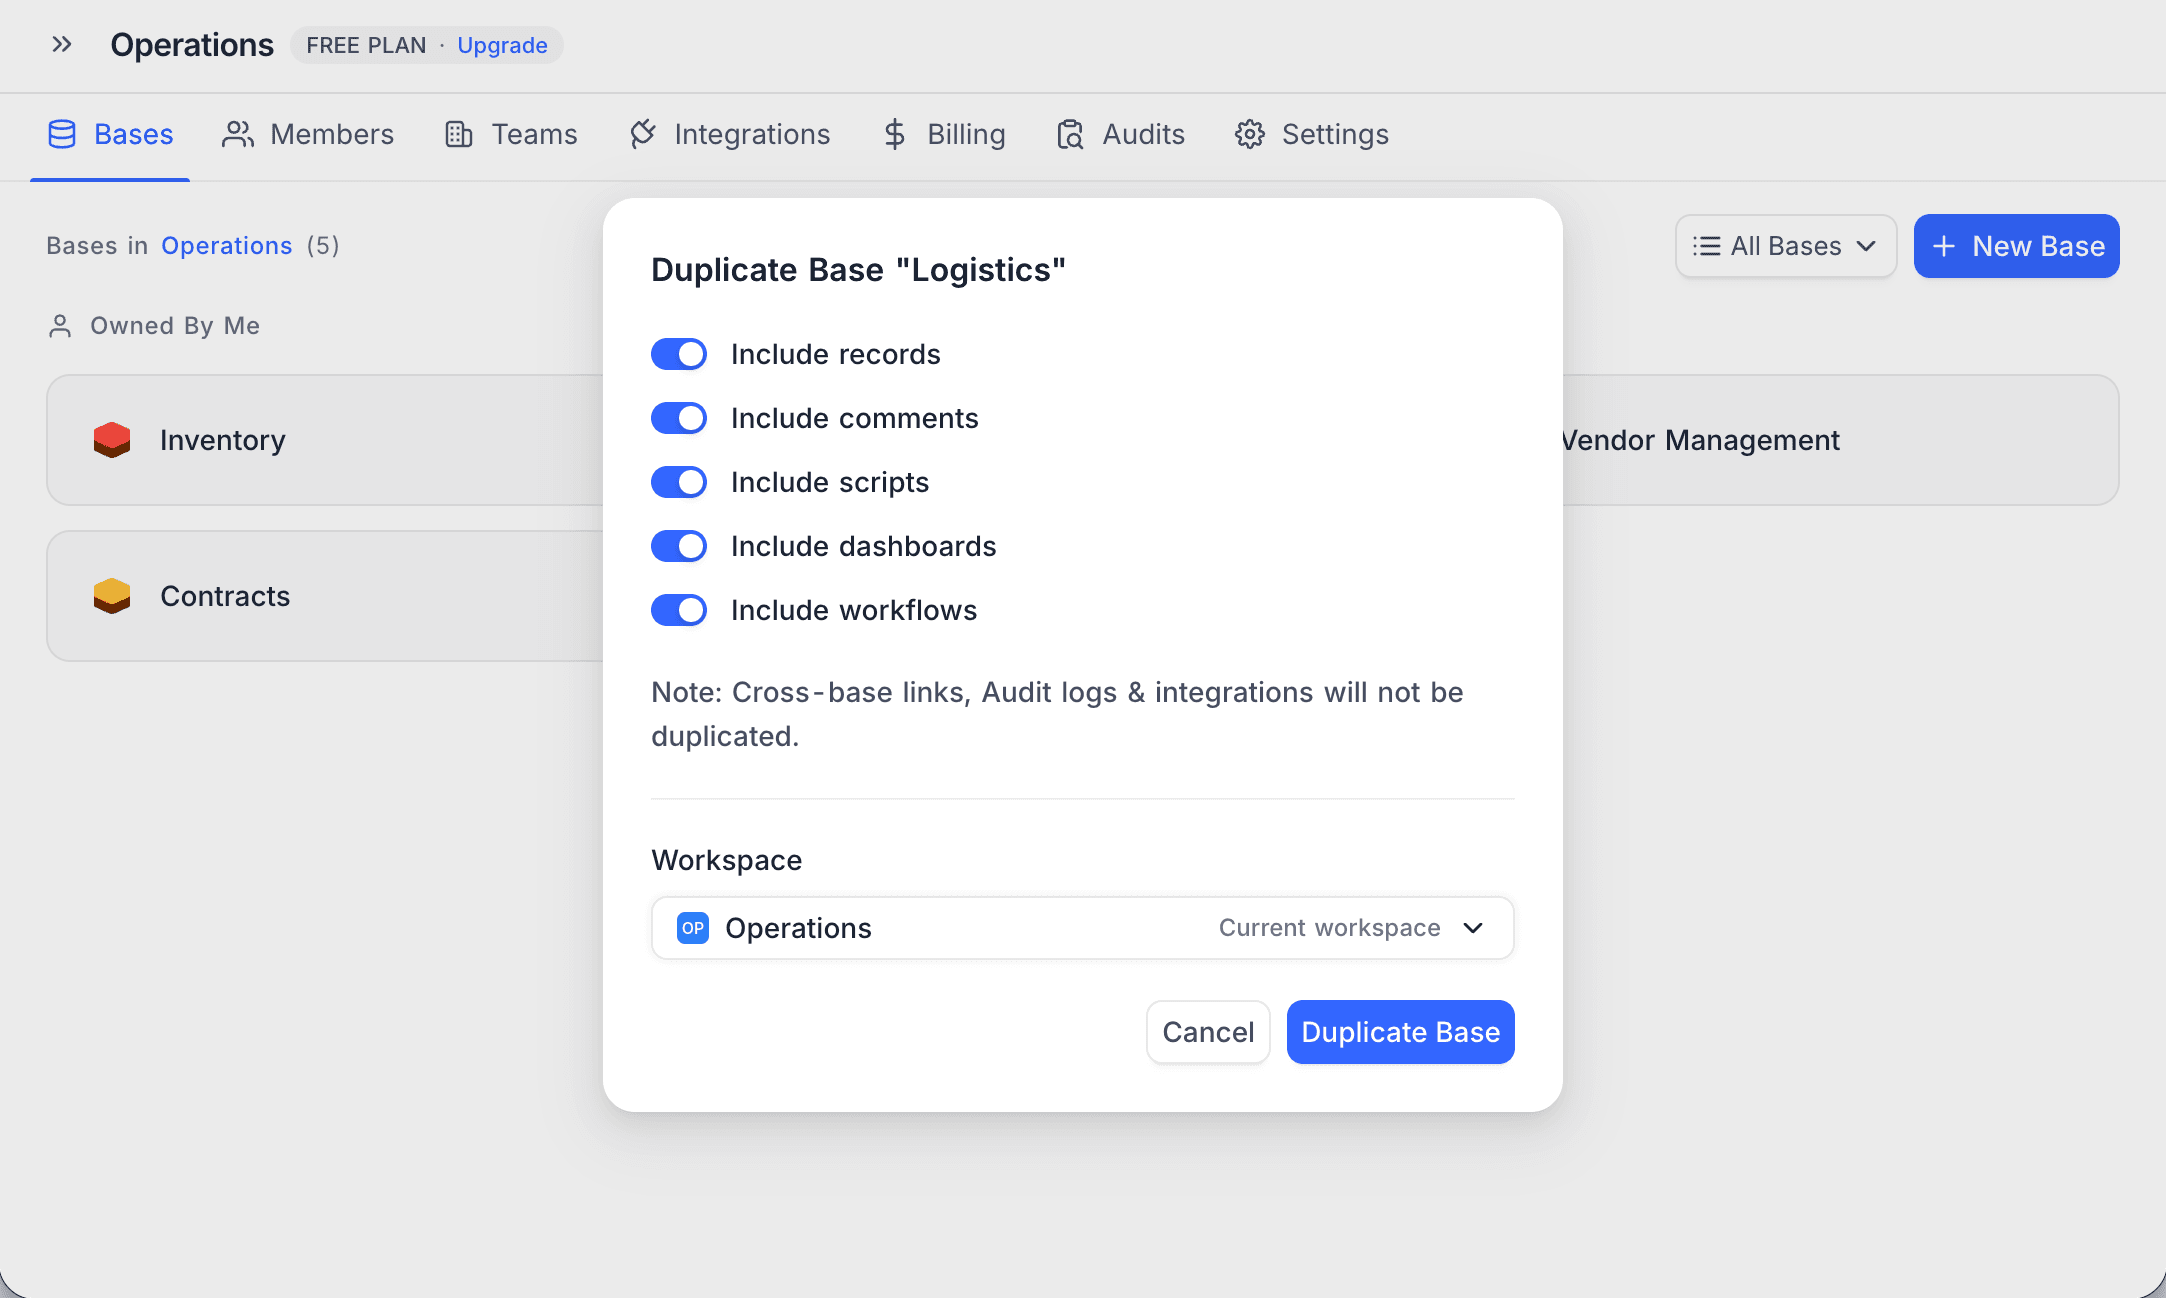
Duplicate base
- Open the base context menu.
- Select Duplicate base.
- Configure what to include:
- Include records — disable to duplicate schema only, without data.
- Include comments — disable to skip comments.
- Include scripts — disable to skip scripts.
- Include dashboards — disable to skip dashboards.
- Include workflows — disable to skip workflows.
- Include documents — disable to skip NocoDocs documents.
- Select a Workspace to duplicate into (defaults to current workspace).
- Click Duplicate Base.
Delete base
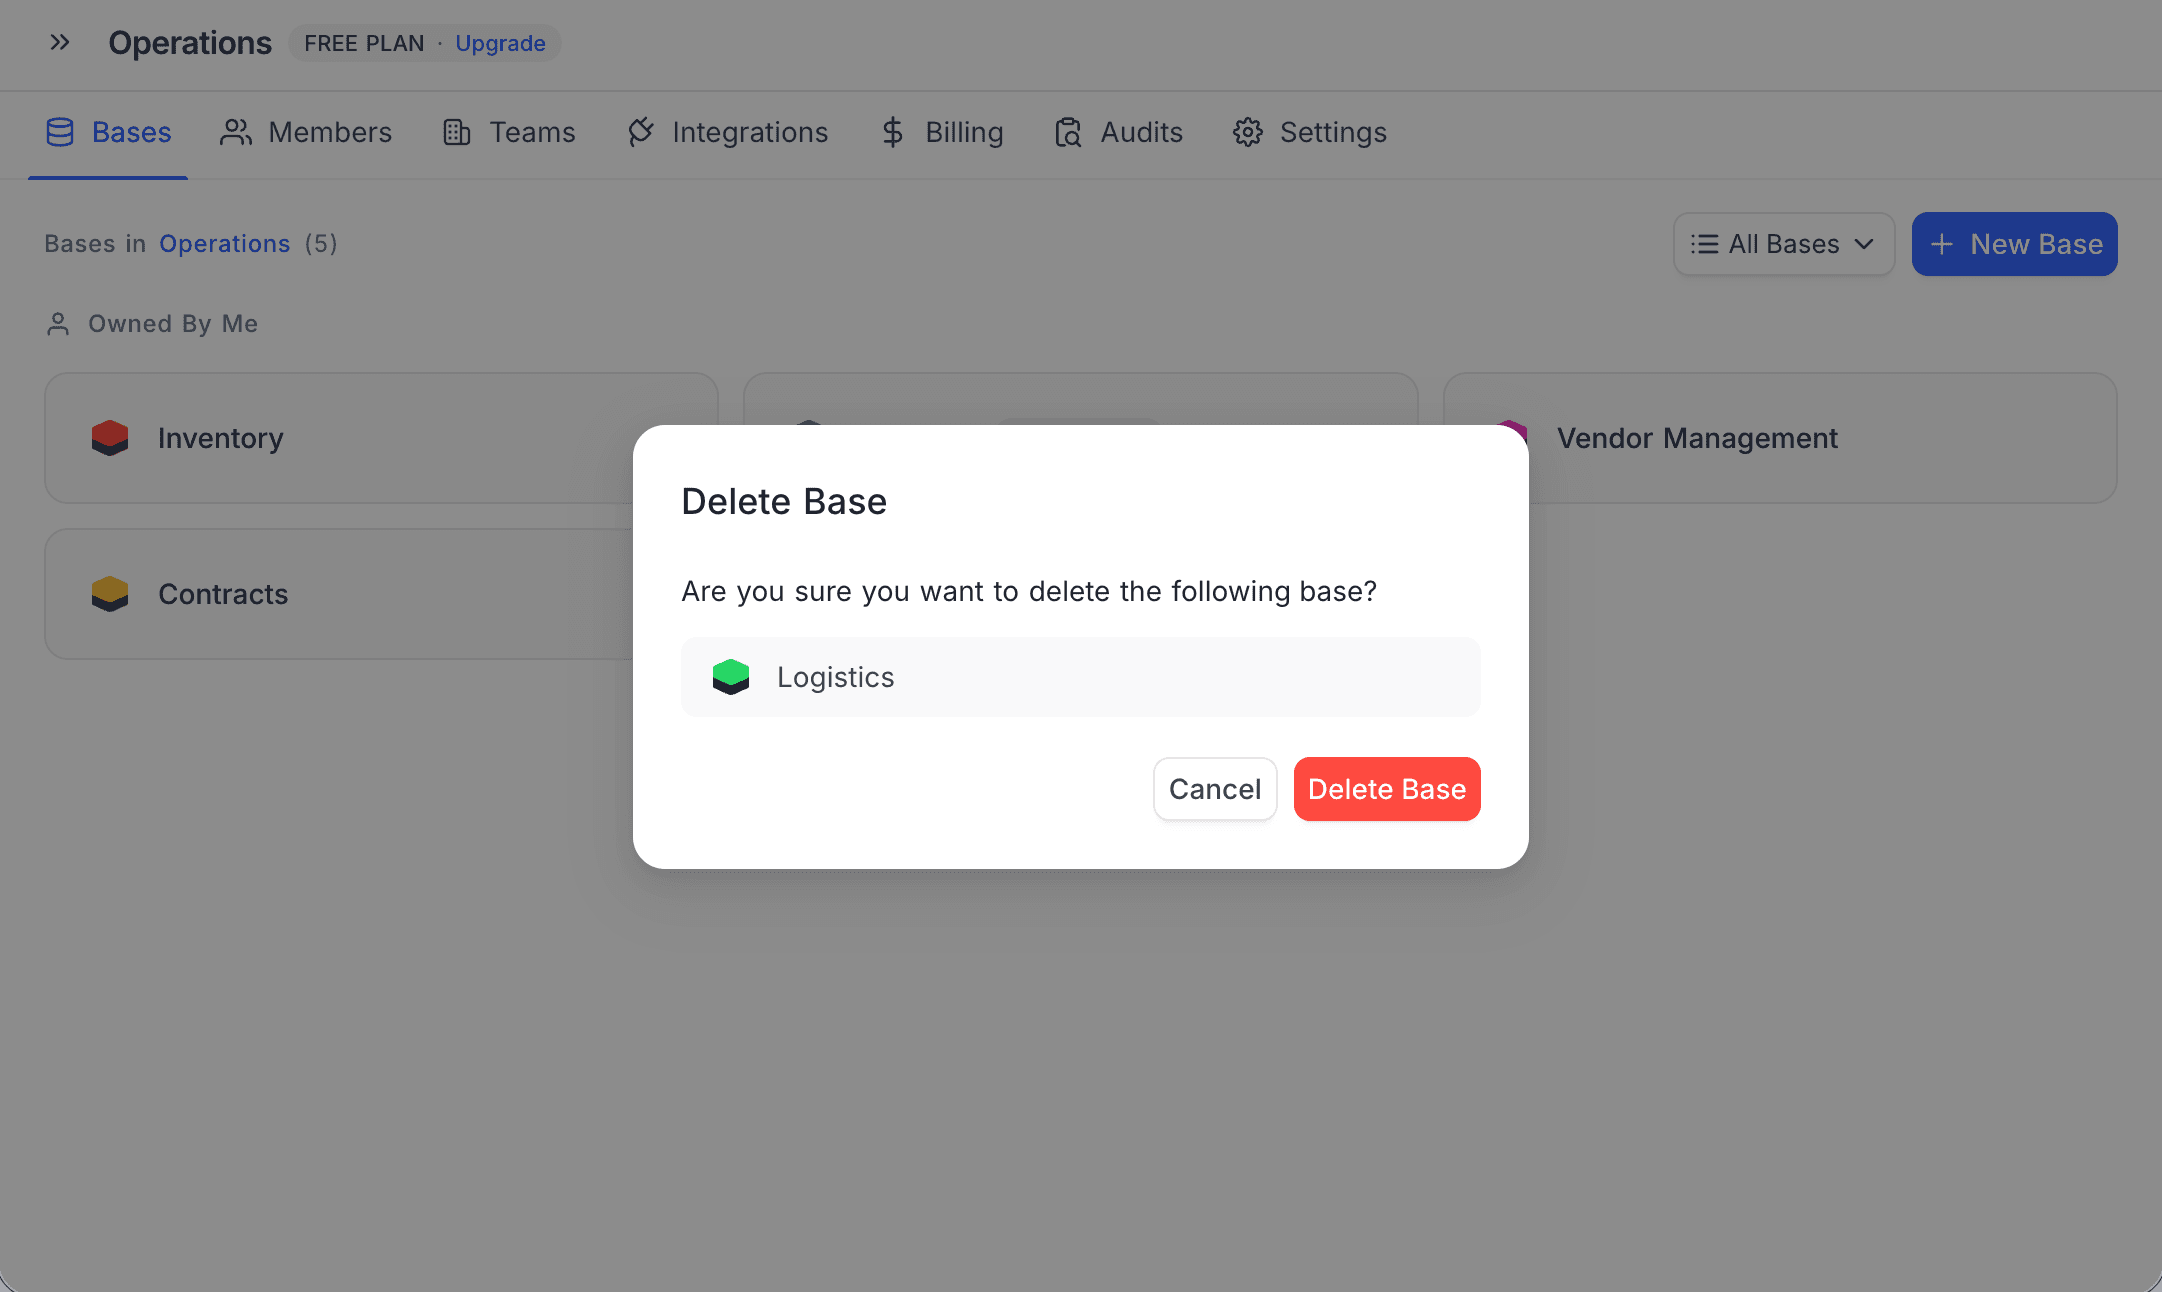
Deleting a base permanently removes all its tables, data, and associated content.
- Open the base context menu.
- Select Delete base.
- Click Delete Base to confirm.
Find base ID
Each base has a unique ID (prefixed with p) visible in the base context menu and in the URL.
Example:
https://app.nocodb.com/wa5dveq3/pptsua3fuosby2jIn this example, the base ID is pptsua3fuosby2j.
Relations
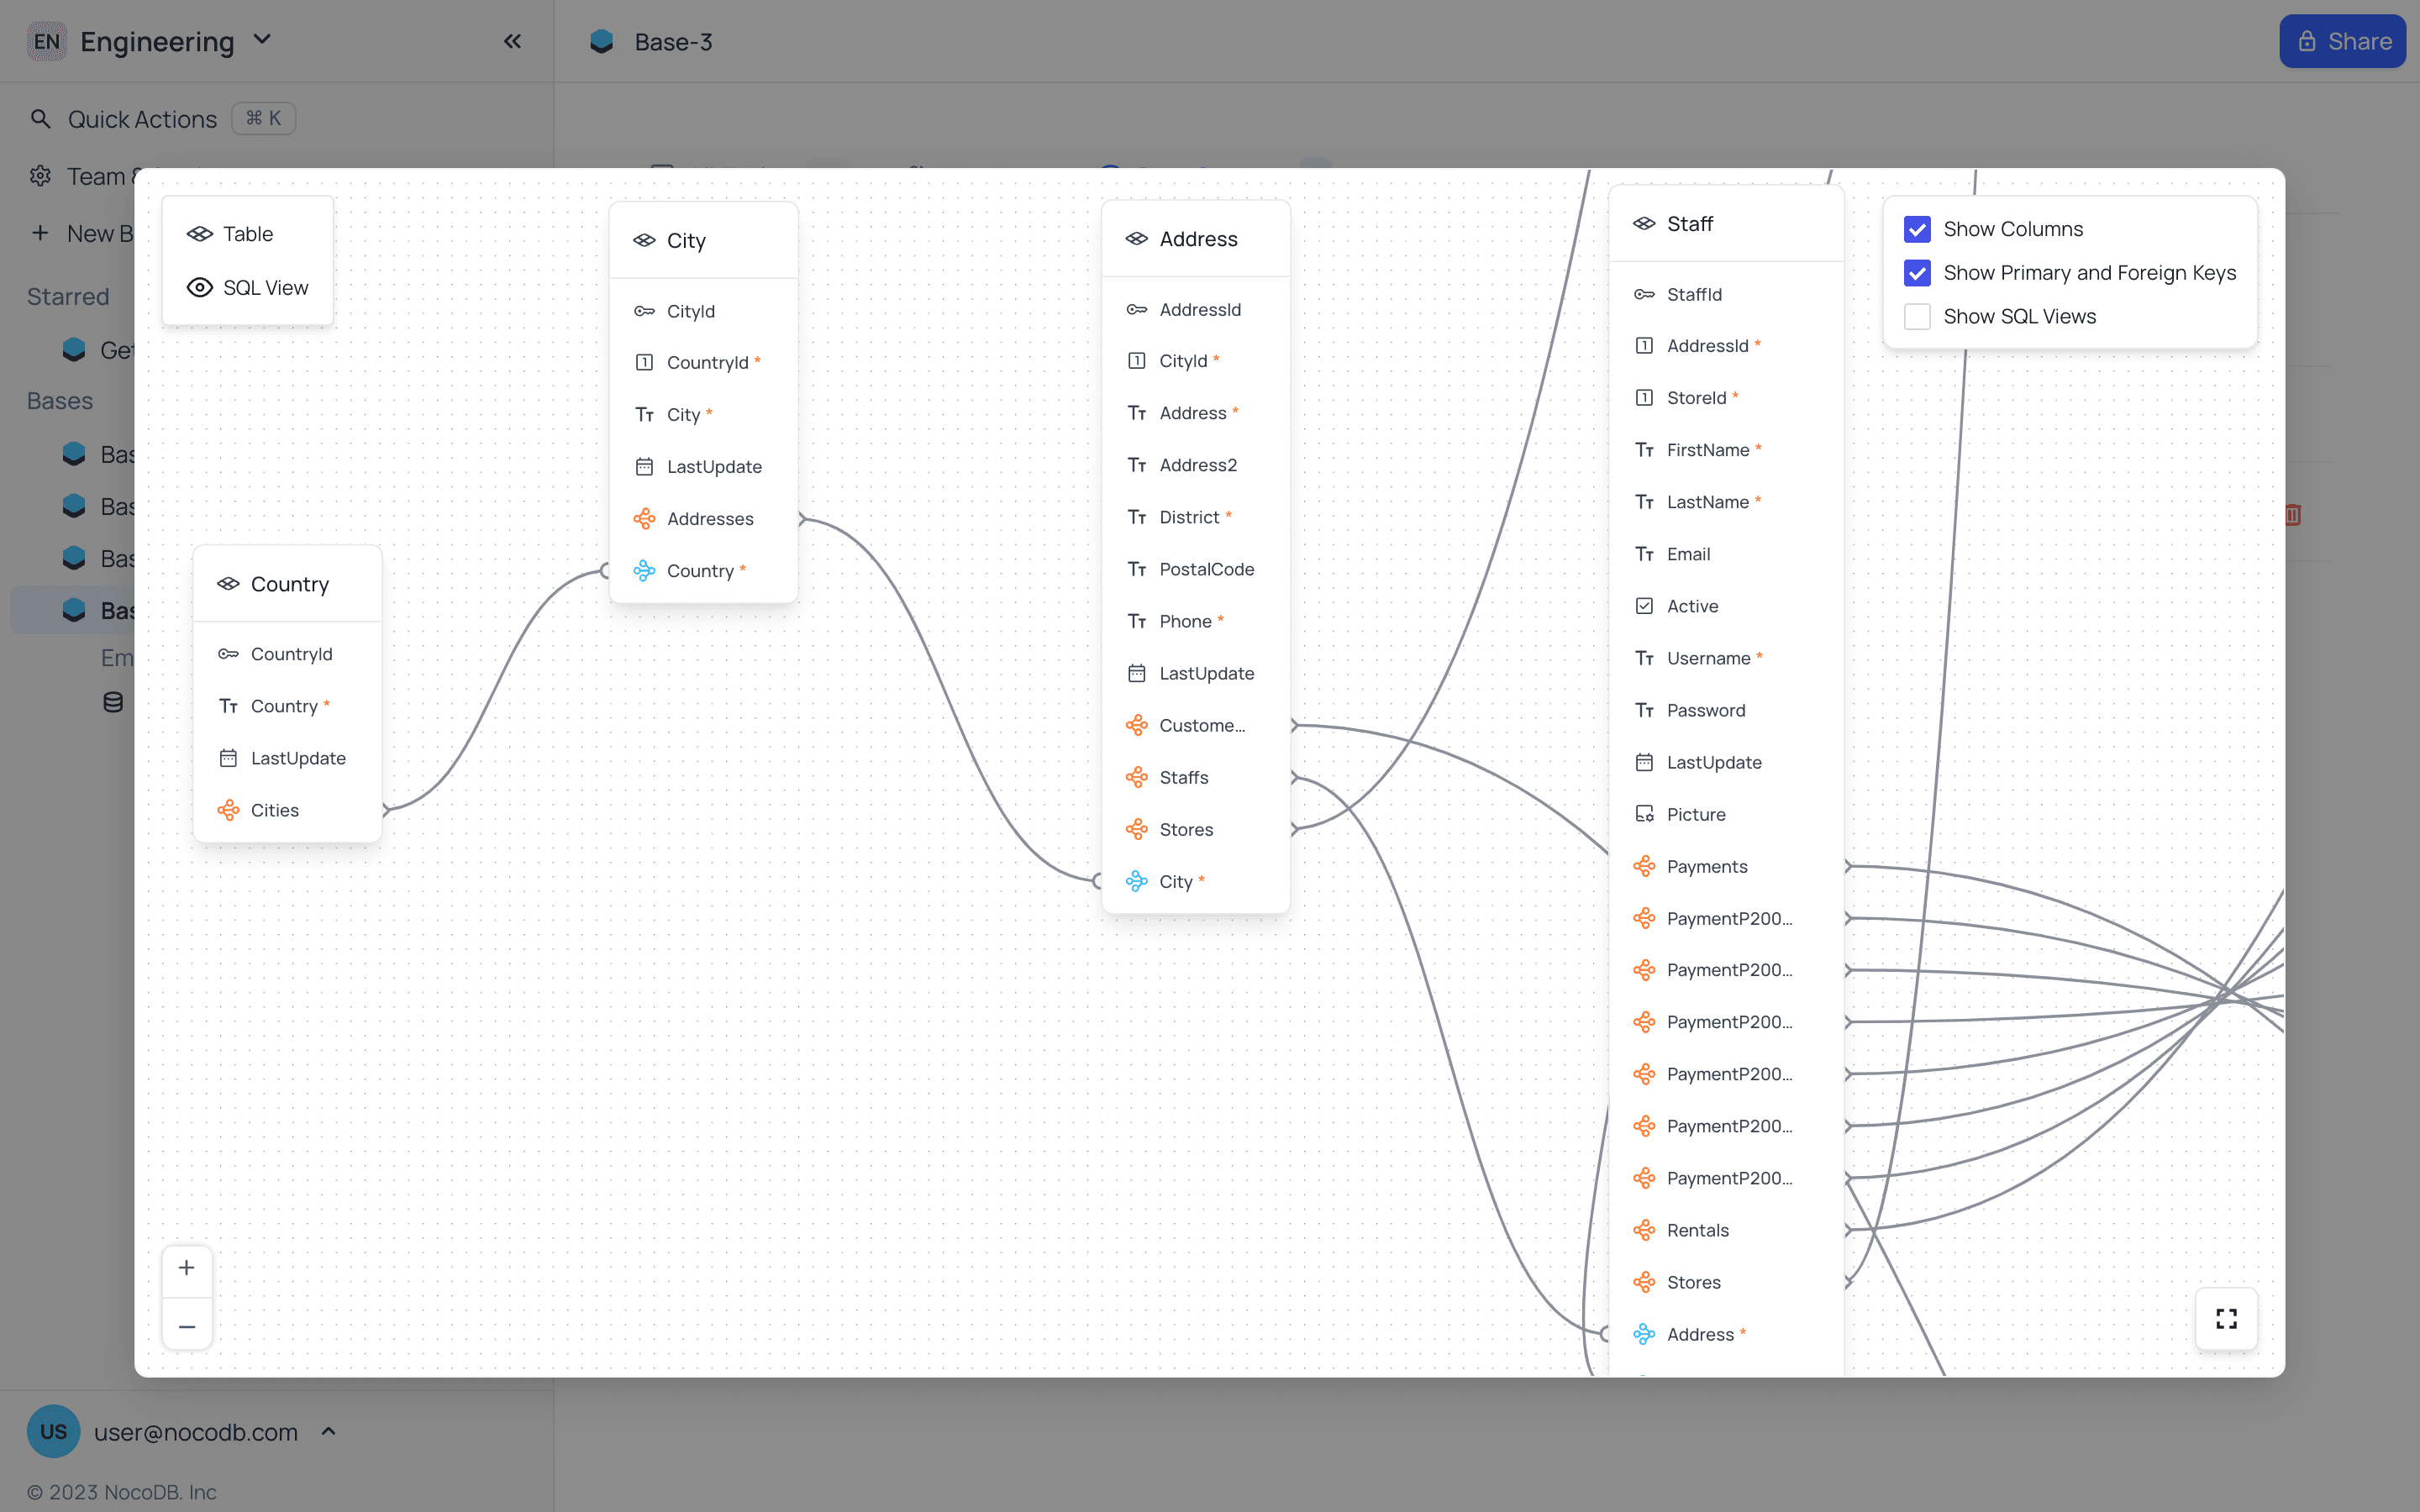
NocoDB provides a visual diagram of relationships between tables within a base.
- Open the base context menu.
- Select Relations.
REST APIs
NocoDB provides a Swagger UI for each base to interact with its REST API endpoints. Both API v2 and API v3 are available.
- Open the base context menu from within a base.
- Hover over Rest APIs and select API v2 or API v3.
See Accessing APIs for more details.
Base settings
Access base settings from the base context menu → Settings, or via Base Settings → General when inside a base.
Available settings:
- Show M2M tables — Show or hide many-to-many junction tables in the sidebar.
- Show NULL in cells — Display NULL values in cells to differentiate from empty strings.
- Show NULL & Empty in Filters — Enable additional filter options to distinguish NULL from empty string values.